But..... turns out the minor mods I expected to do once the counters were pulled out turned out to be some cabinet building since the blind corners were not complete! And there was a little bit of plumbing and drywall work that needed to be done.
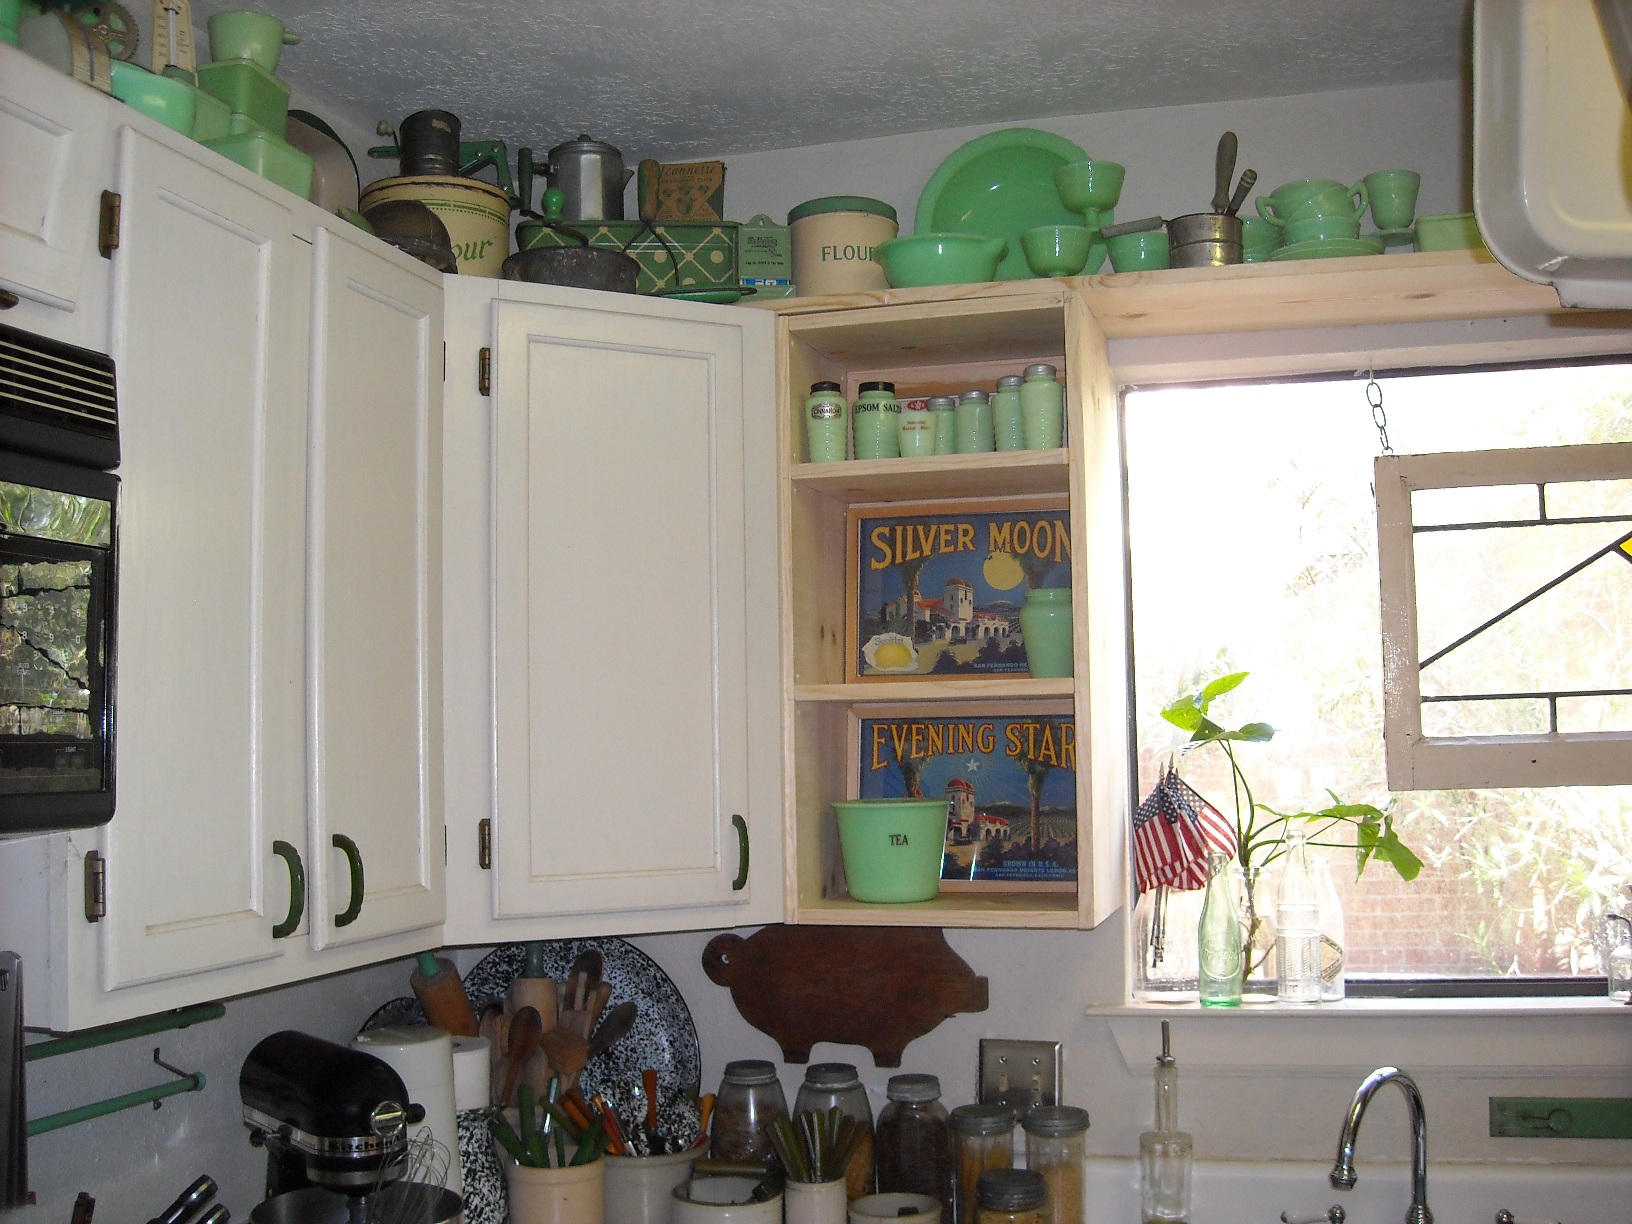
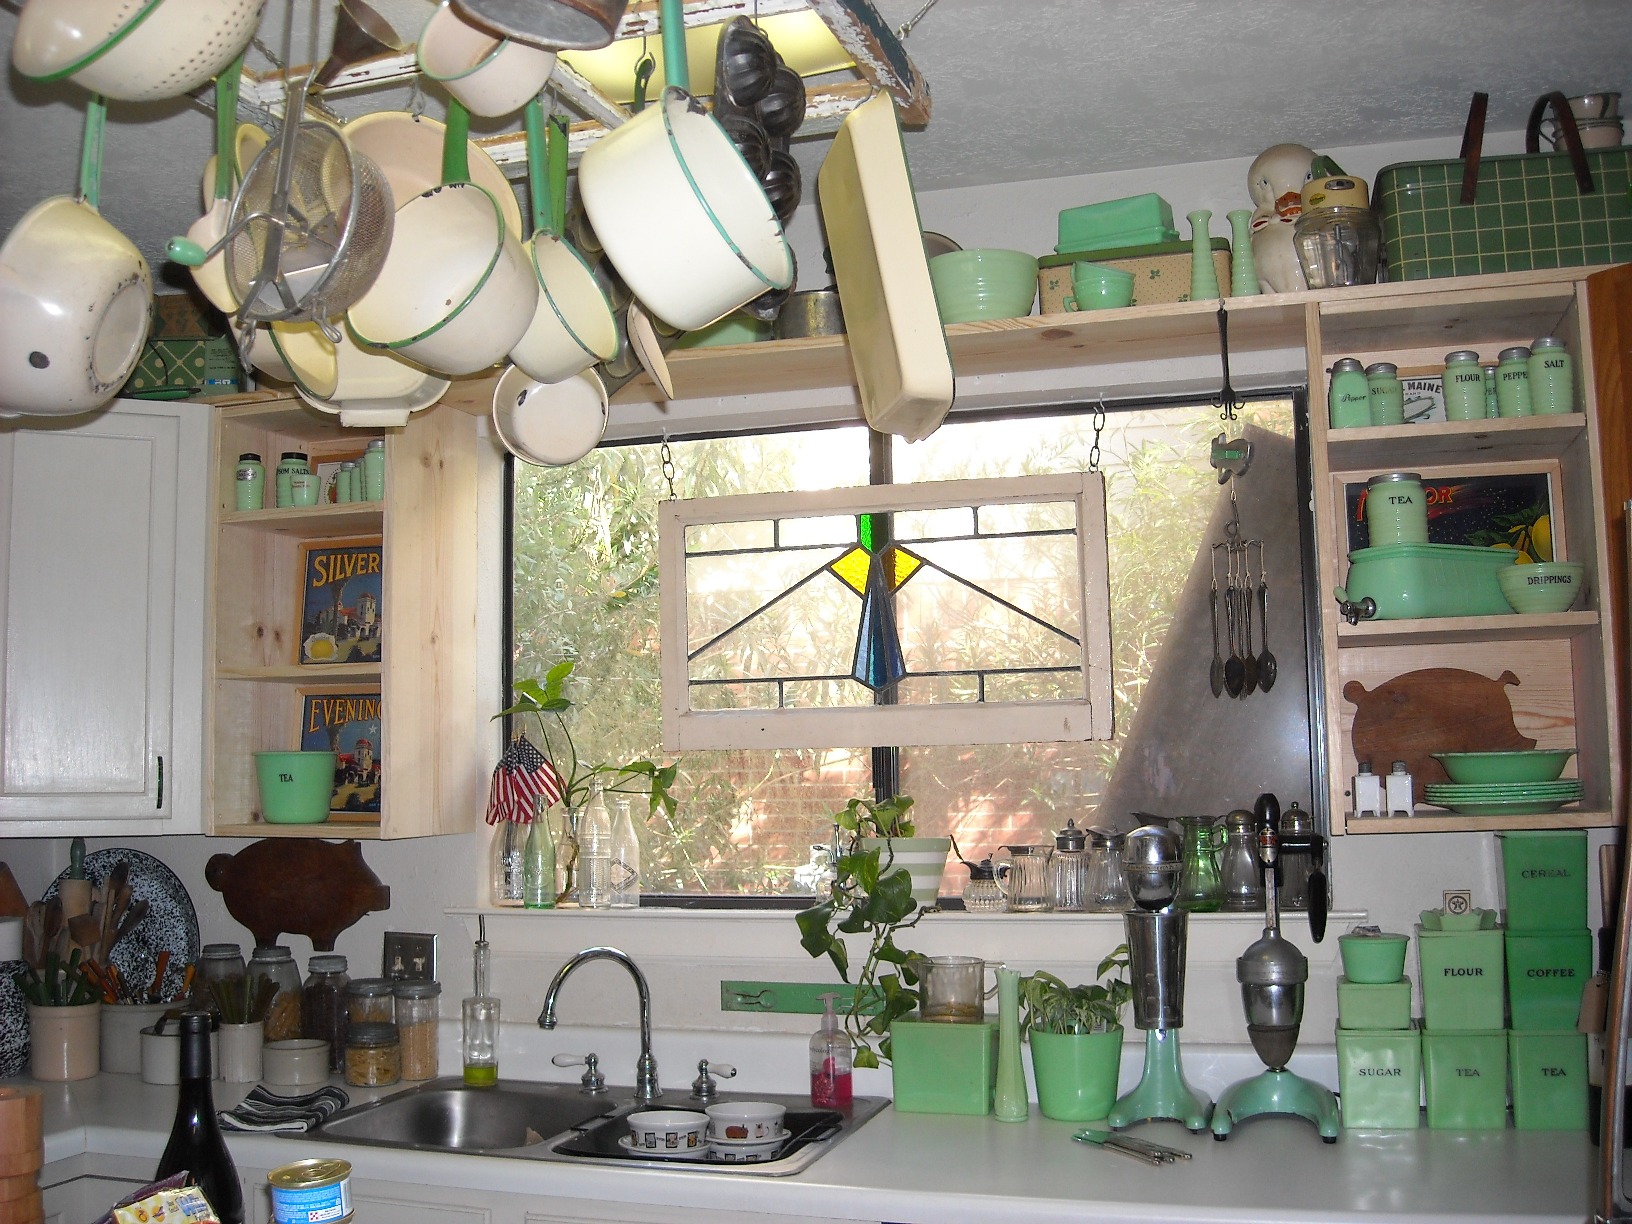
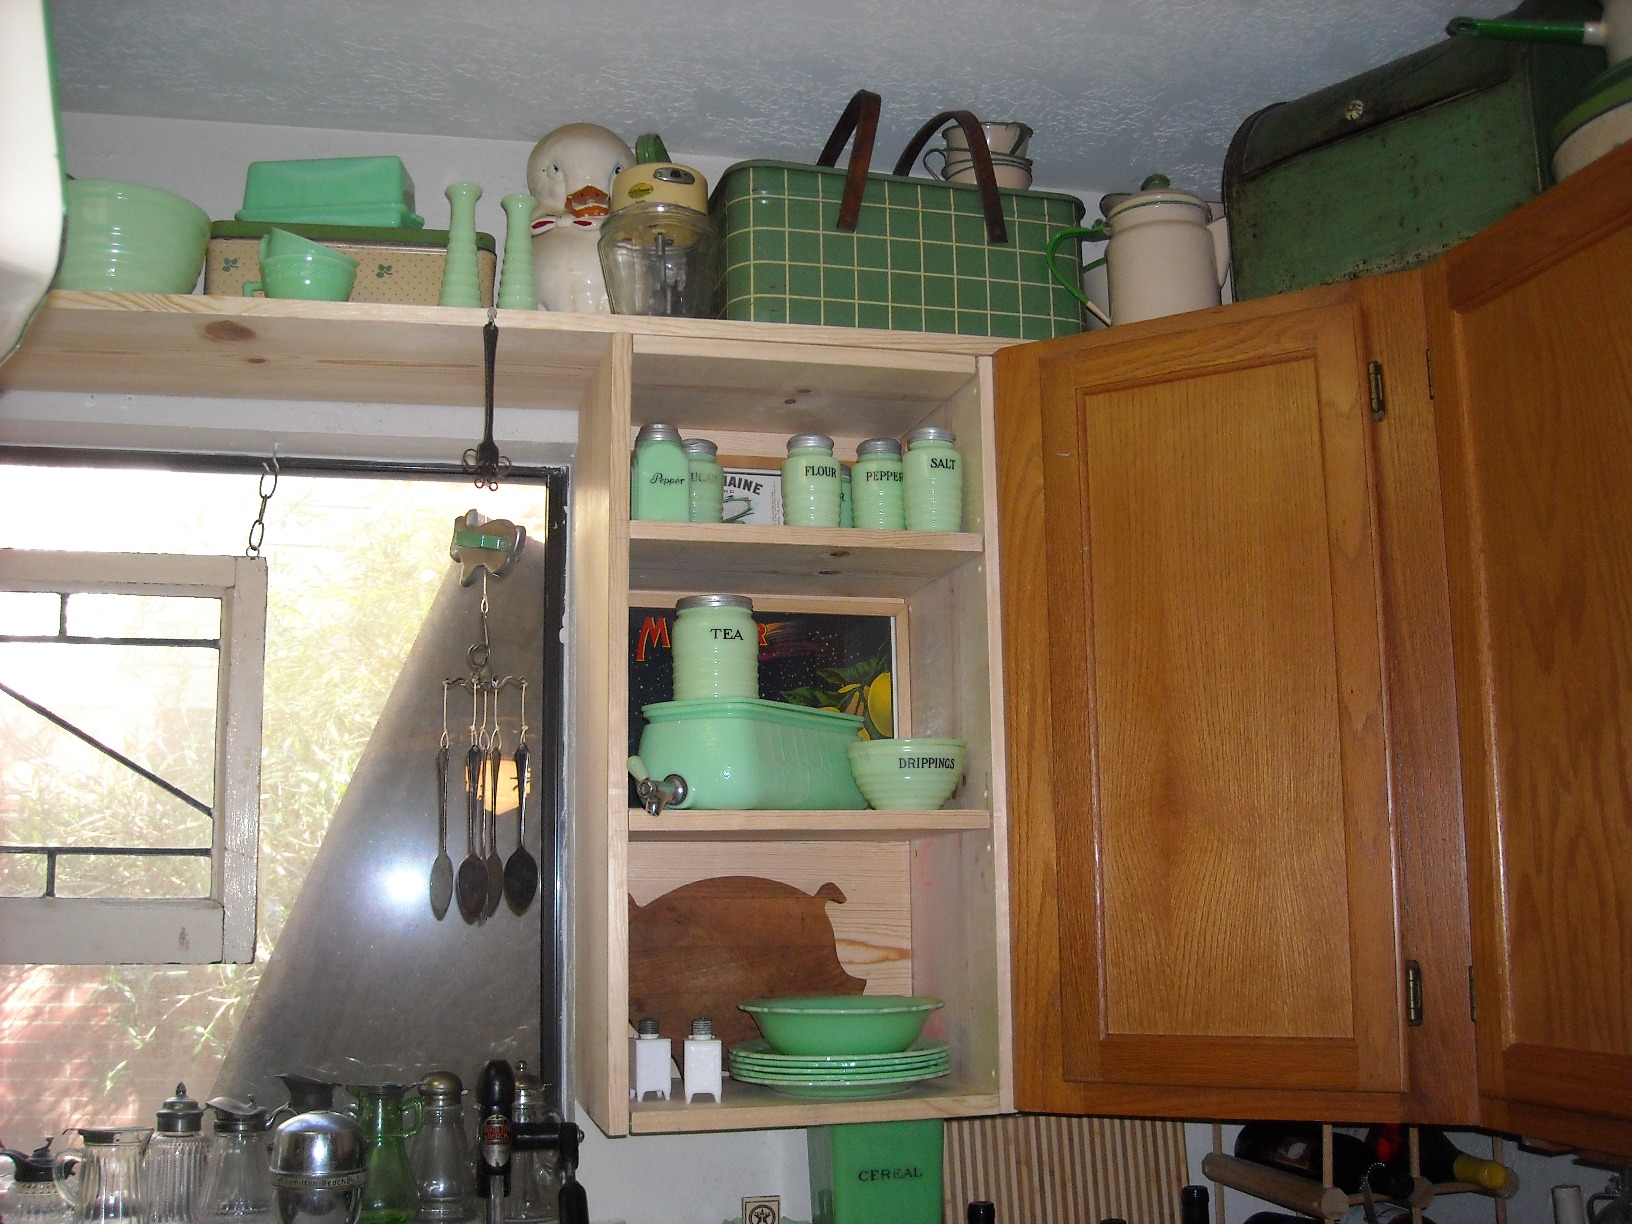
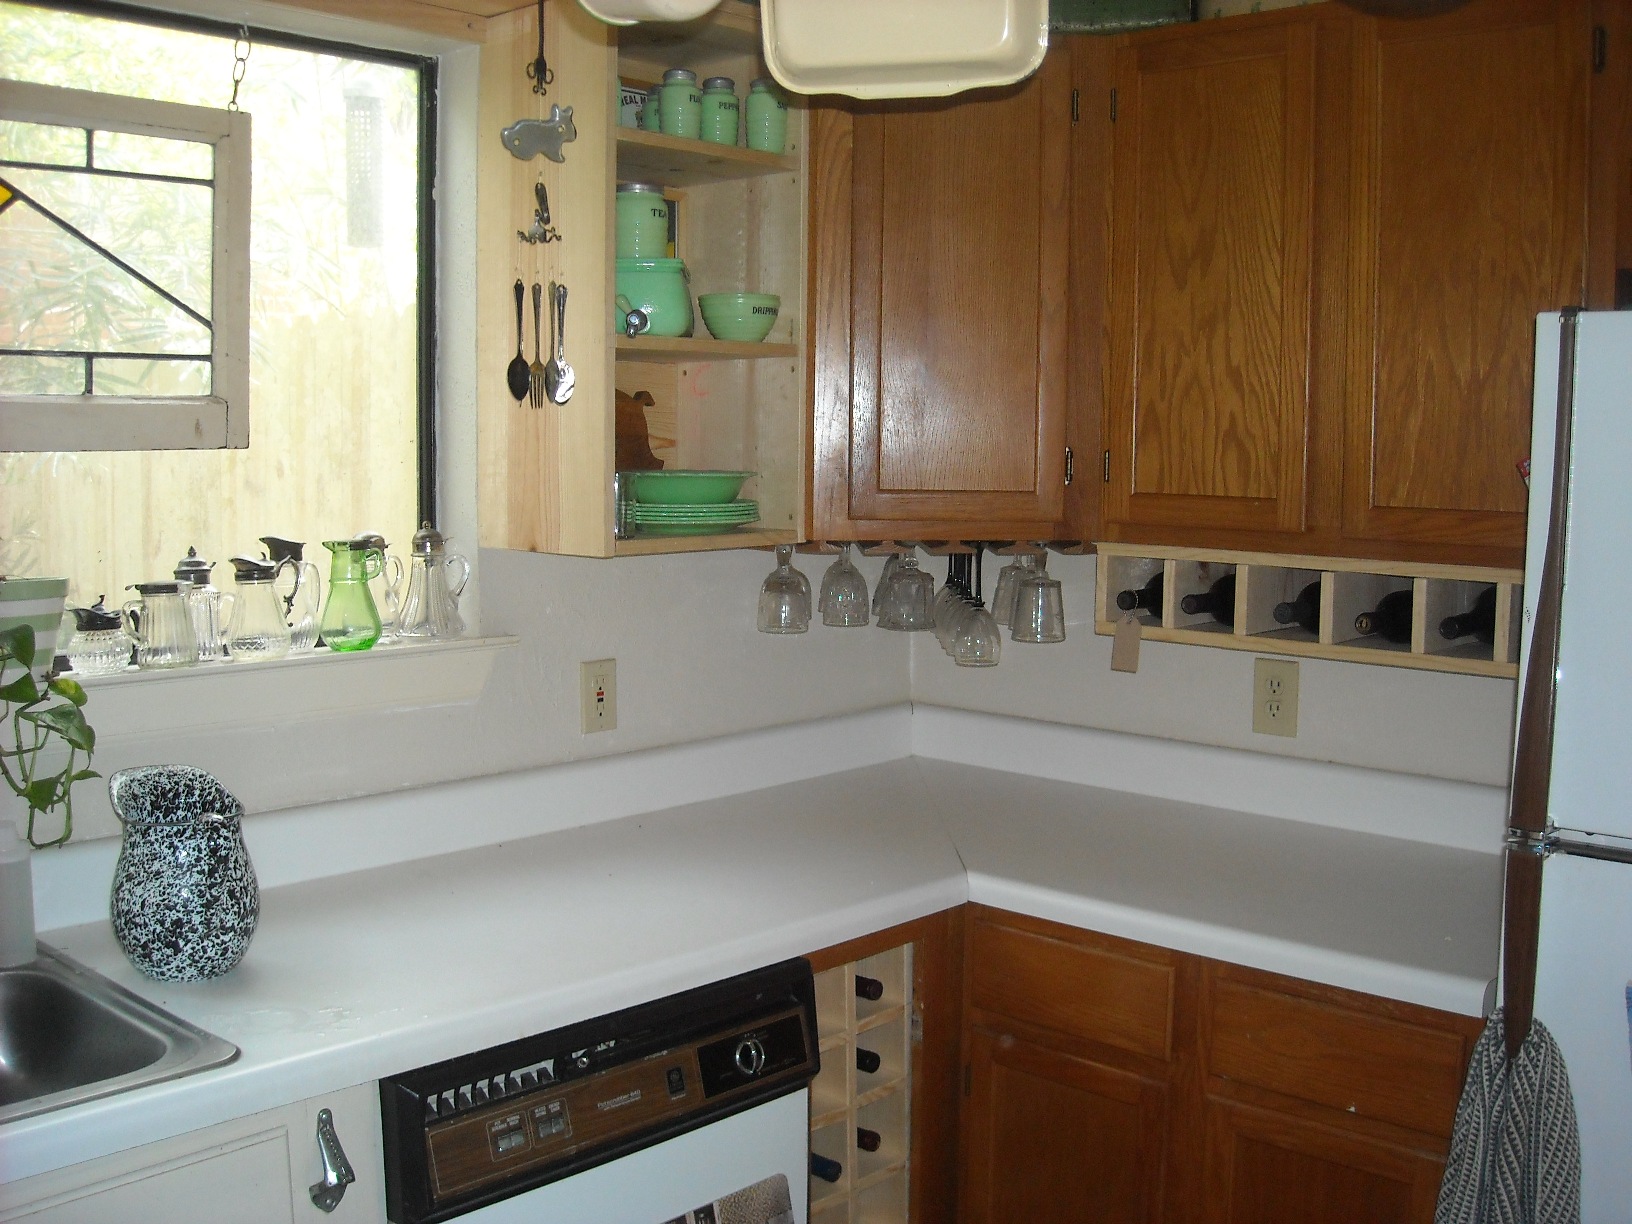
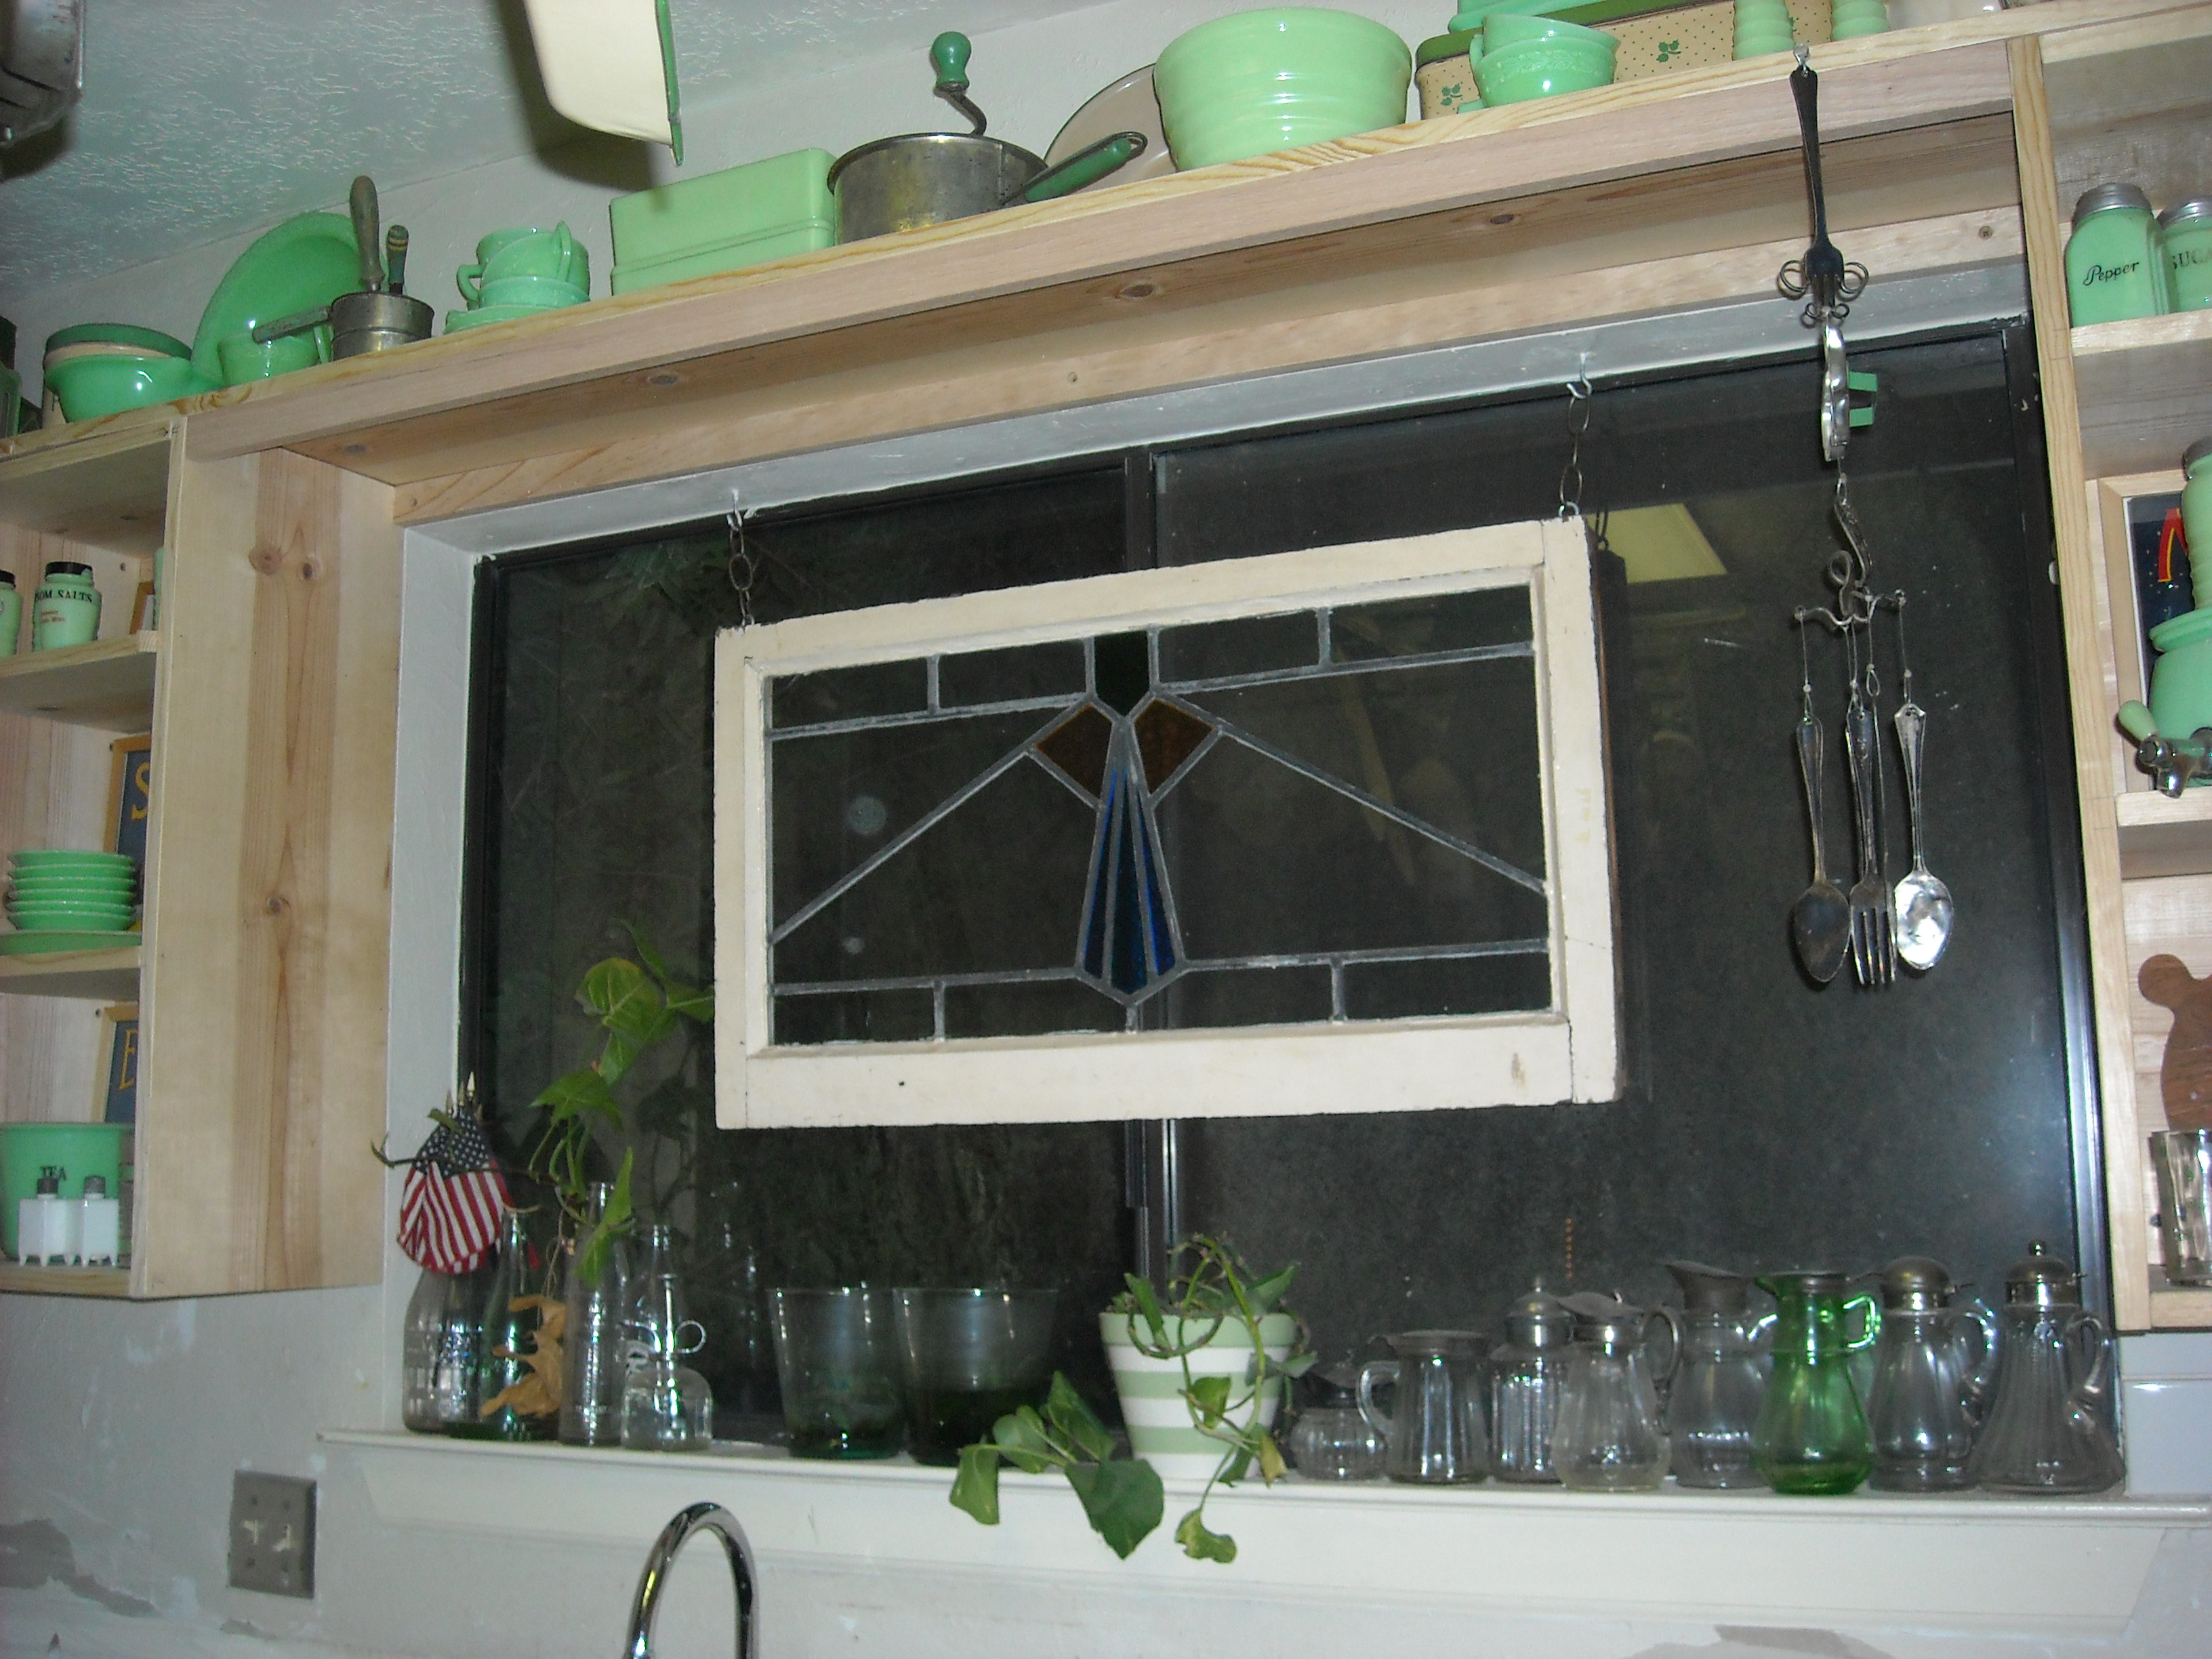
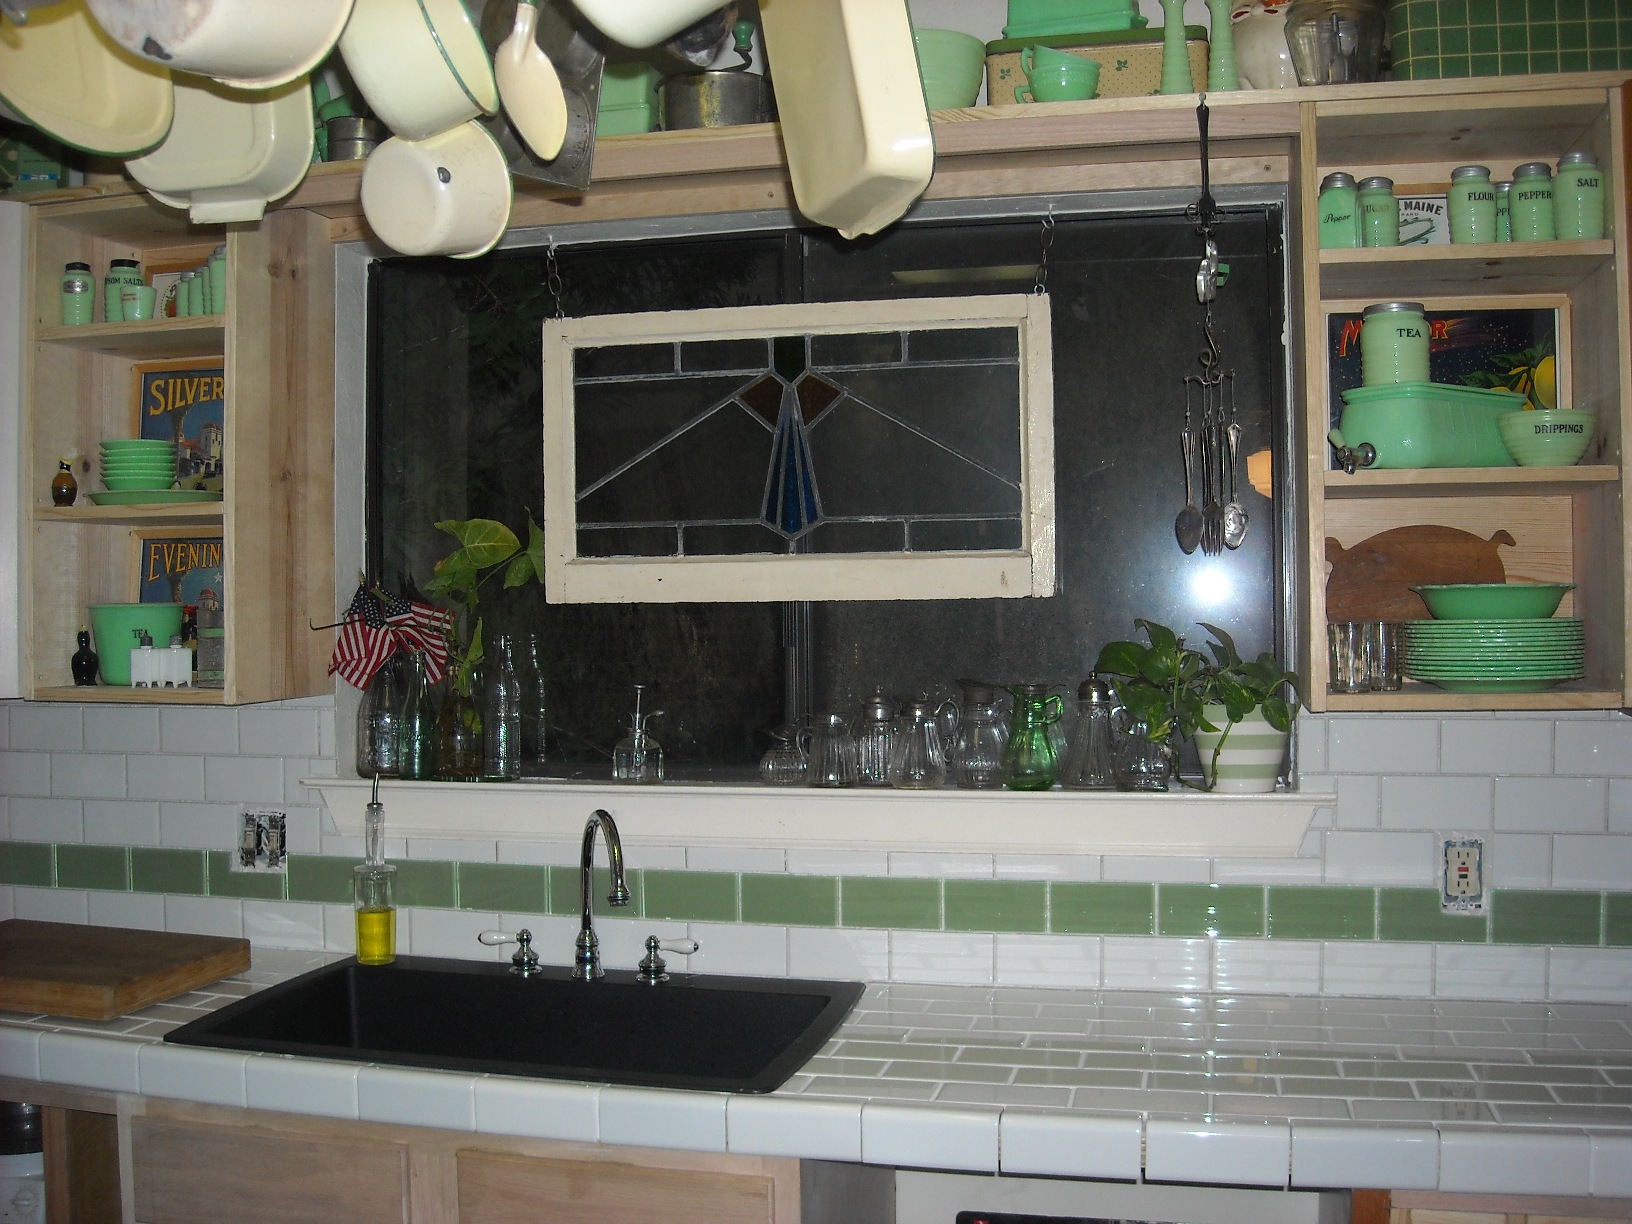
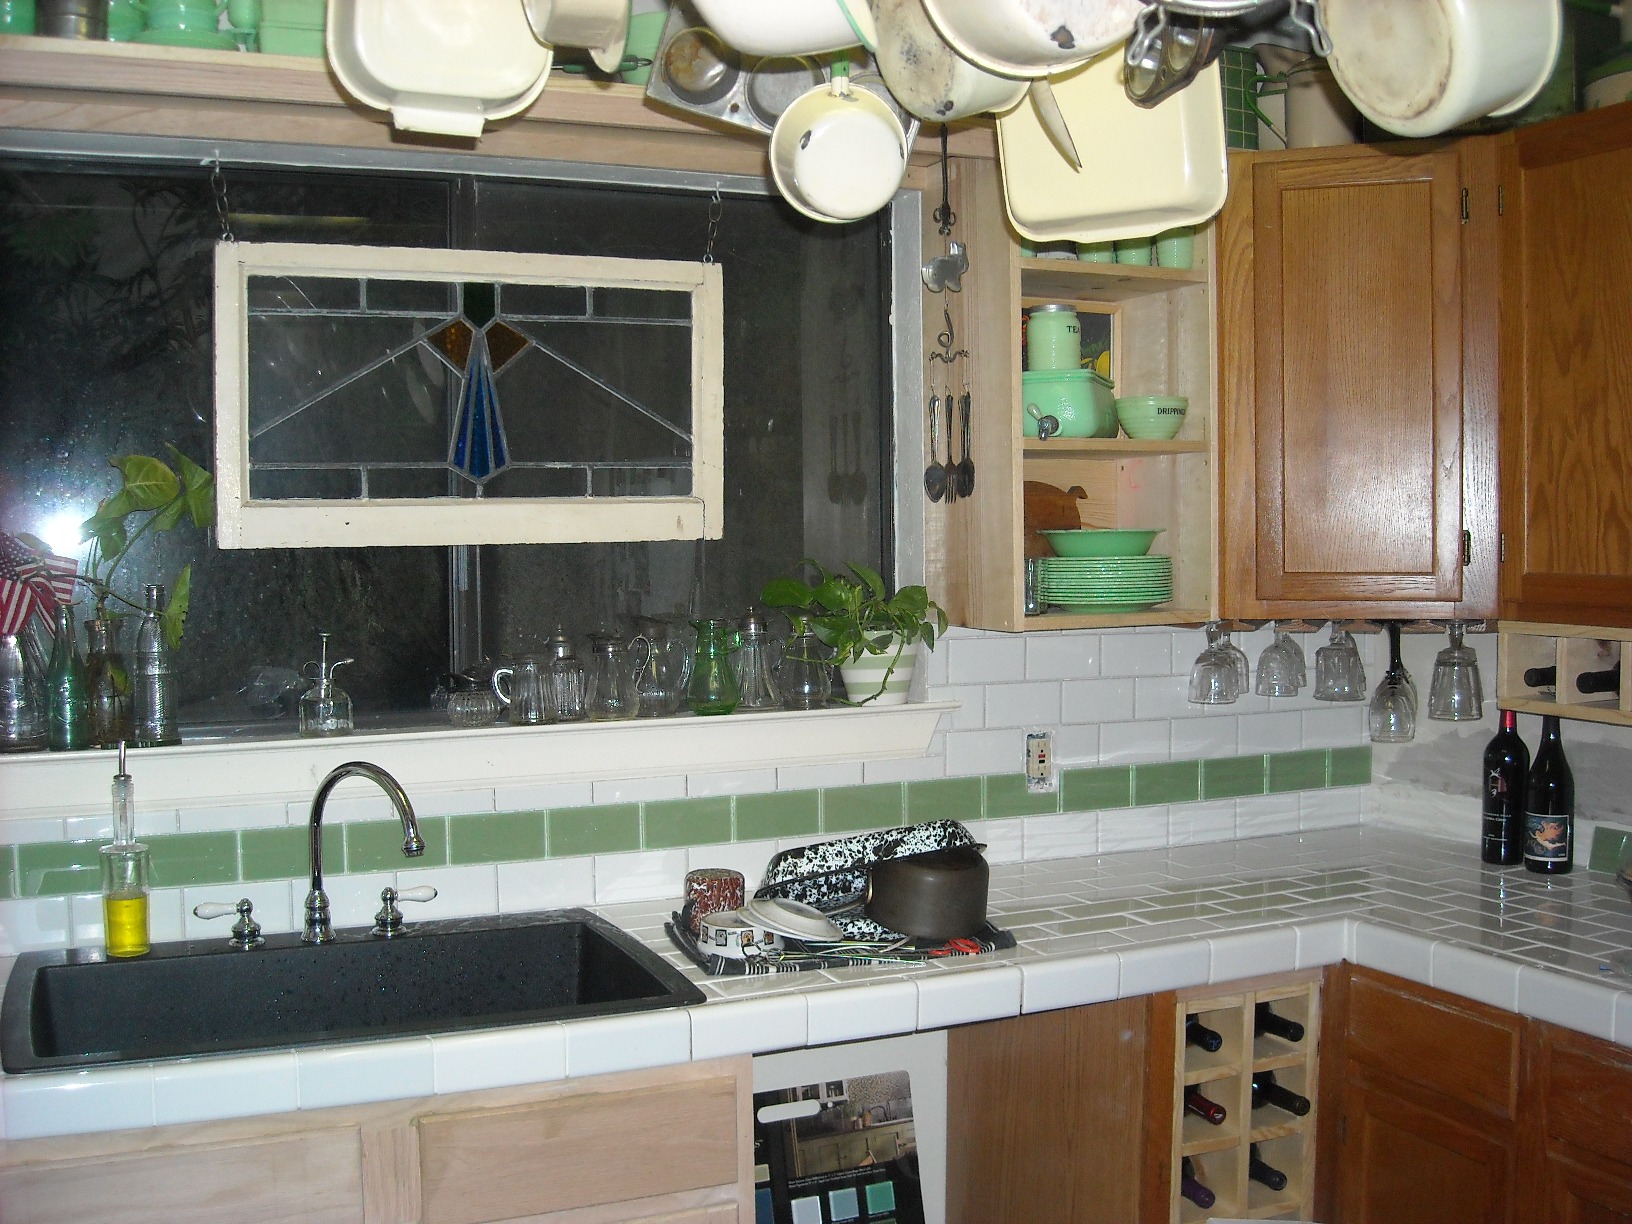
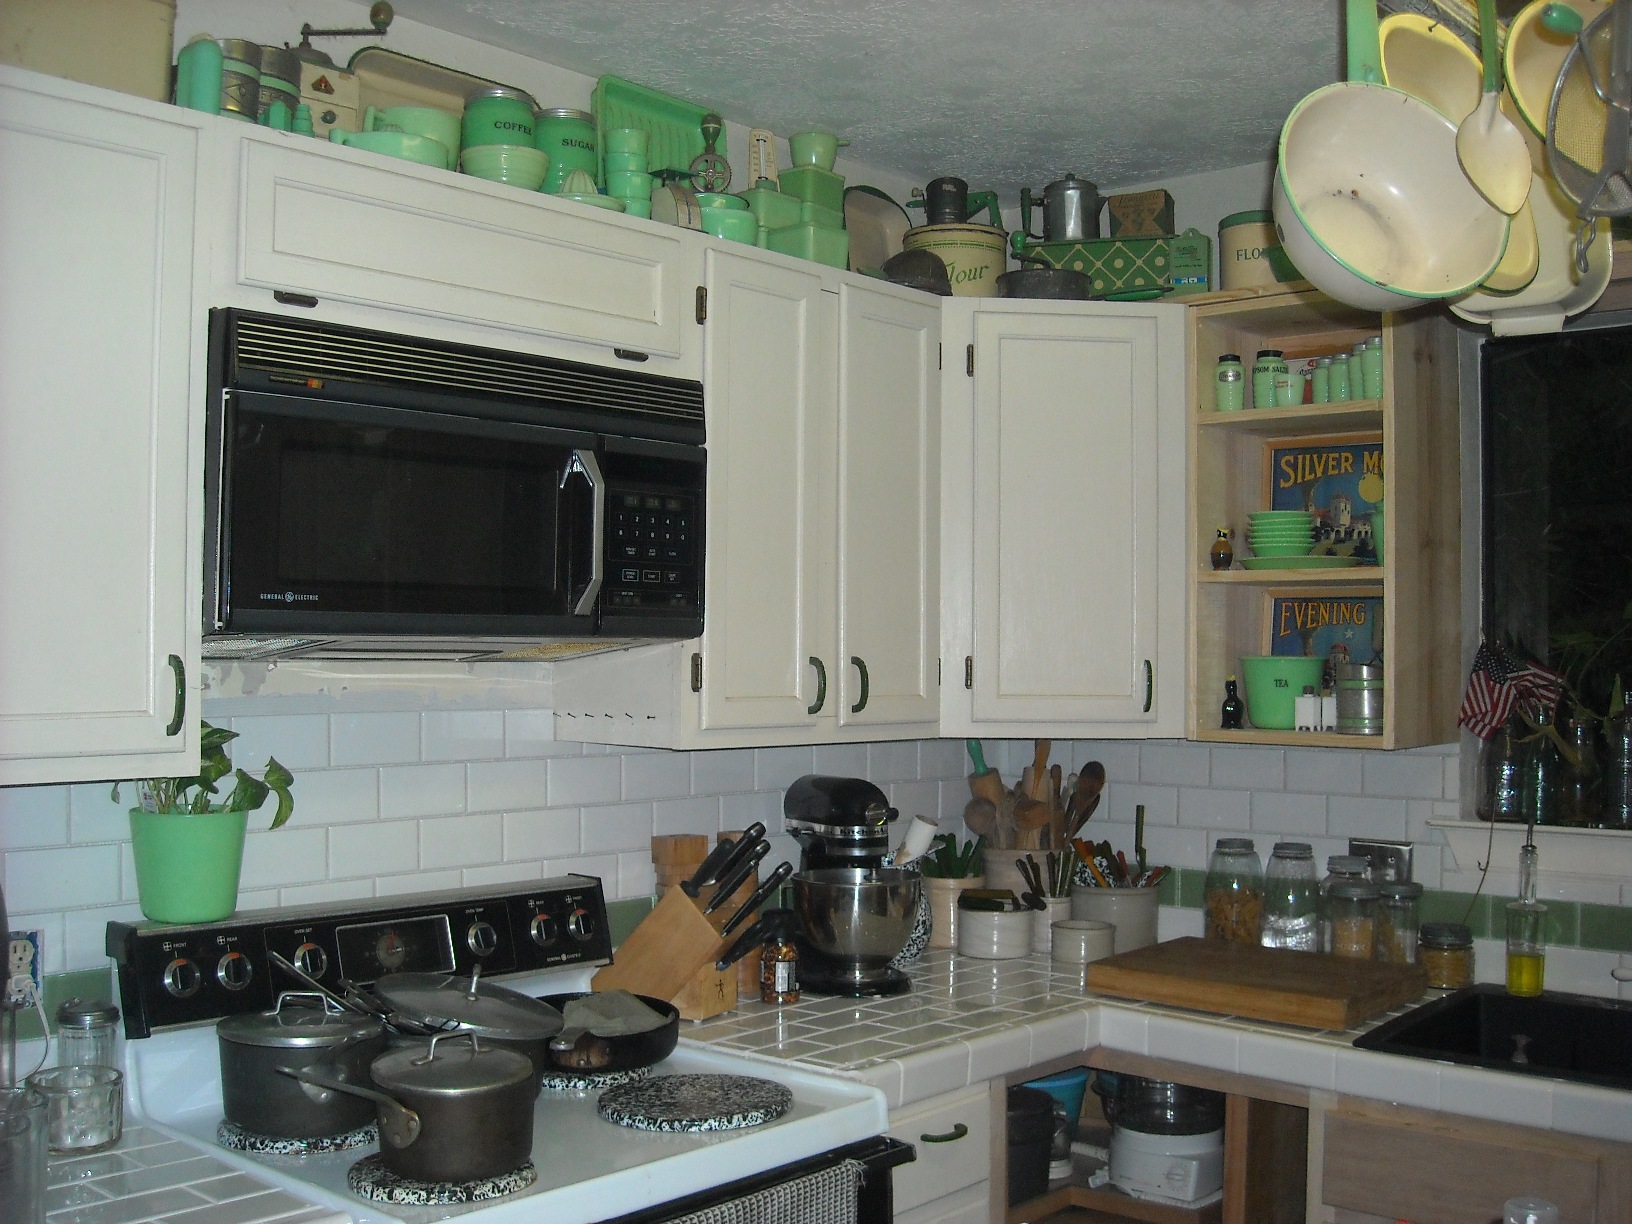
I first did some minor mods because I could not wait till my Christmas break to get started. Plus, I knew the tiling job would probably take that whole week anyway - so the more I could do before, the better. I always hated my kitchen window - just looked unfinished. So I decided to make enclosed shelfs between the windows and the cabinets finishing the whole window off. That allowed me to place a deeper shelf above the window that extended all the way across, providing so much more room for my collectible glassware. Ikept the shelves clean since the room is so busy to start with. Phase two one day will include refacing the cabinets to a simple, clean shaker door design.
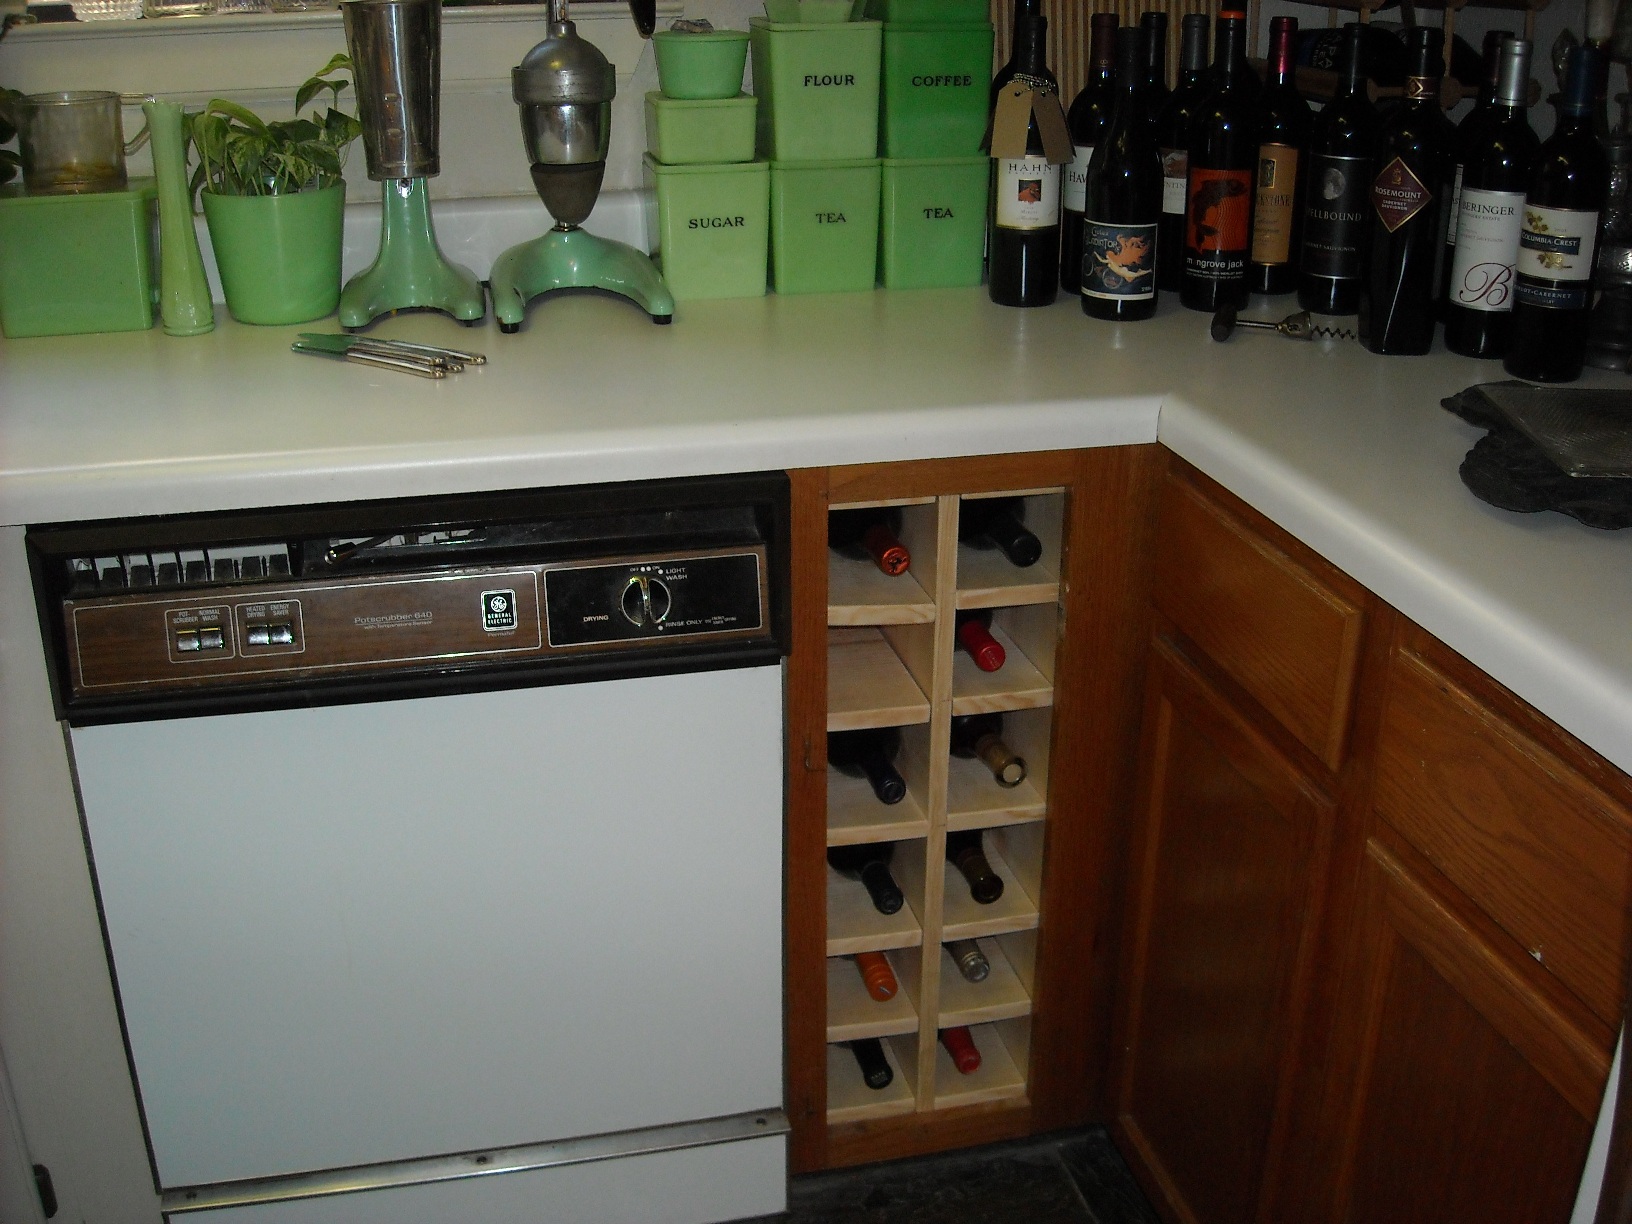
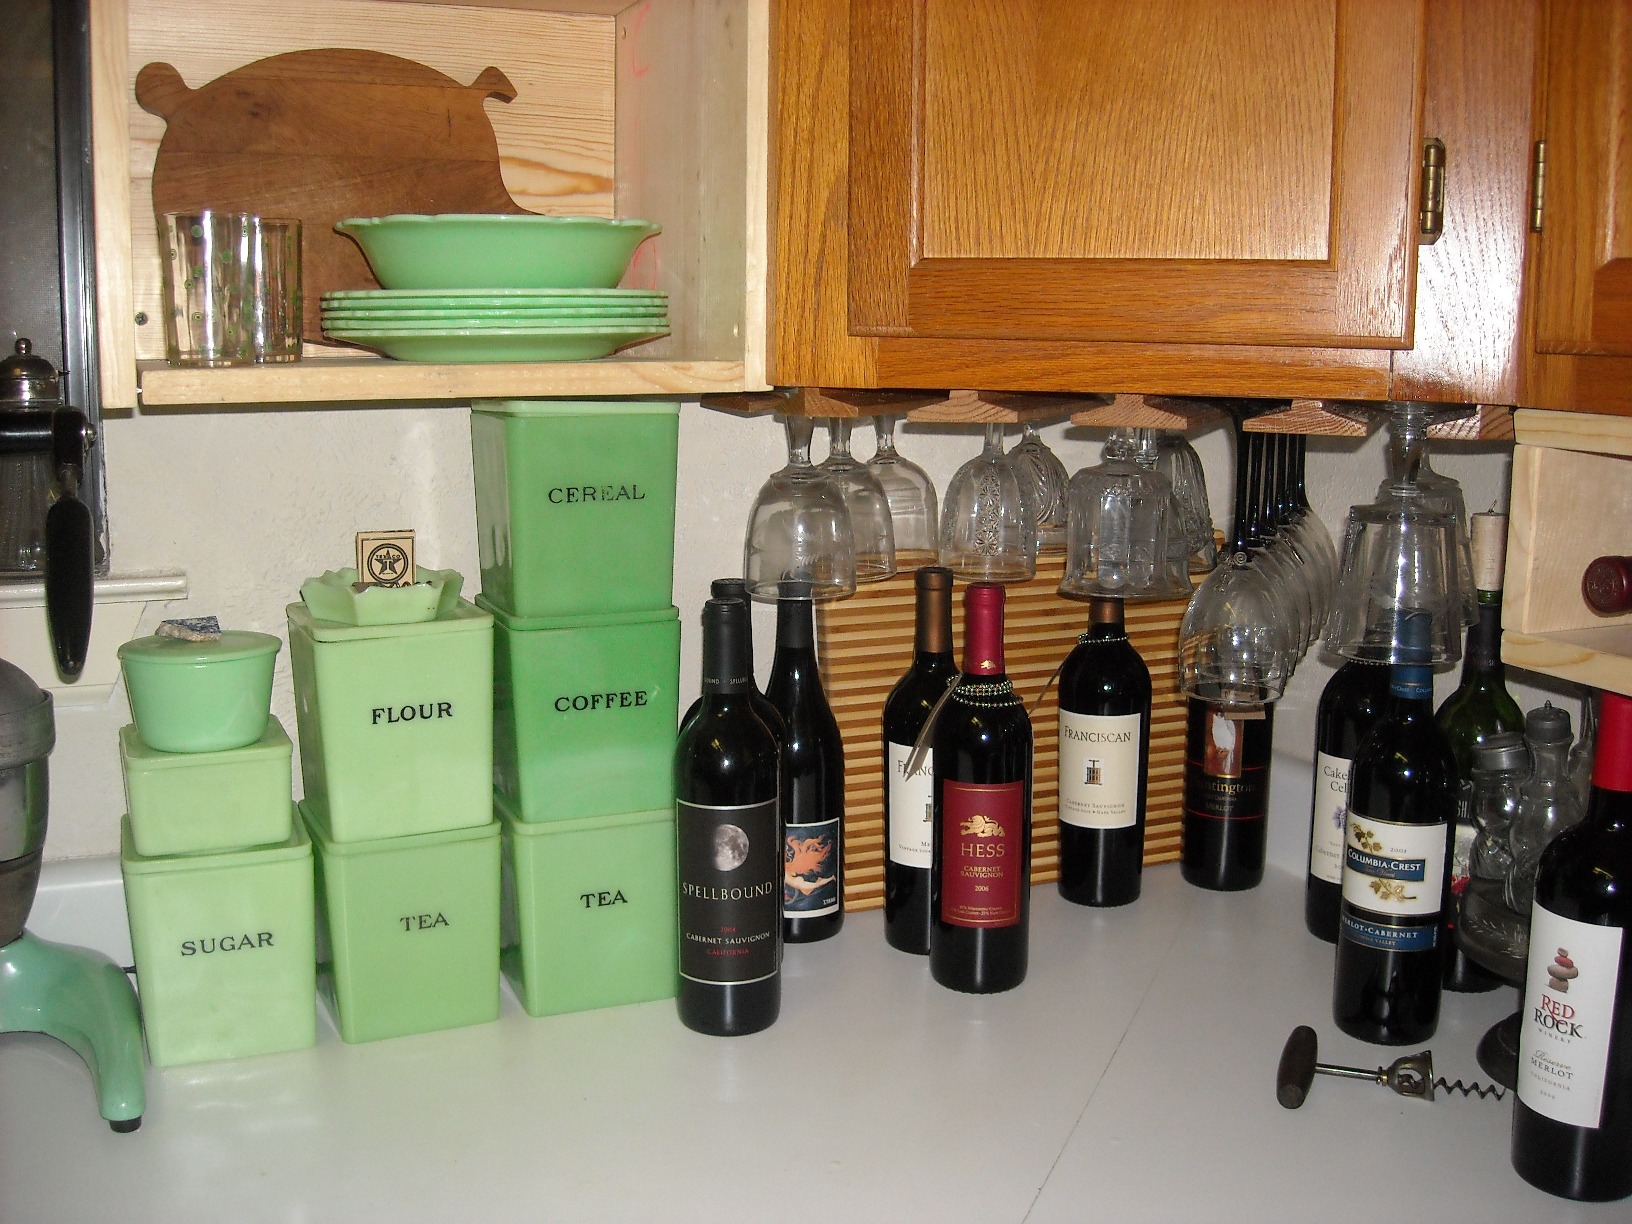
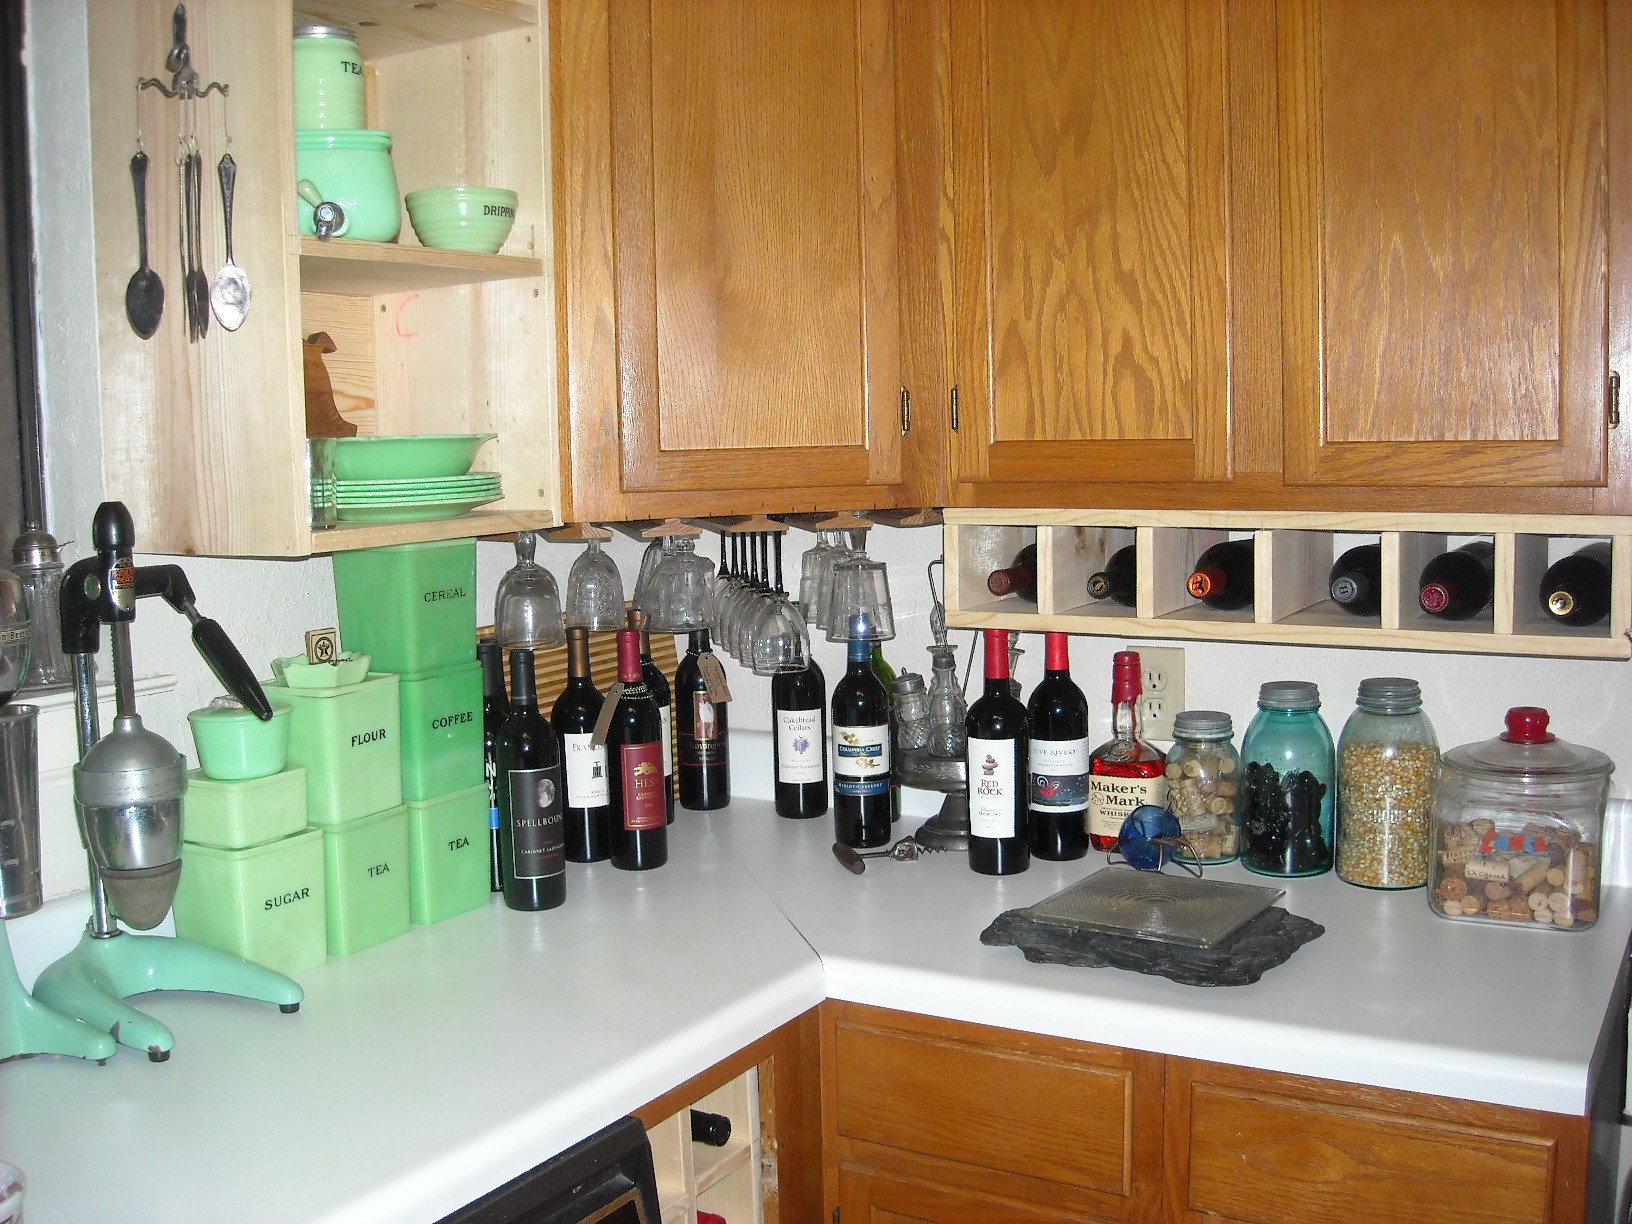
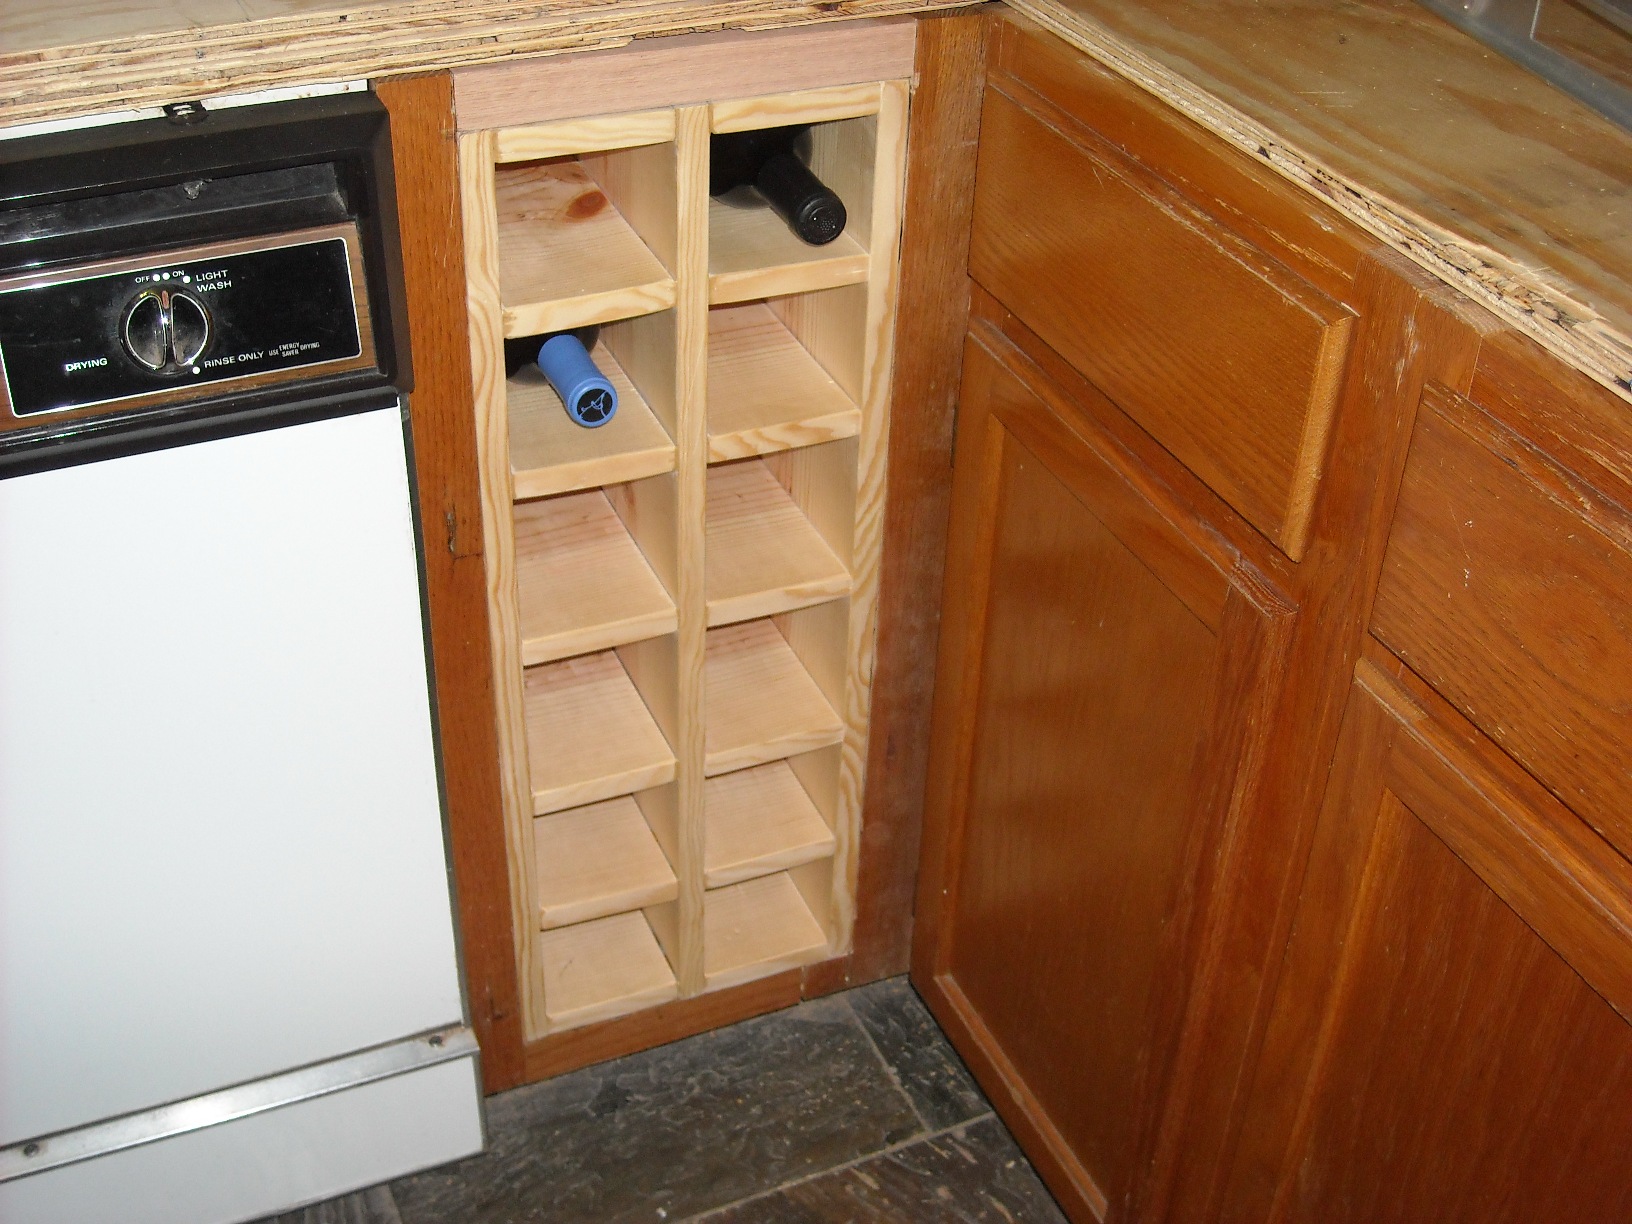
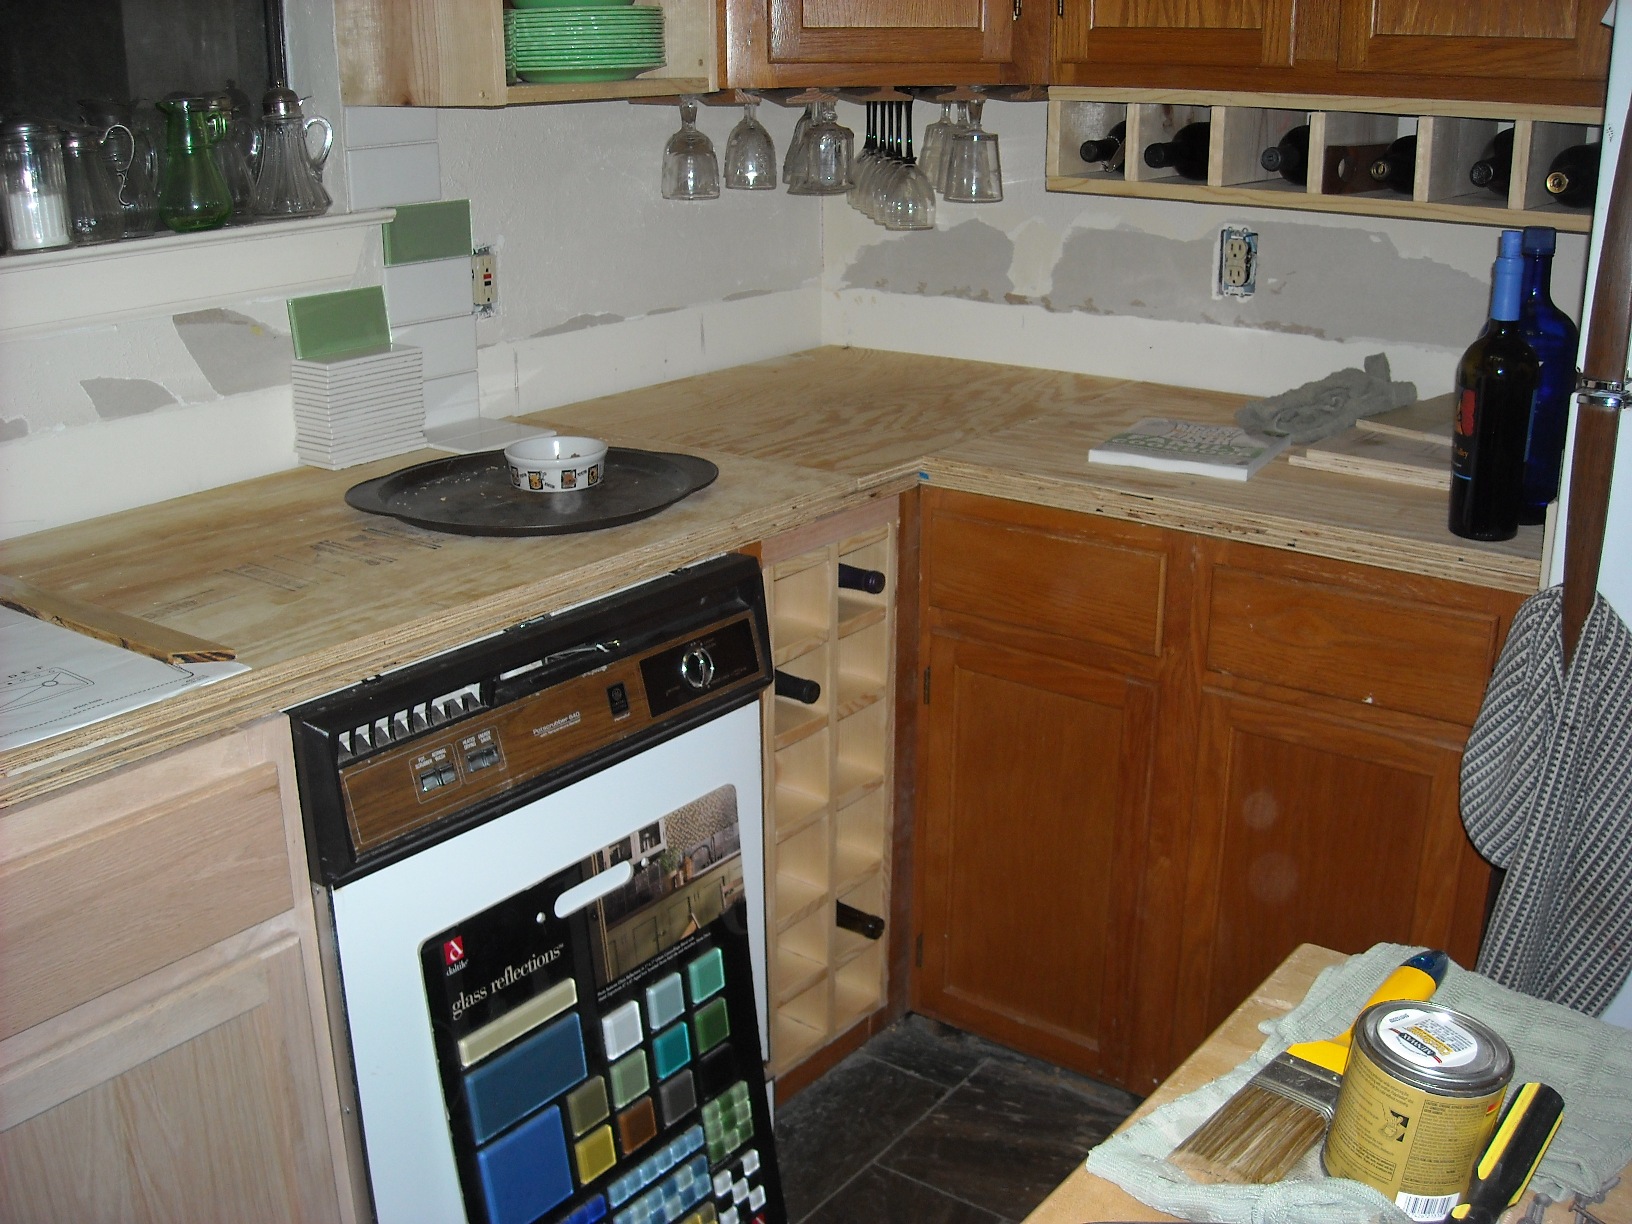
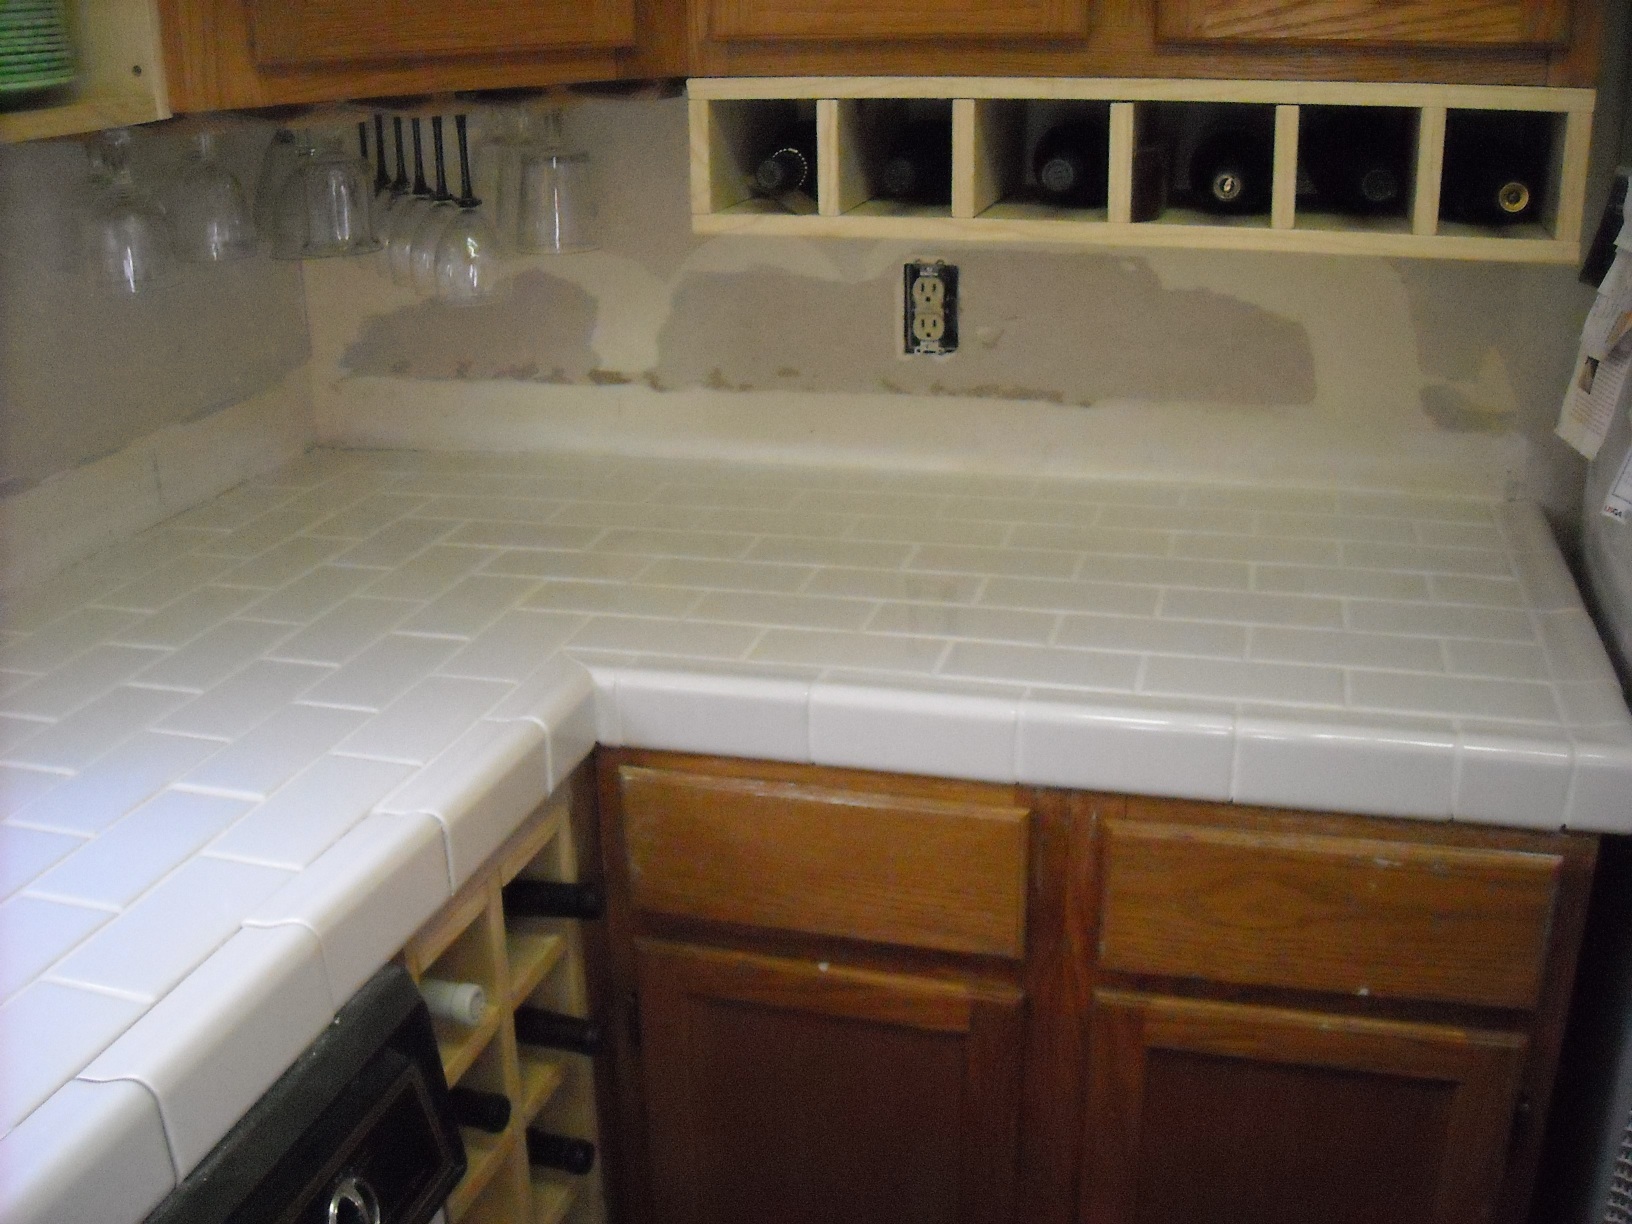
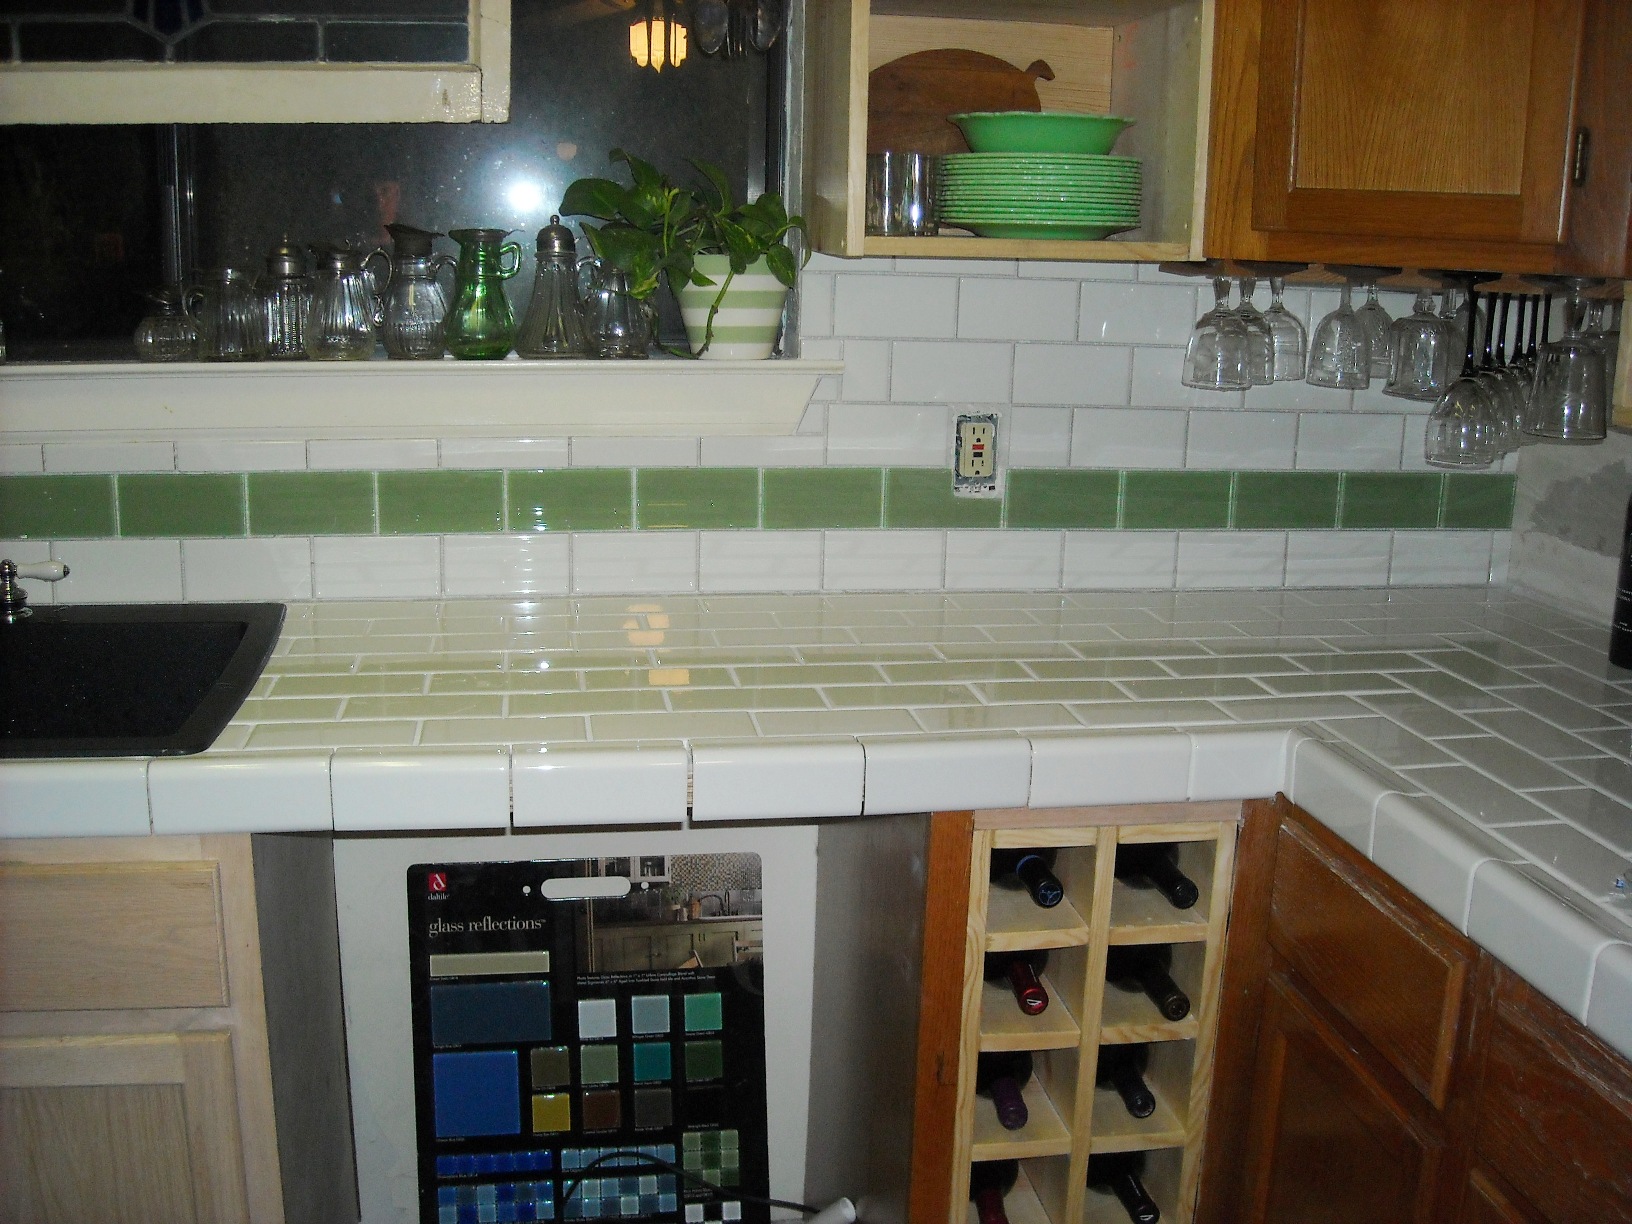
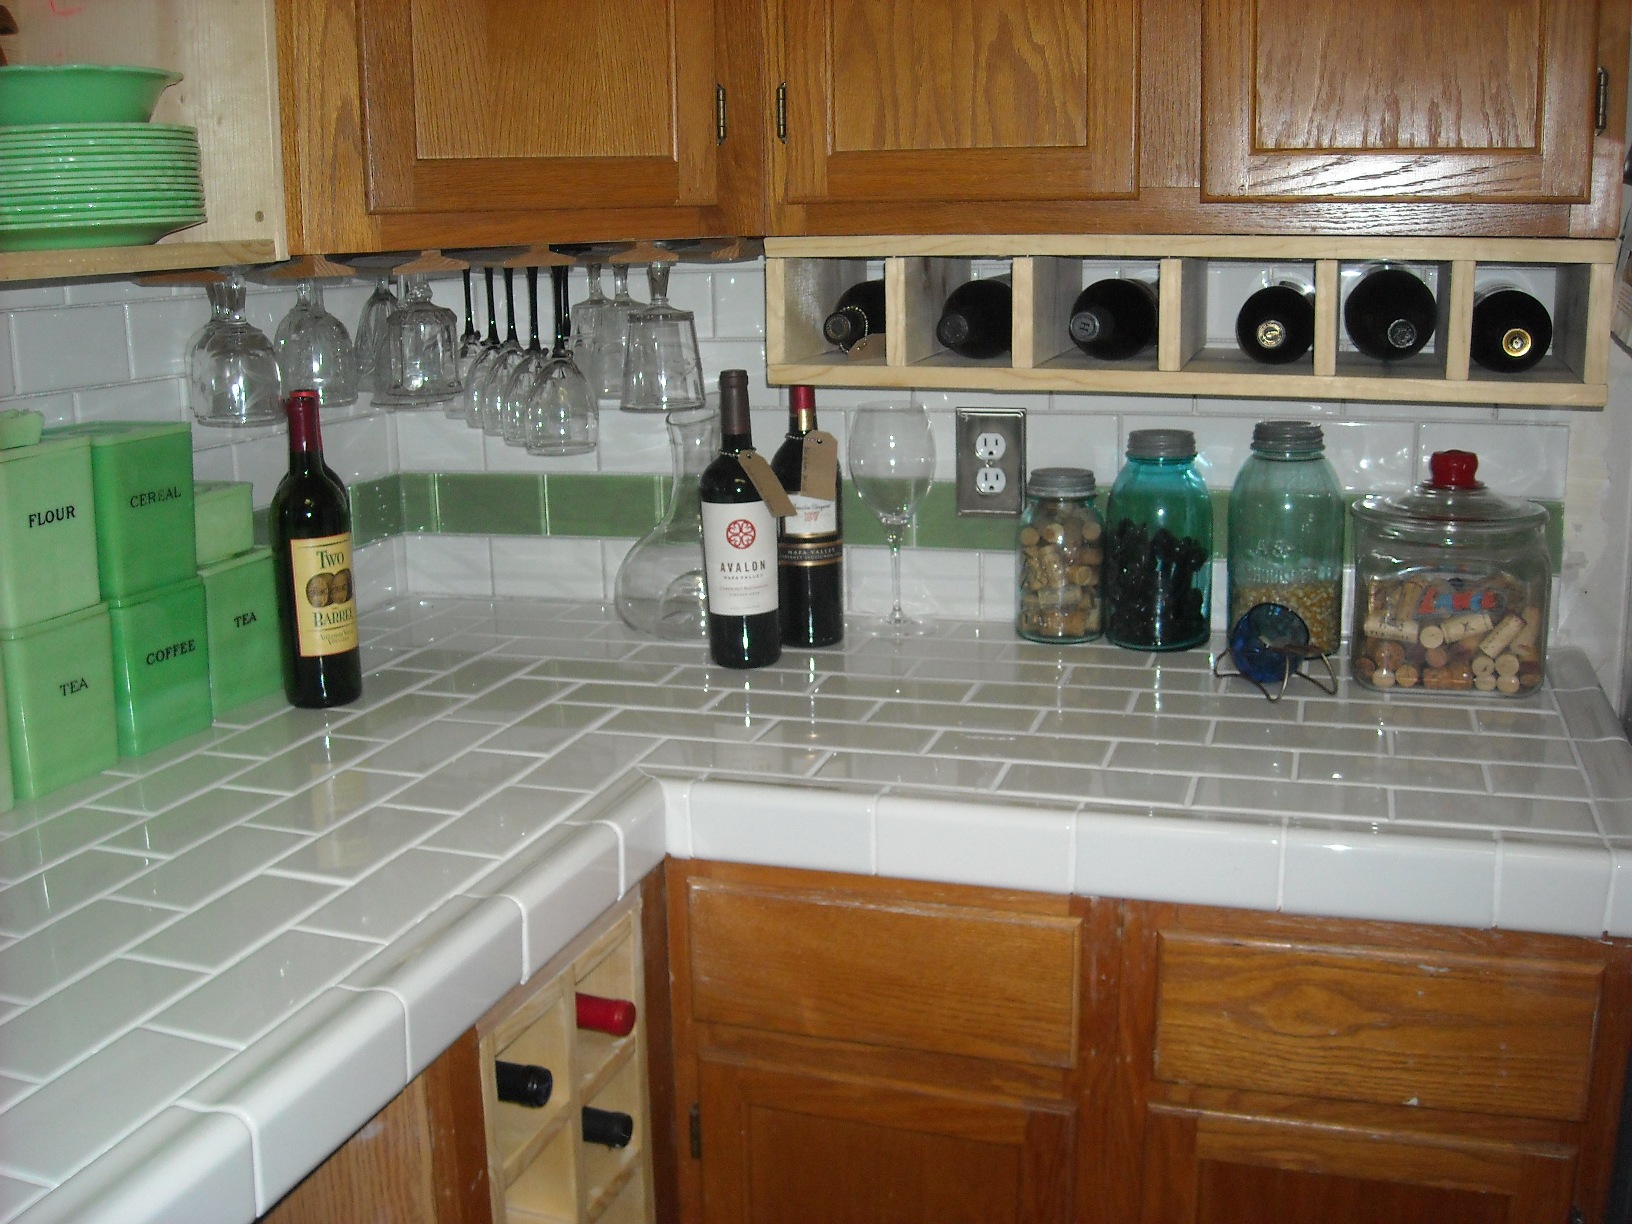
I can make a few minor mods to the kitchen that will give it a much updated look... if you find yourself at Lowe's playing with the cabinets in a sense of wonderment, then you need to update your kitchen! I had actually become quite unhappy with mine - and just these few mods, incomplete and not even painted yet made such a huge difference. I found myself just wanting to be in the kitchen. But even still for me, the whole process was brought about by the need for storage solutions. I have become quite an avid wine collector - nothing really expensive, okay just one - but the search of finding really great wines at good prices has overtaken me. With 50 or so bottles covering my kitchen counter, stashed in my pantry - not only would I build a small wine cellar under my stairs, but I would add a couple of built-in wine racks in the kitchen. I first built a new wine glass holder under the corner cabinet since mine was where the smaller wine rack goes.
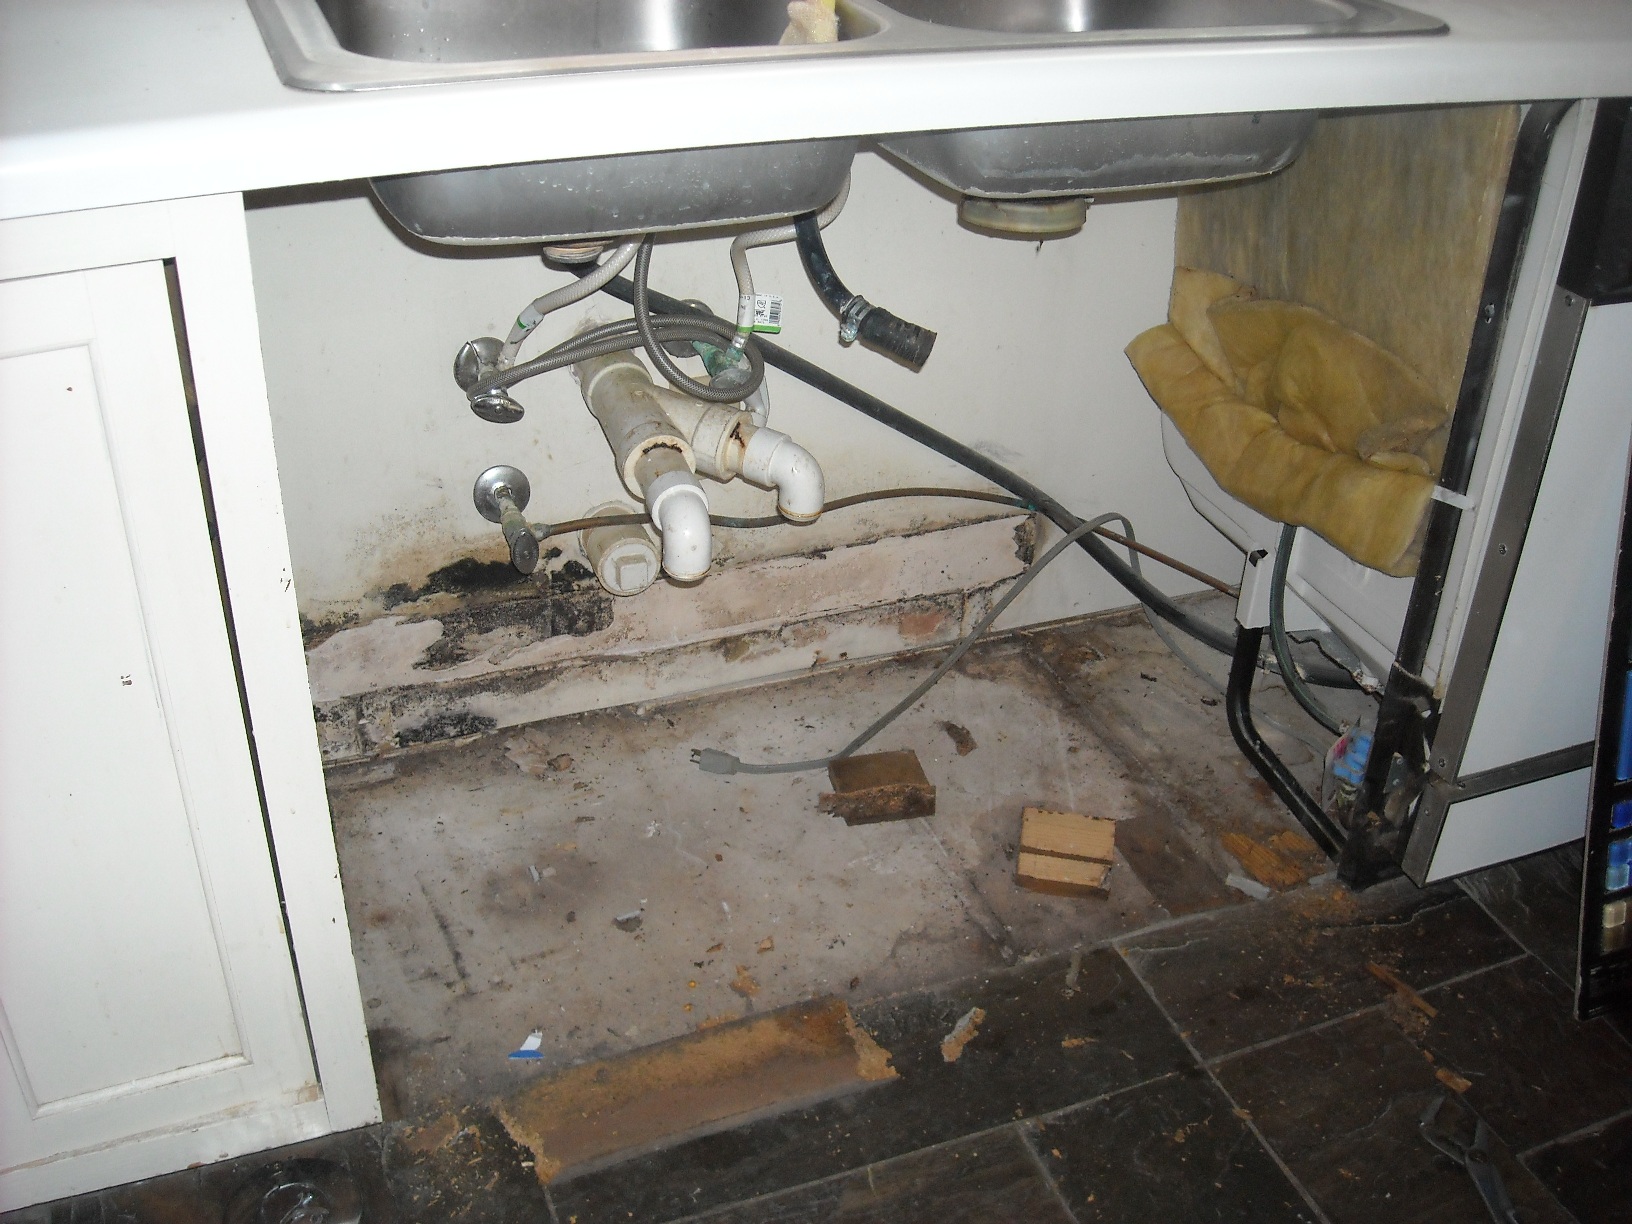
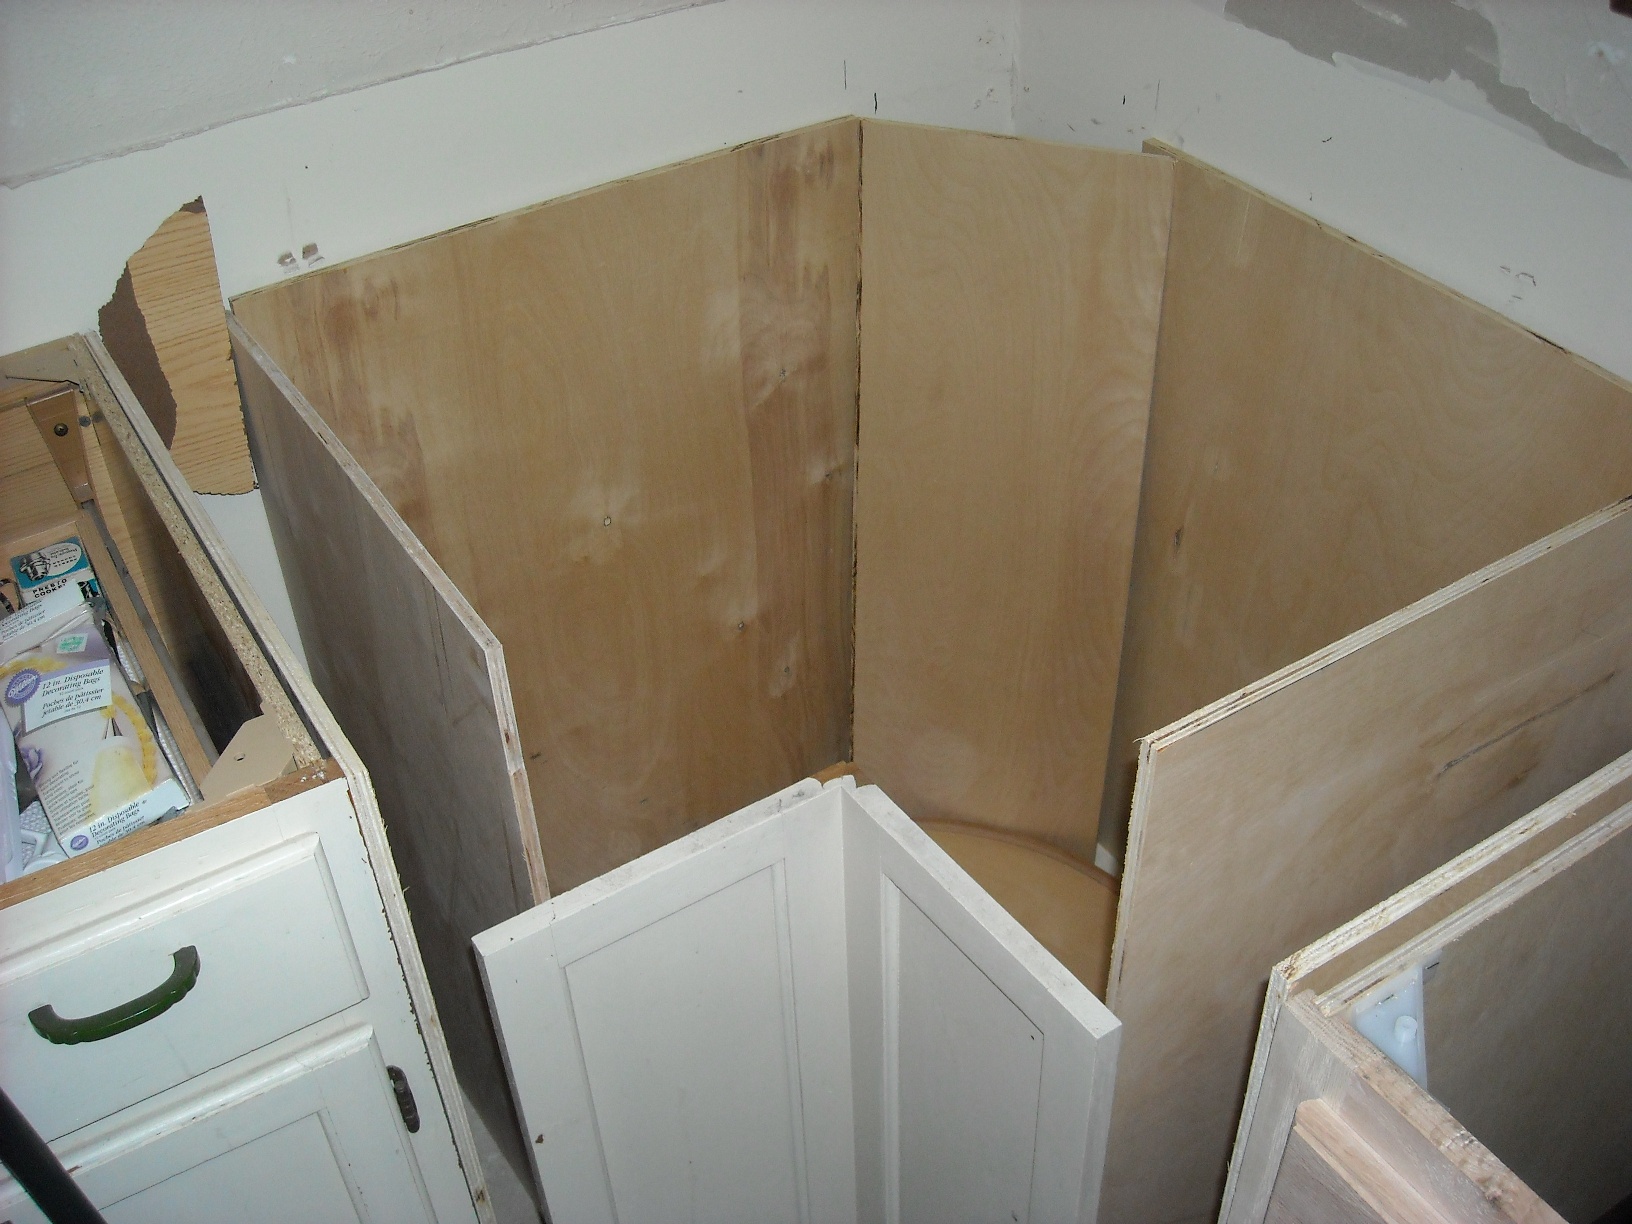
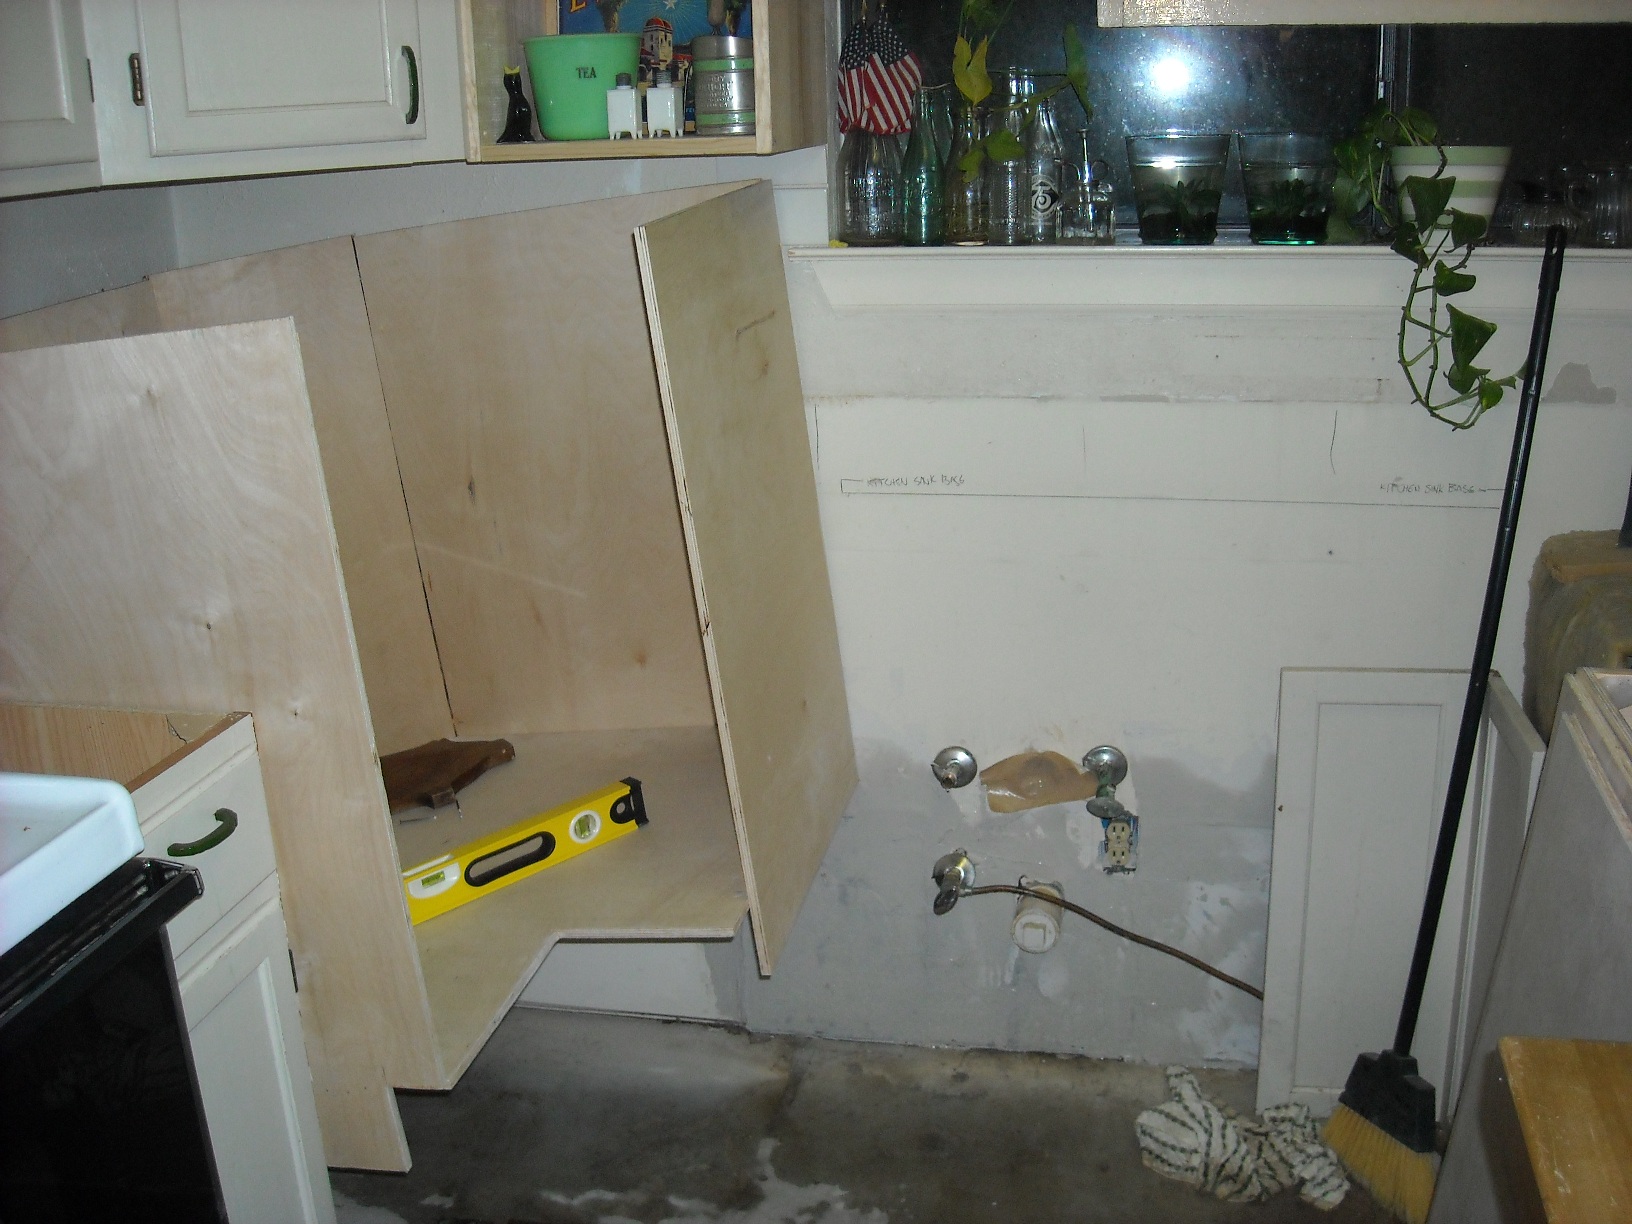
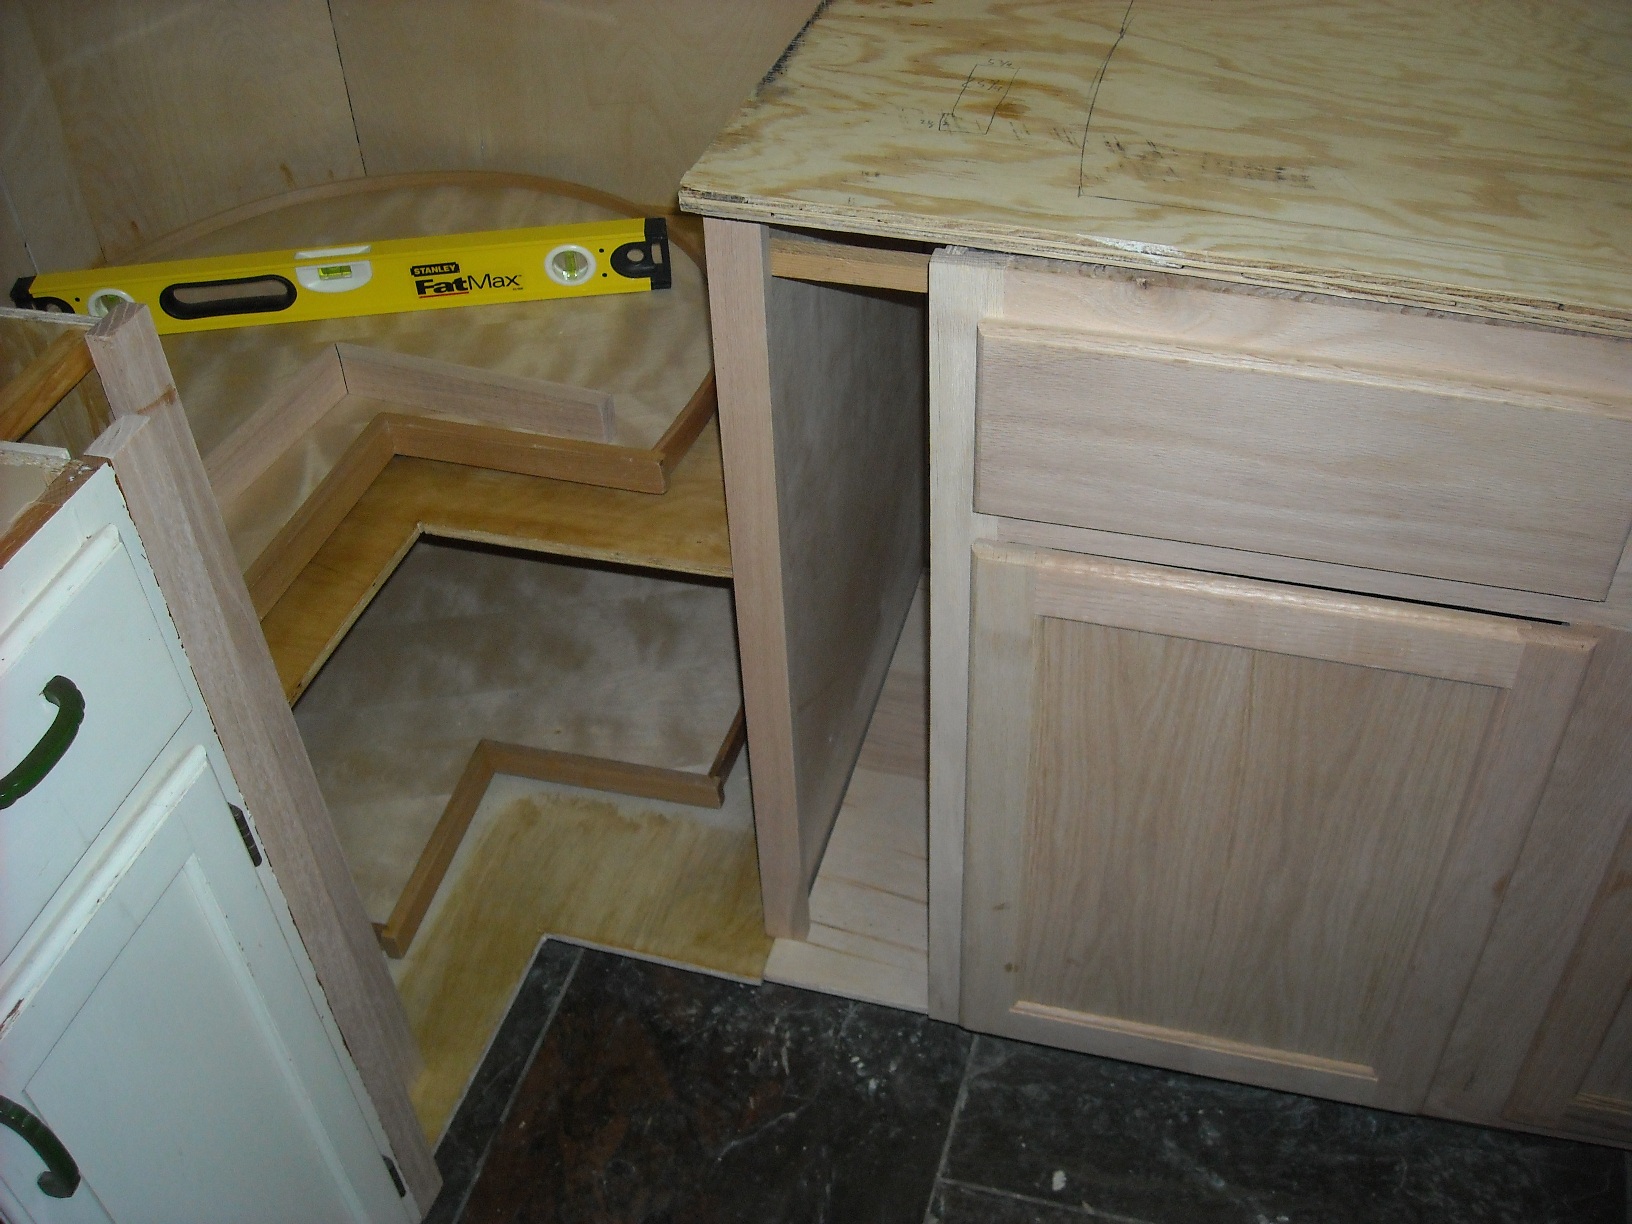
Moving on to the real rennovations - first obstacle, getting everything off the counter and stacked somewhere in my house... The first counter piece comes off, the old rotten sink base gets scrapped, and I rip out the first blind corner to reveal the absence of any substructure. Oh well, I wanted to build som ecabinets anyway!

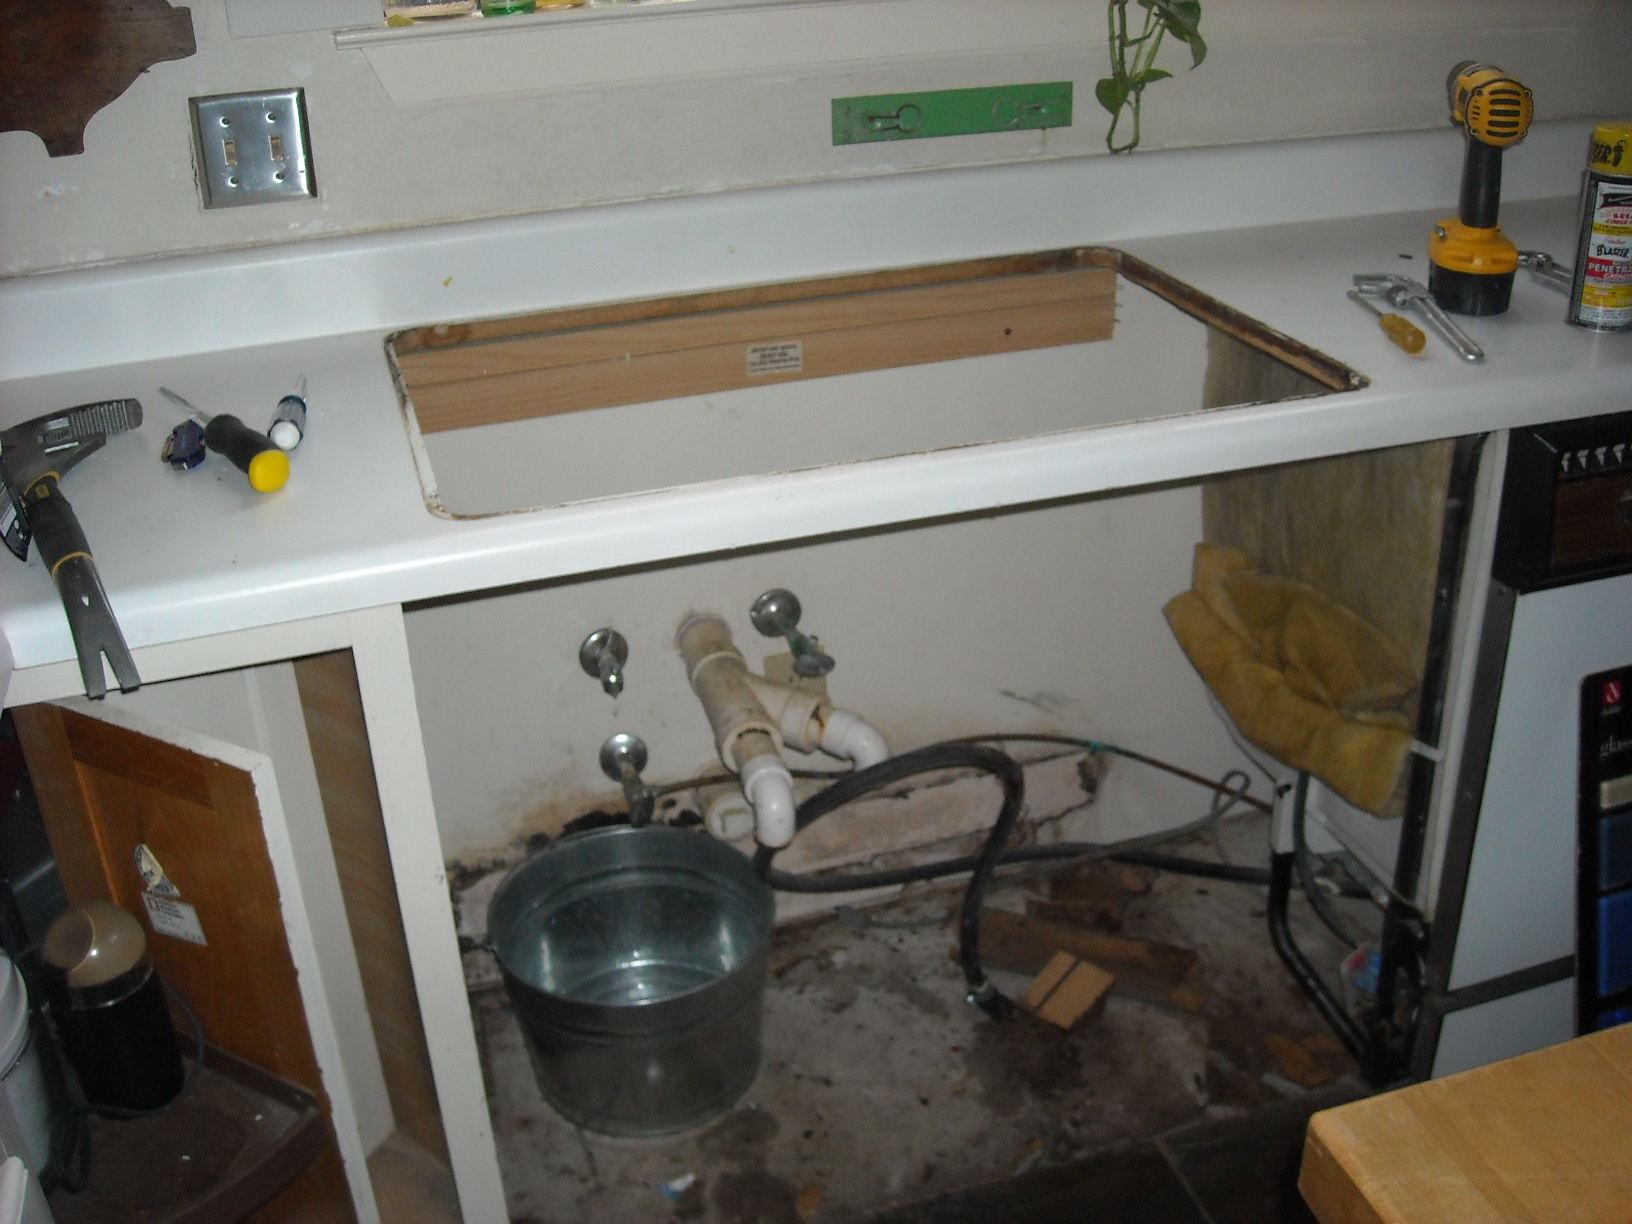
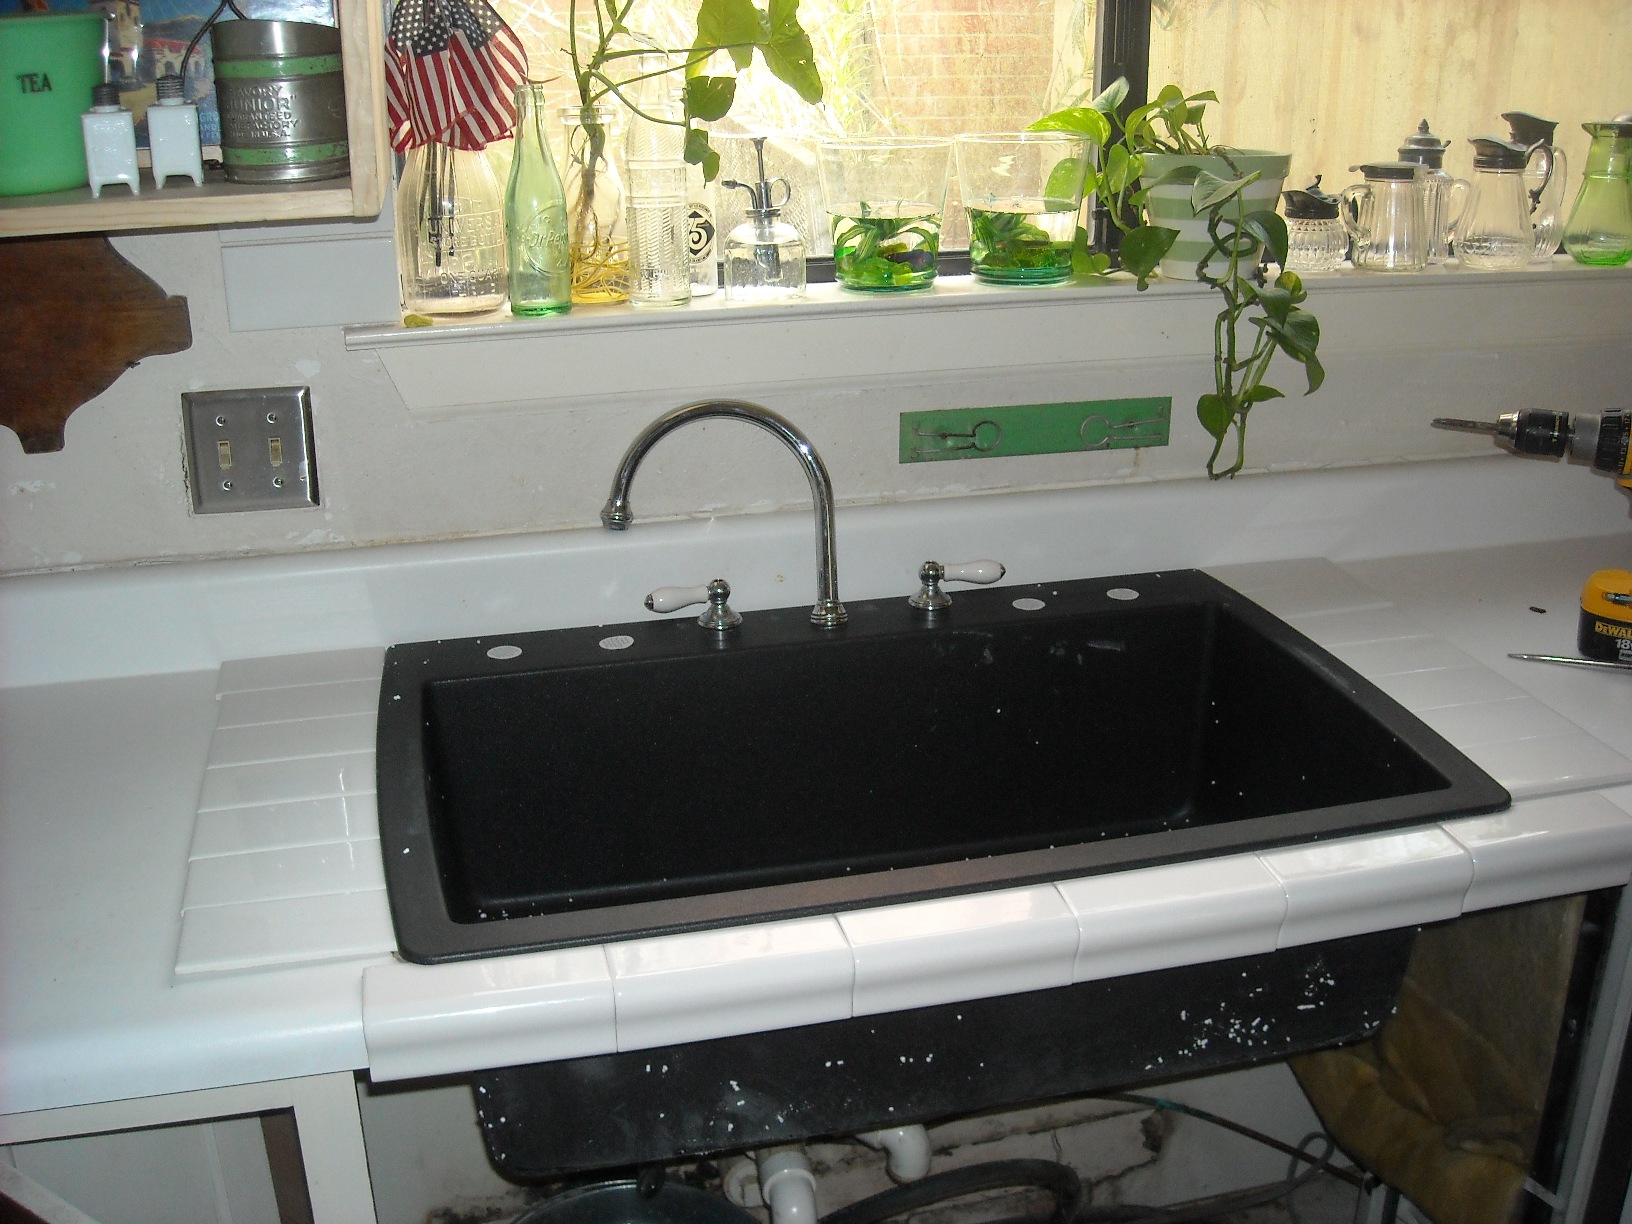
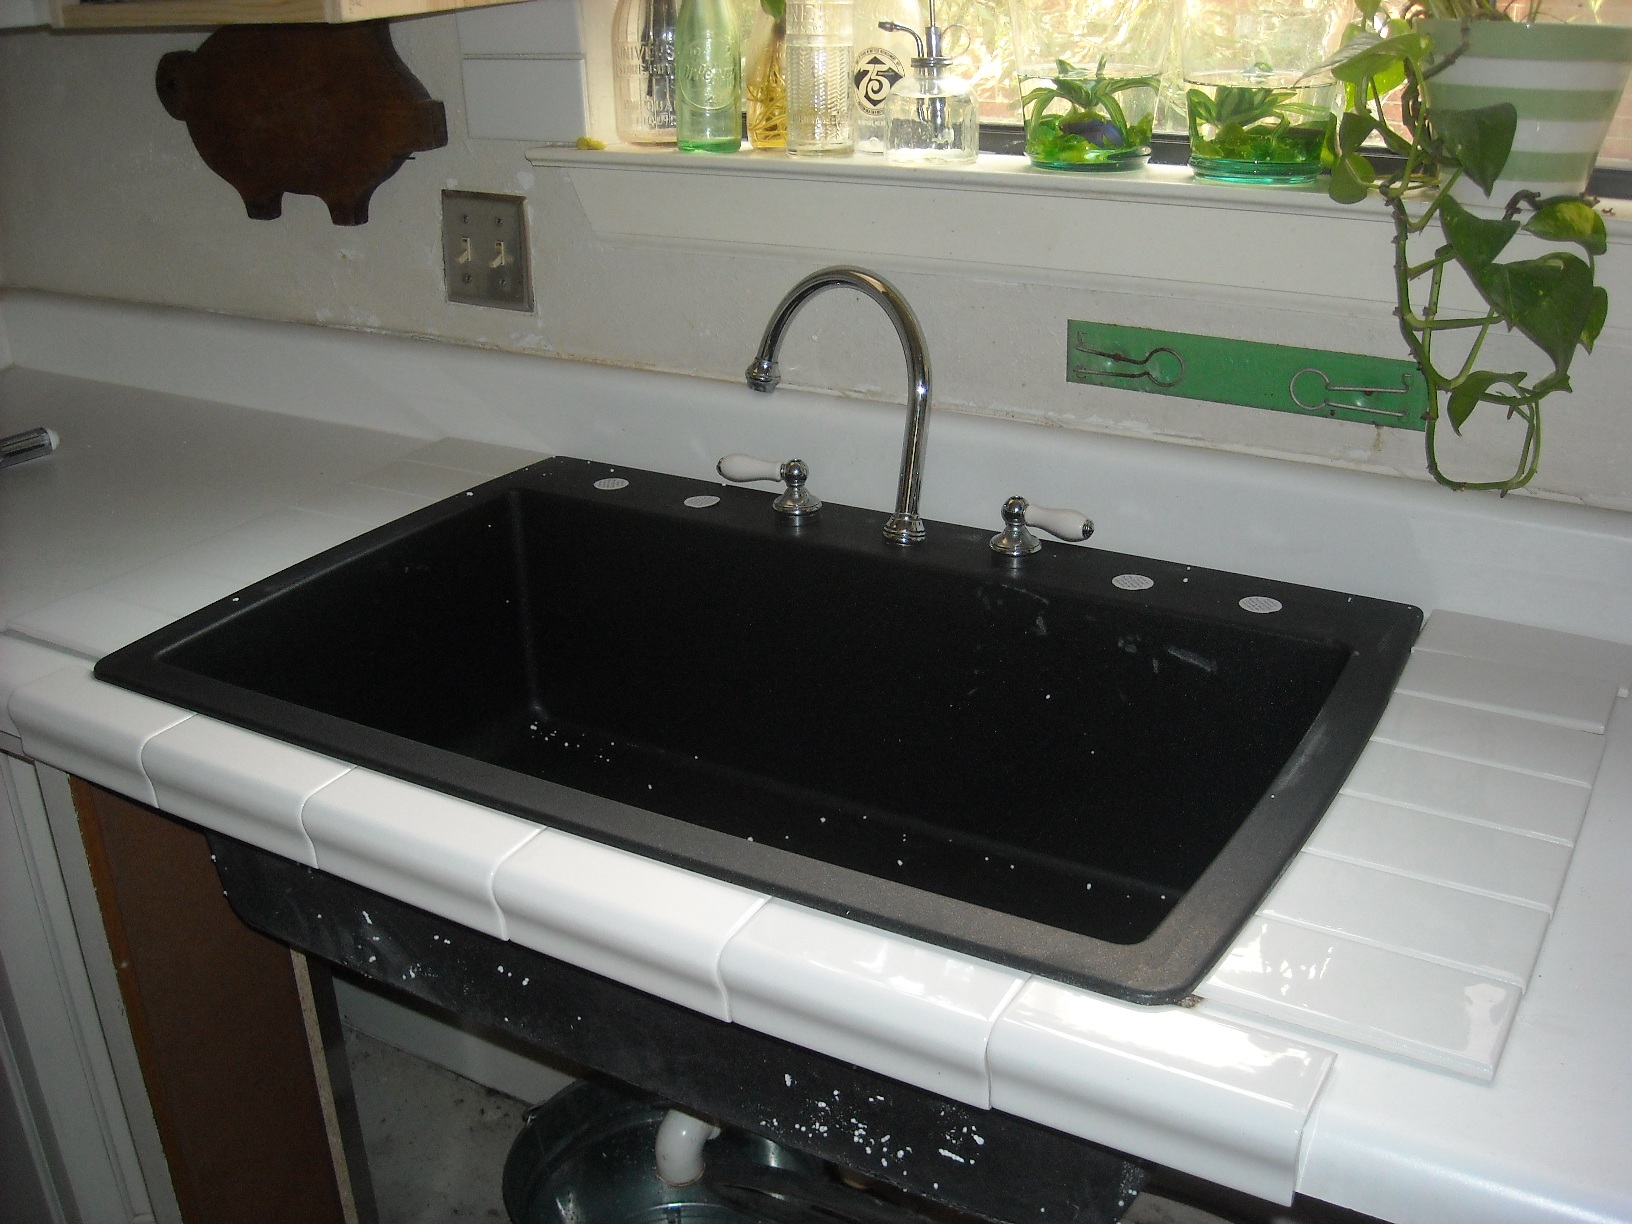
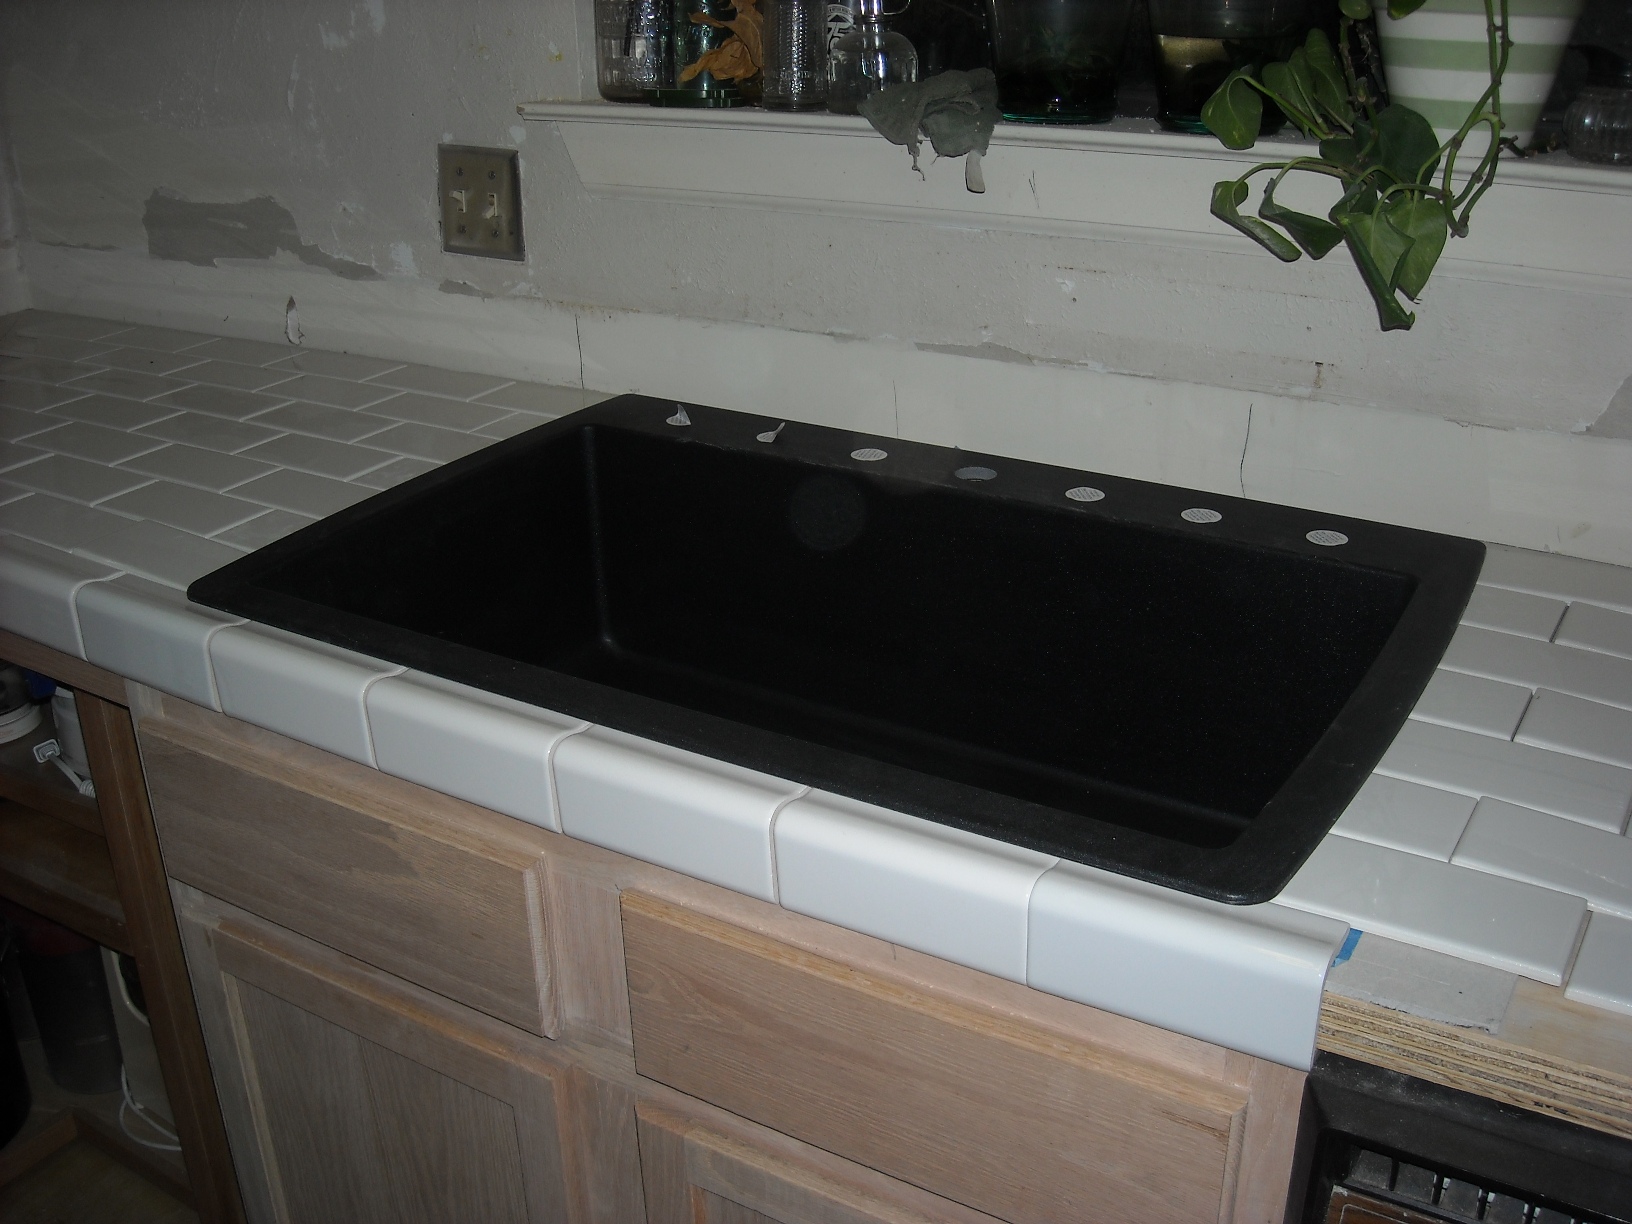
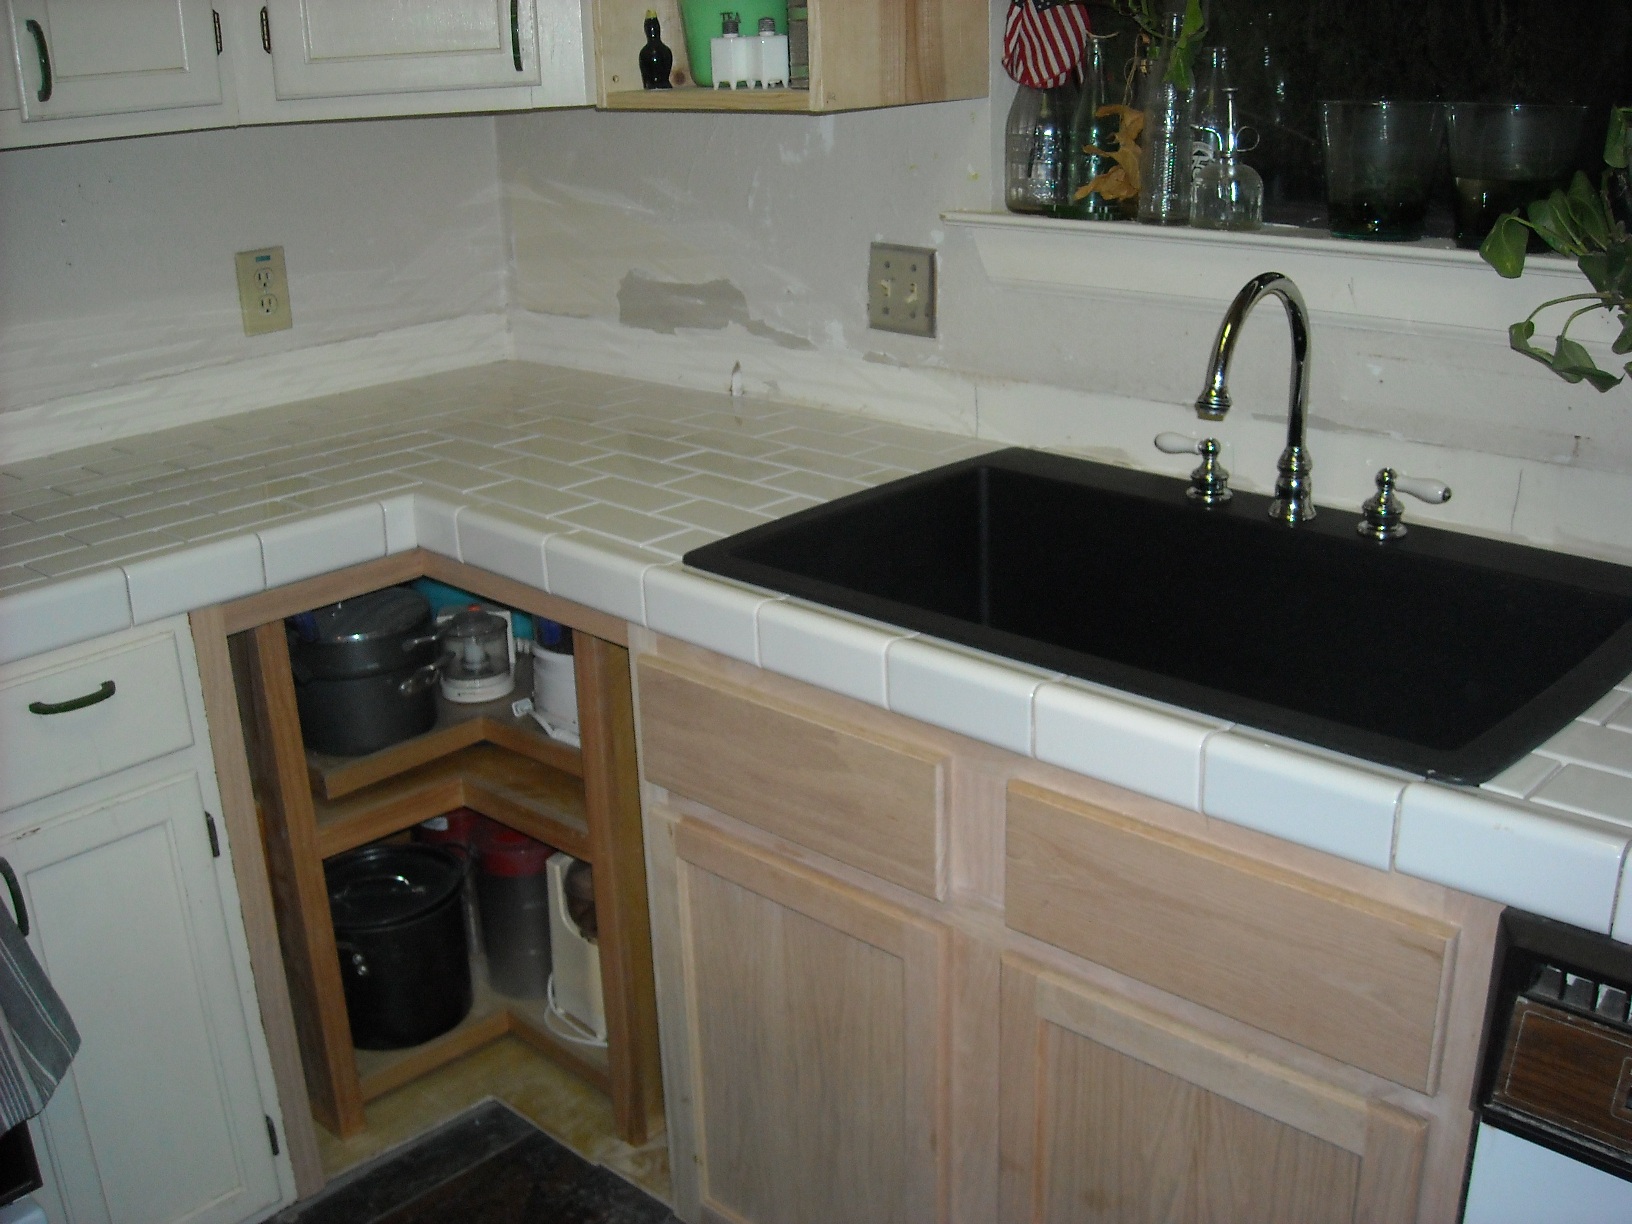
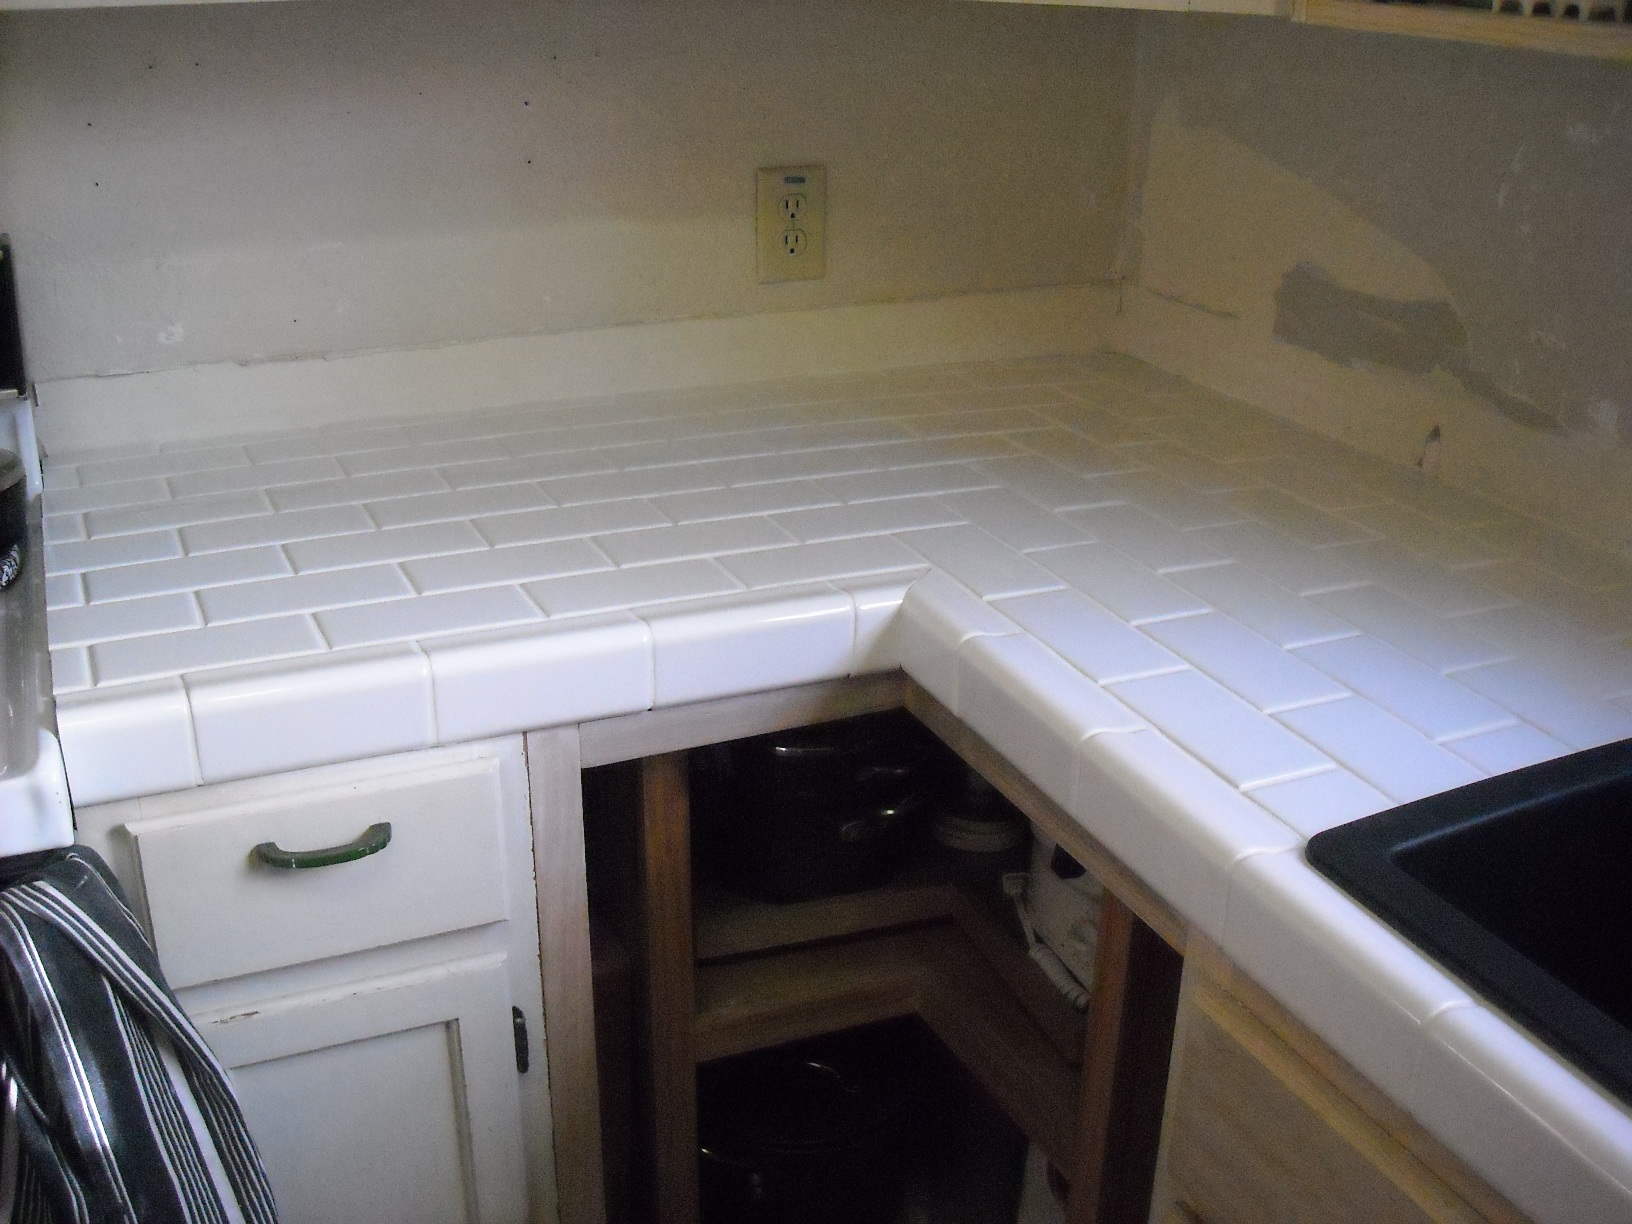
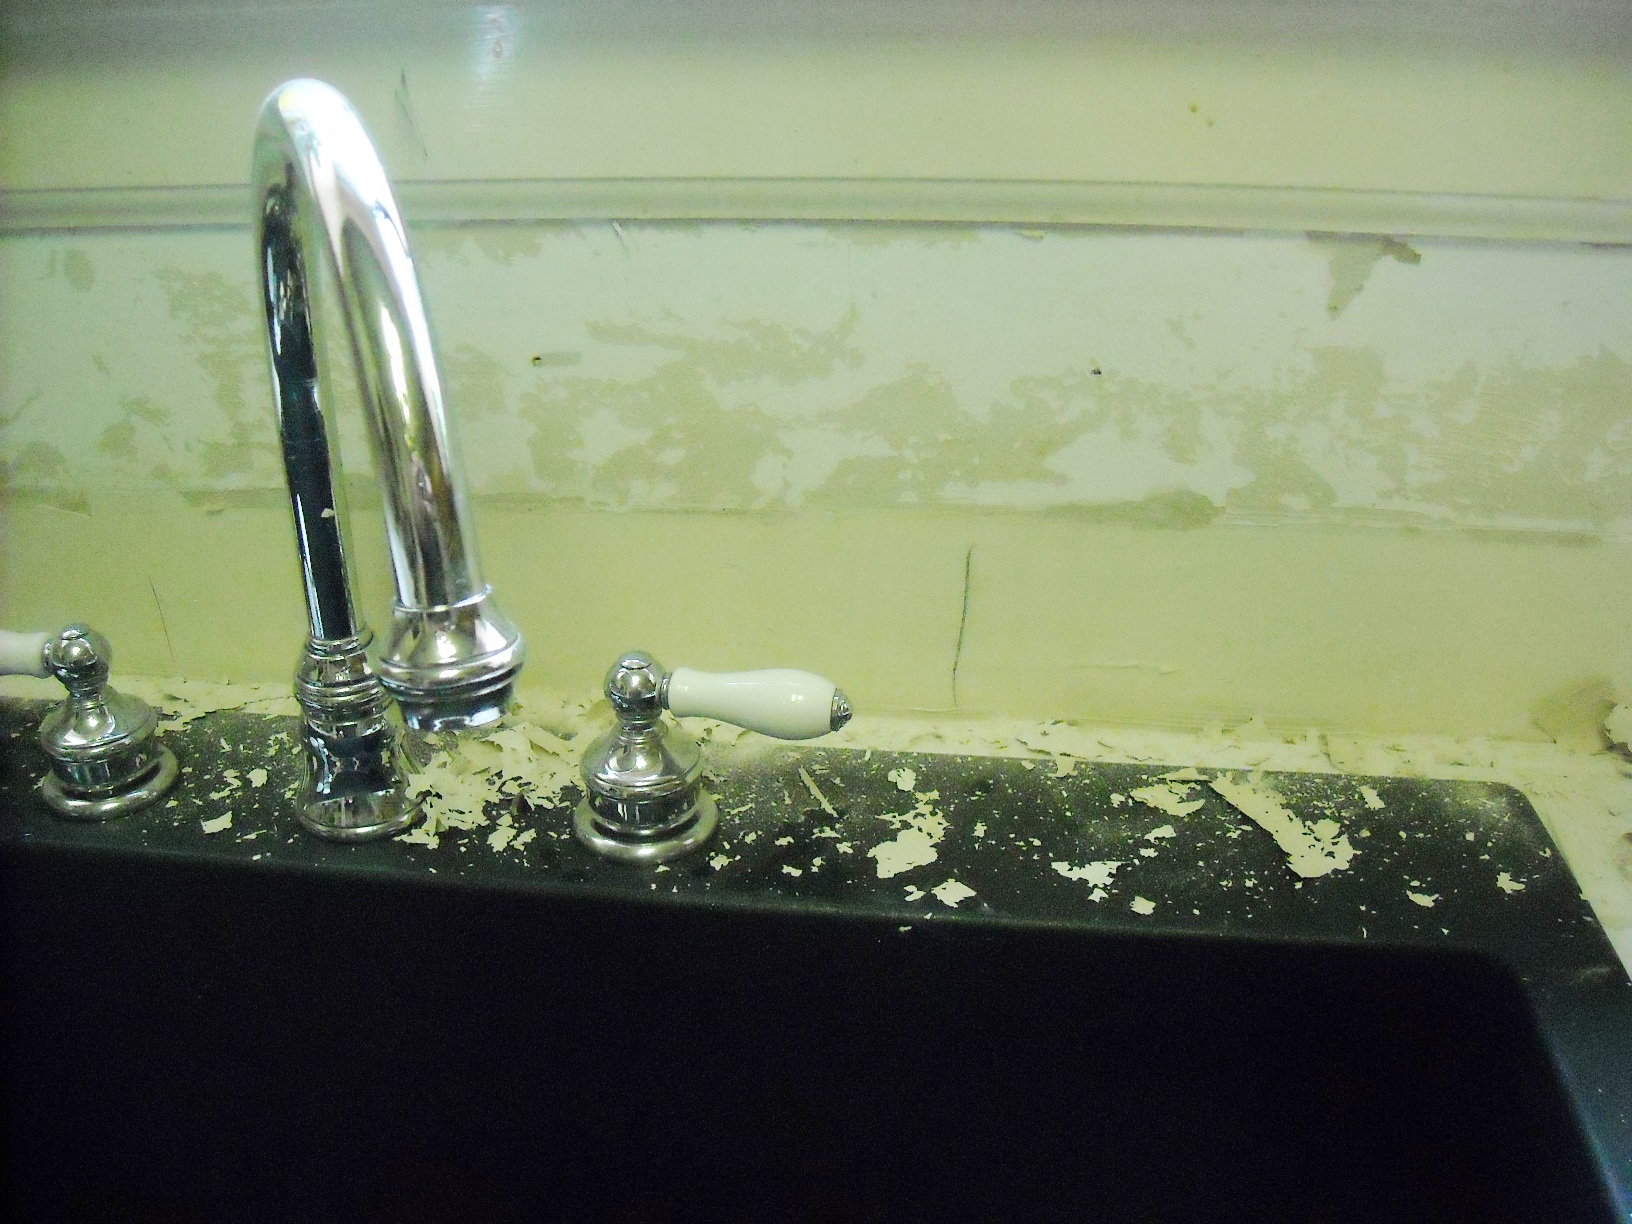
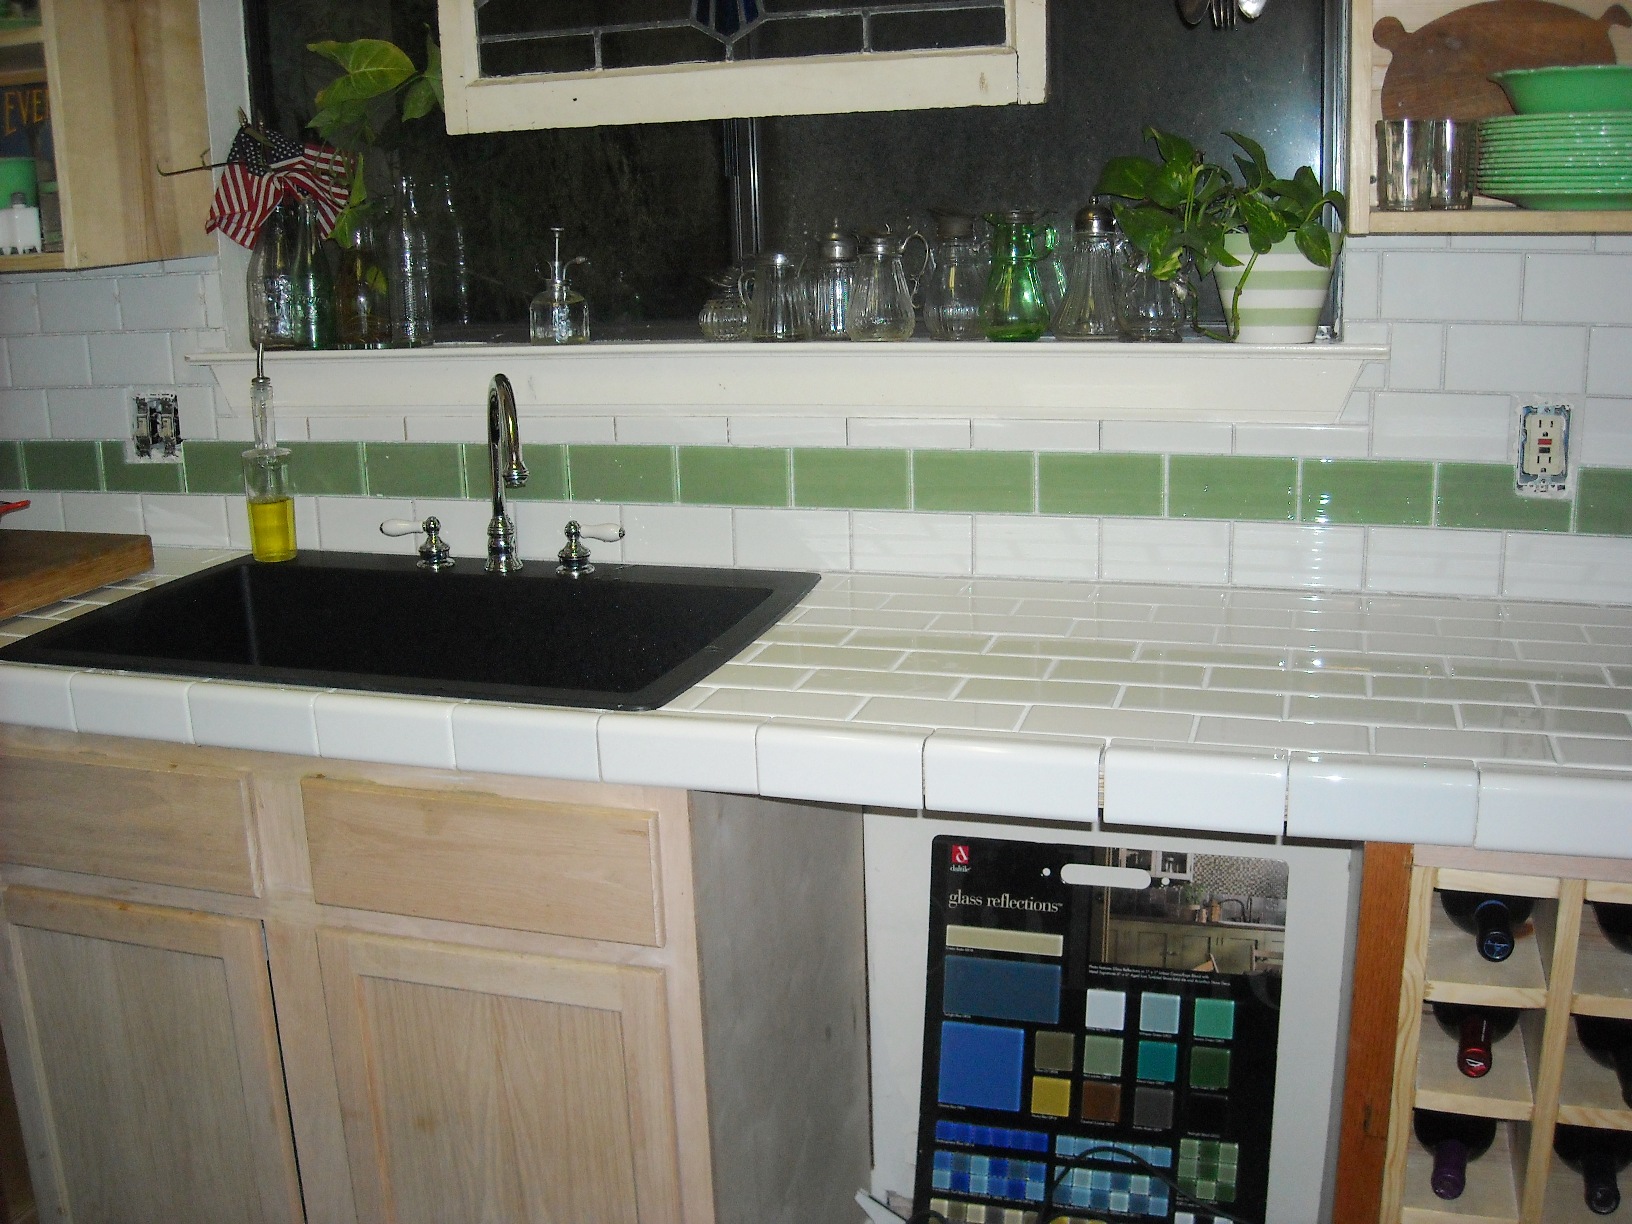
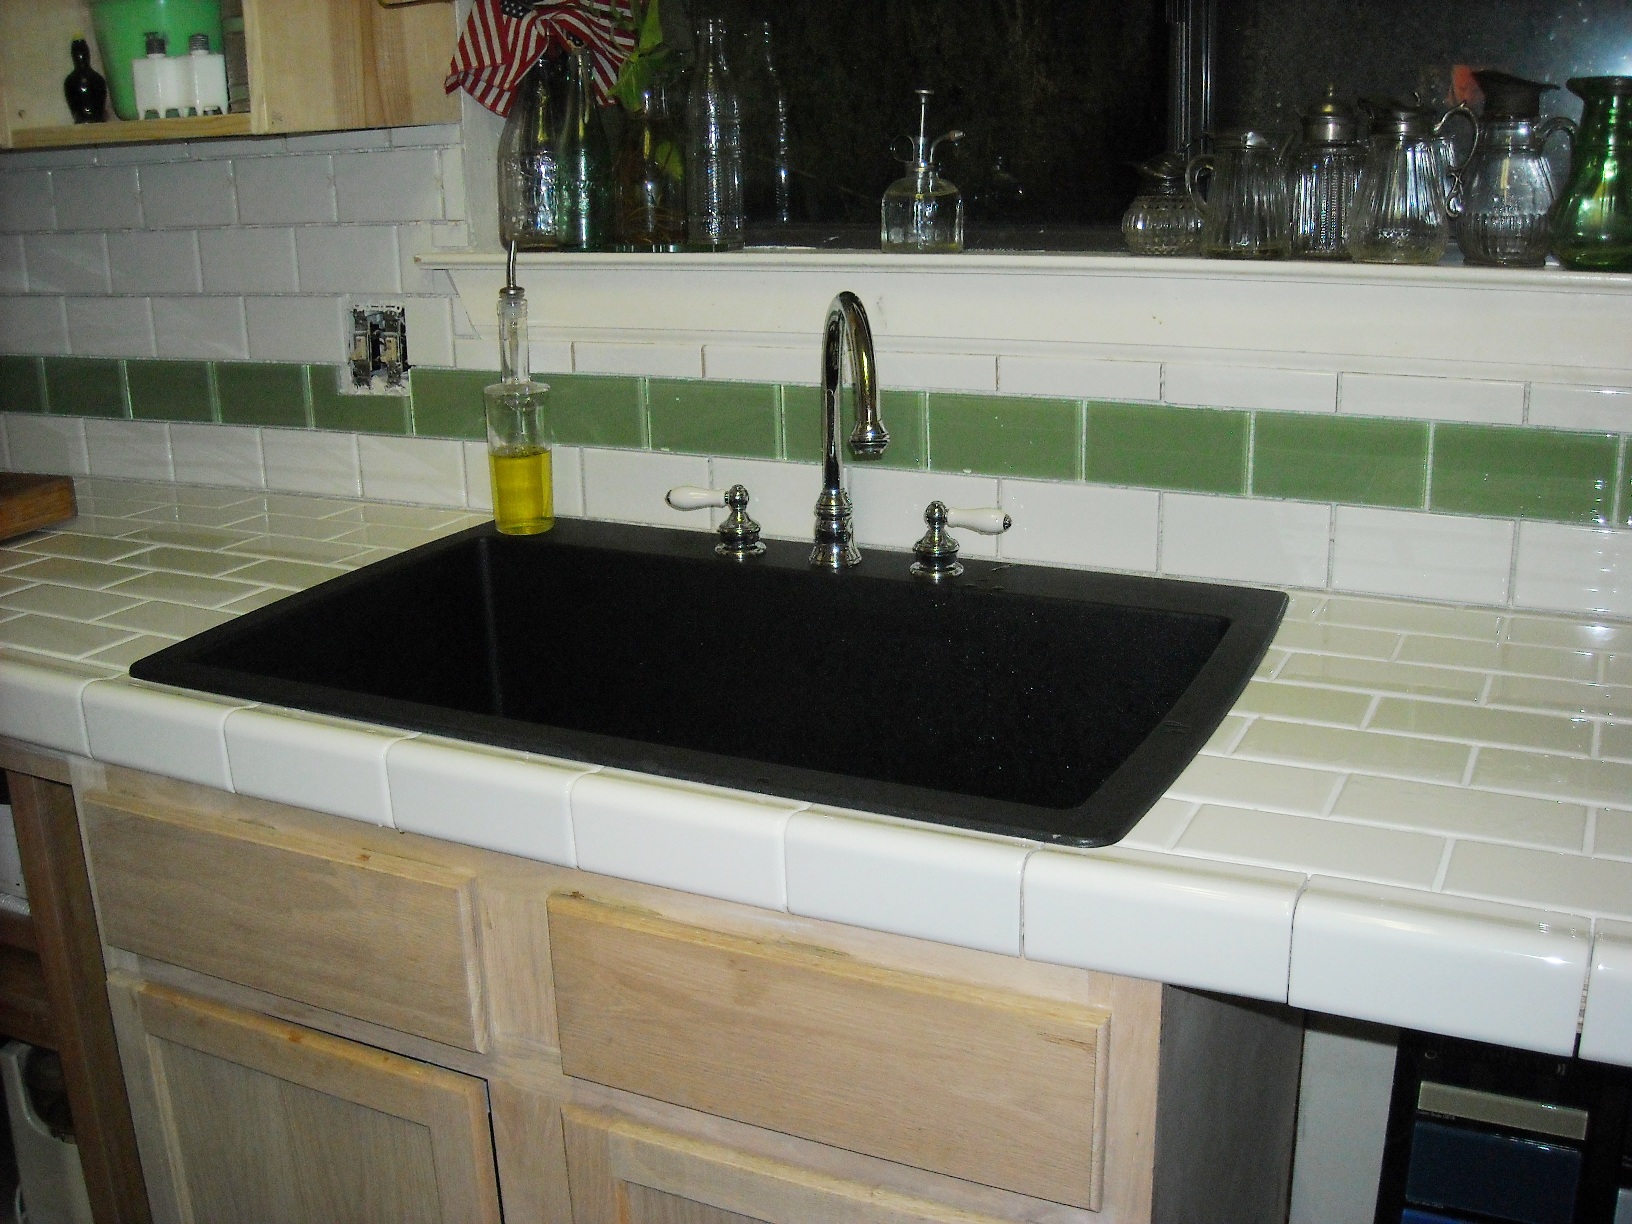
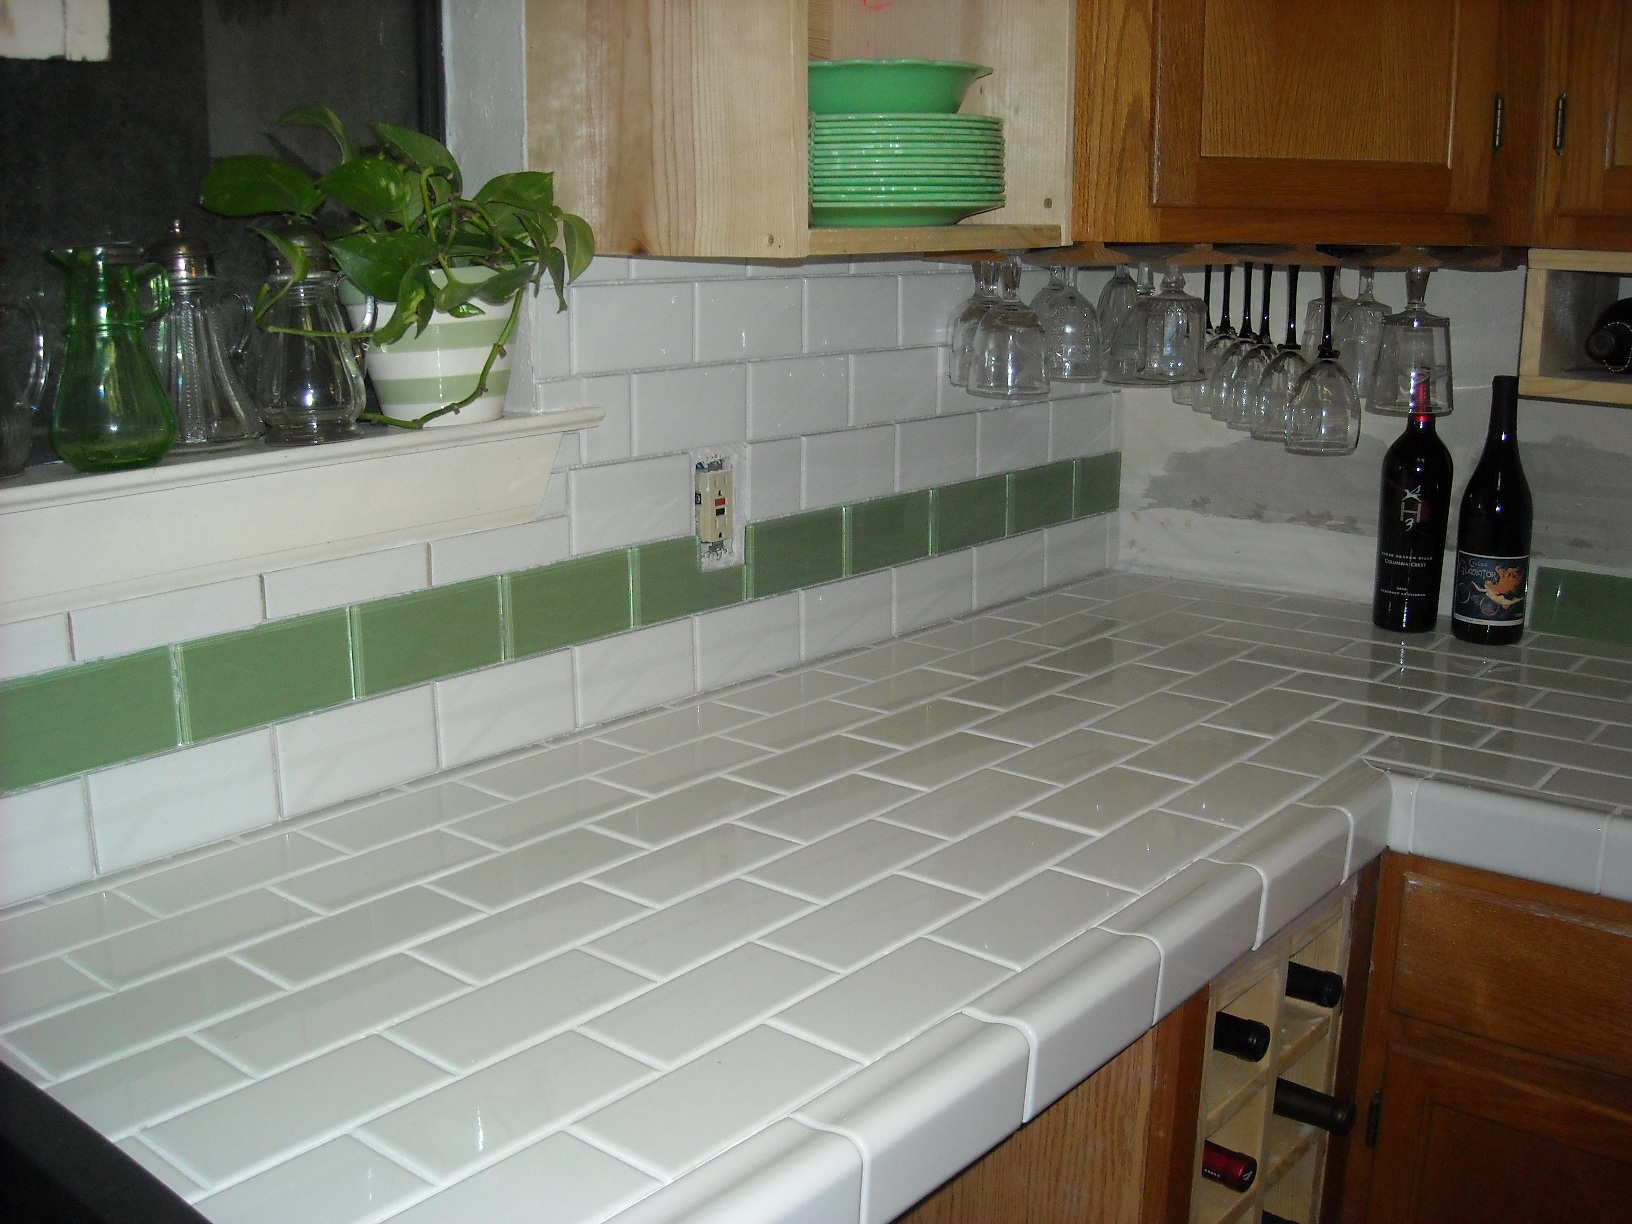
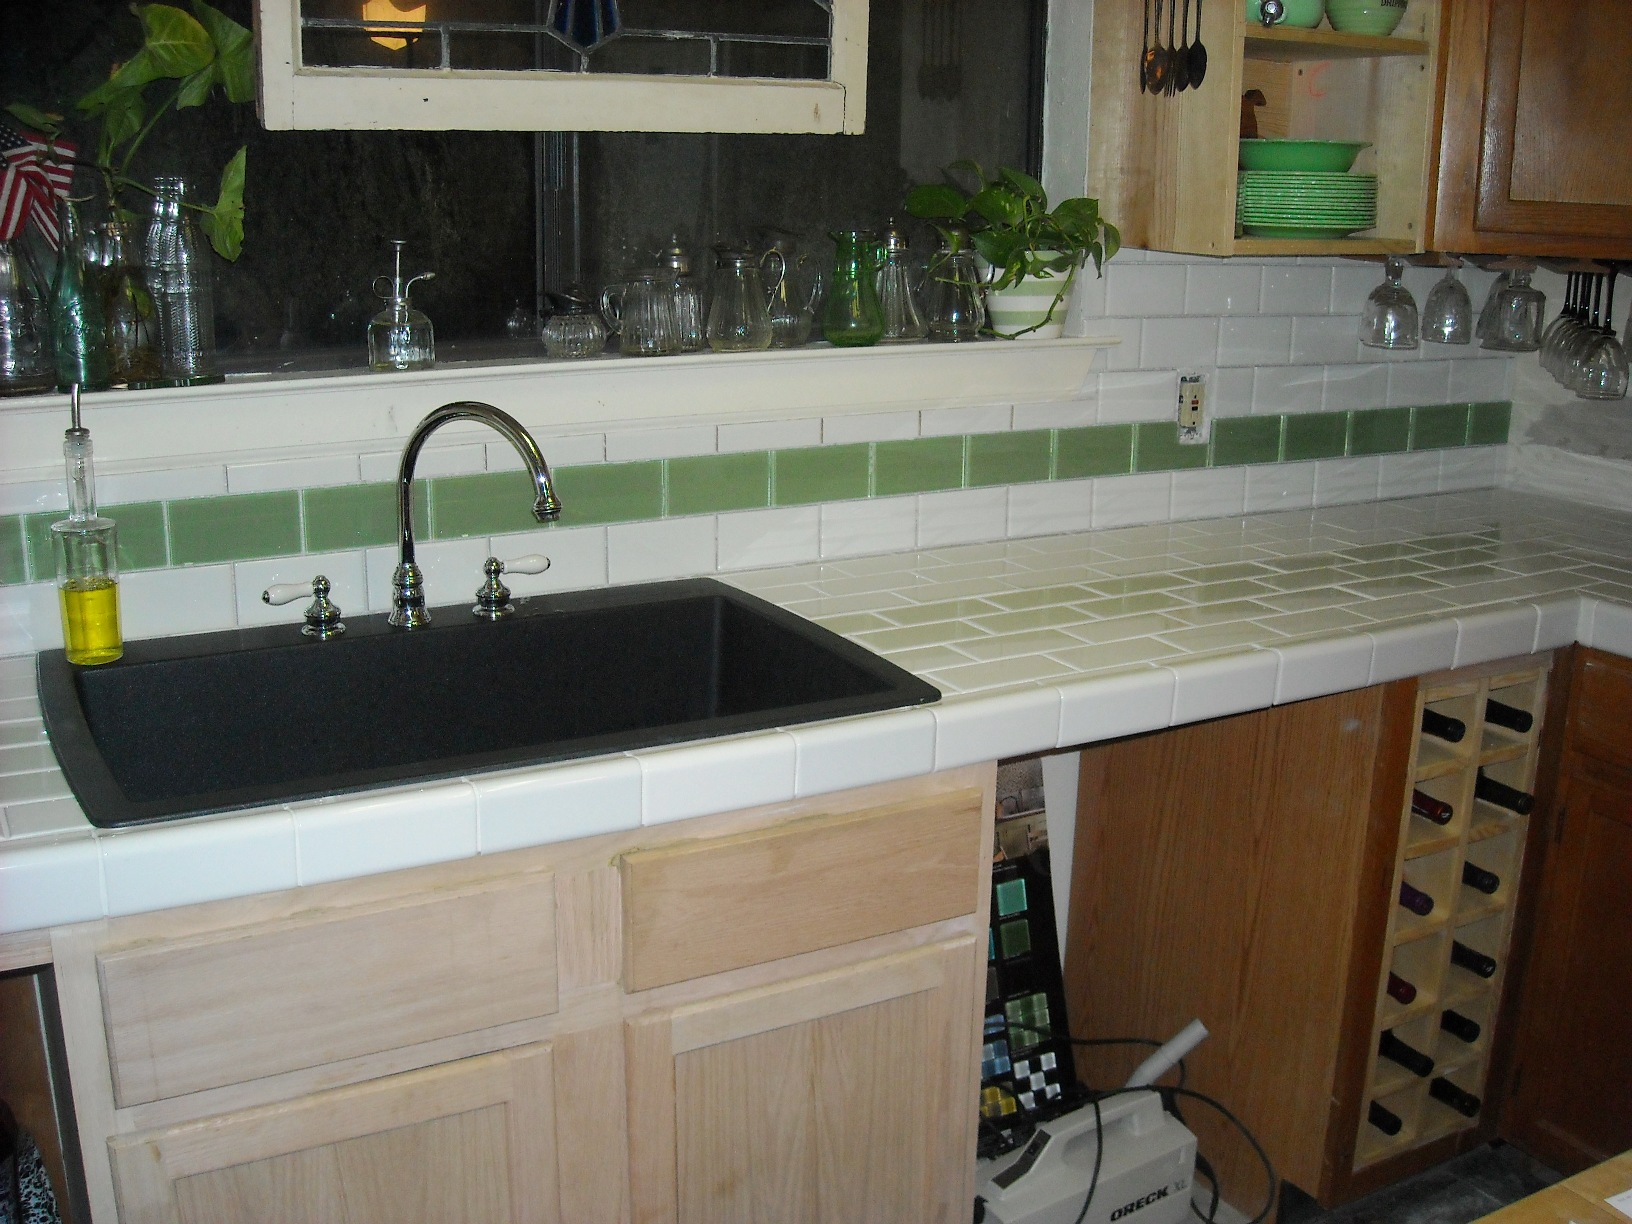
A brief look of what it will look like... I will probbaly need to get a larger faucet - but like the white porcelin handles tieing into the white subway tile.
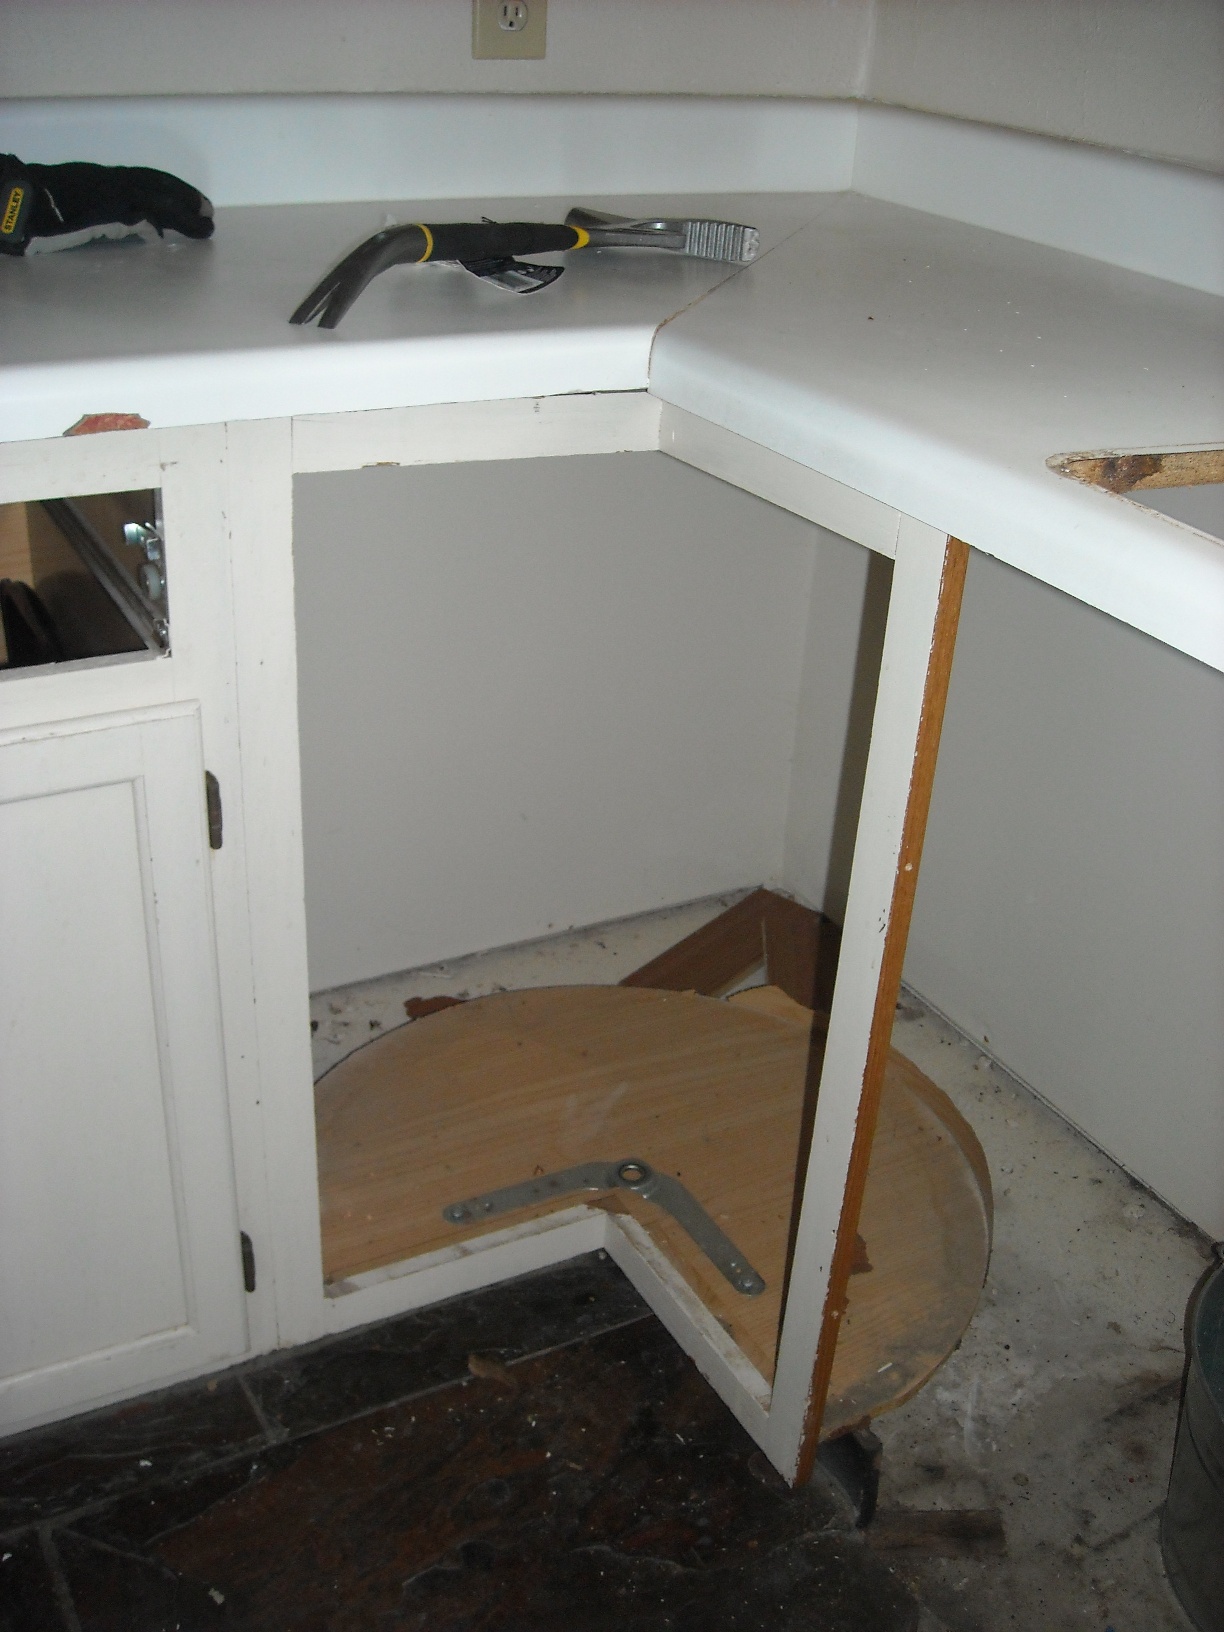
Counters start really coming off... and I continue to do mock-ups and fit checks of what I need to build. Really thought there were cabinets back in there...


I can say in hind sight, it would have been soooo much easier to just build/buy all new cabinets. But that was out of scope now - having lost much of my week off, now I am just trying to get my kitchen back. Cleaning cat bowls in the bathroom sink and my weekend morning trips to Waffle House are all growing old. So, building new cabinets to fit in existing spaces - so I got this one in and it didn't quite fit... an hour with a rubber mallet, removal of valves, some body weight influence, and finally removing the adjacent cabinet to gain temporary clearance gets that one in! If I never see another rubber mallet as long as I live, it will be too soon.... oh and my arm was pretty sore after that one!
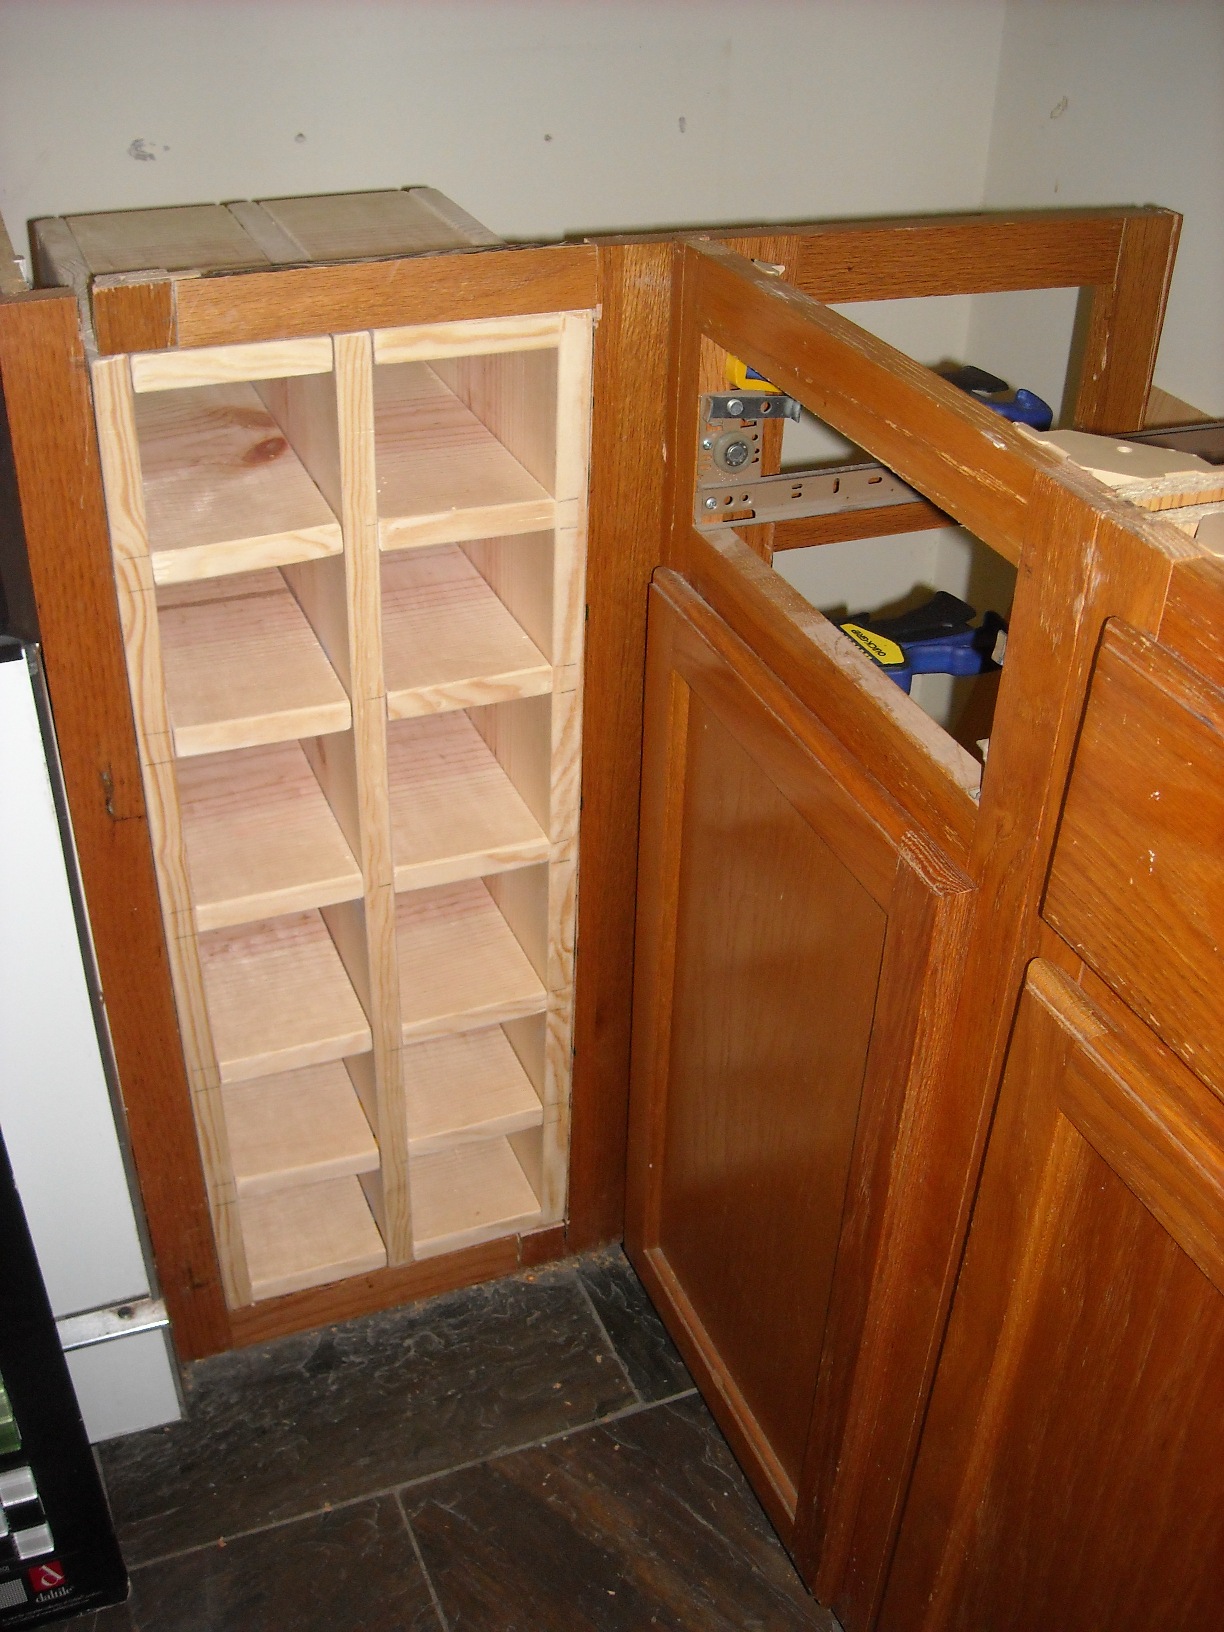
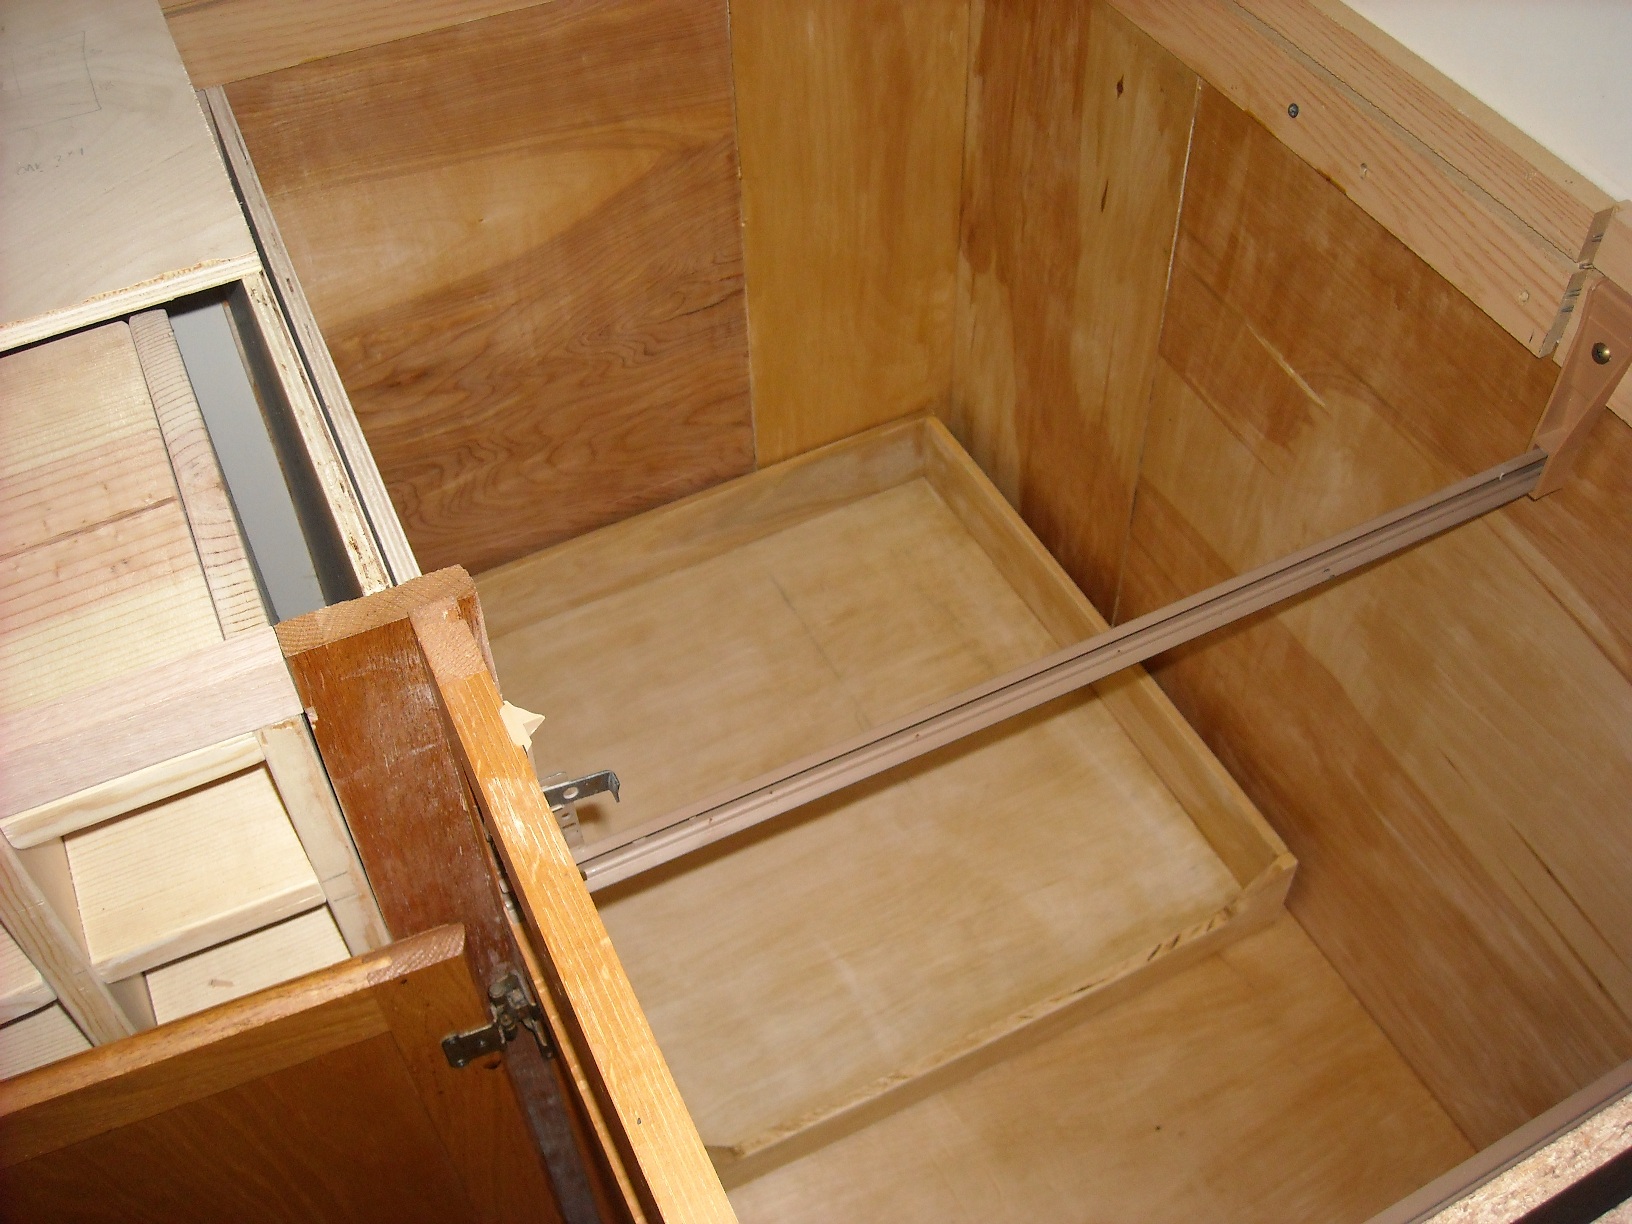
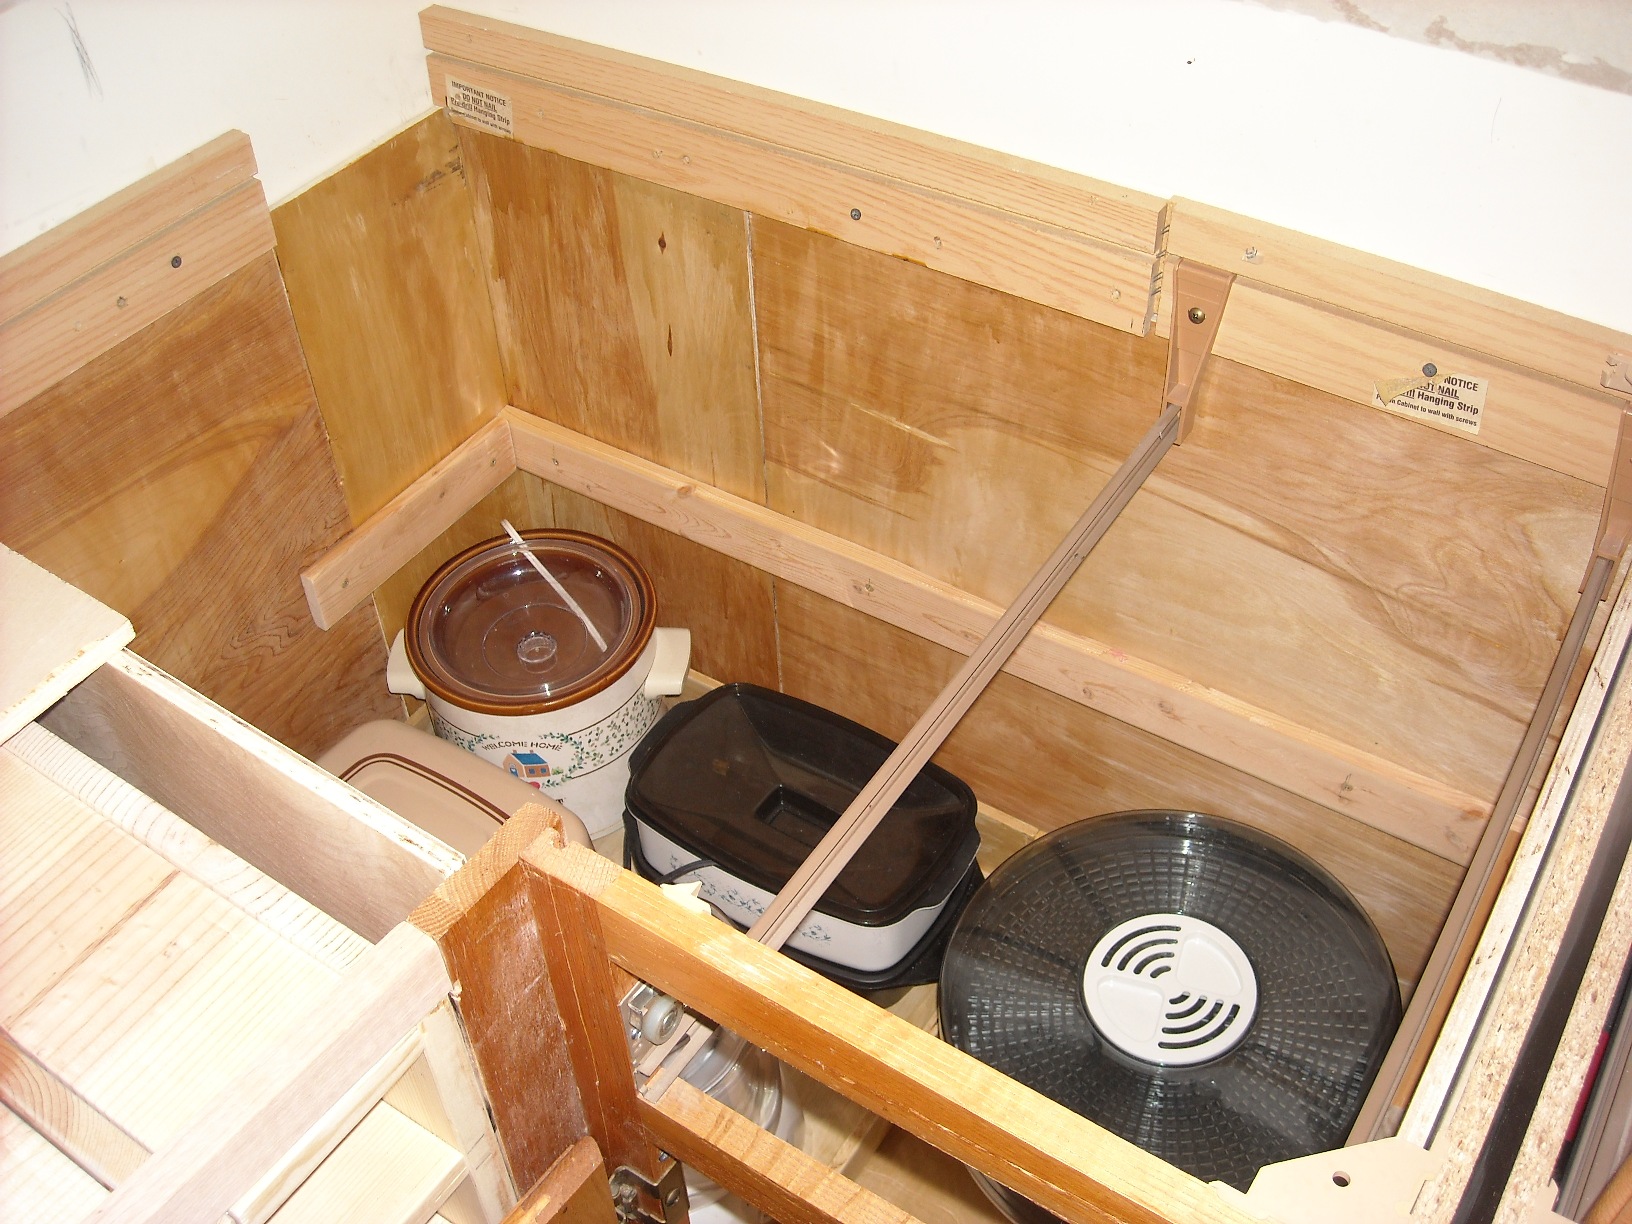
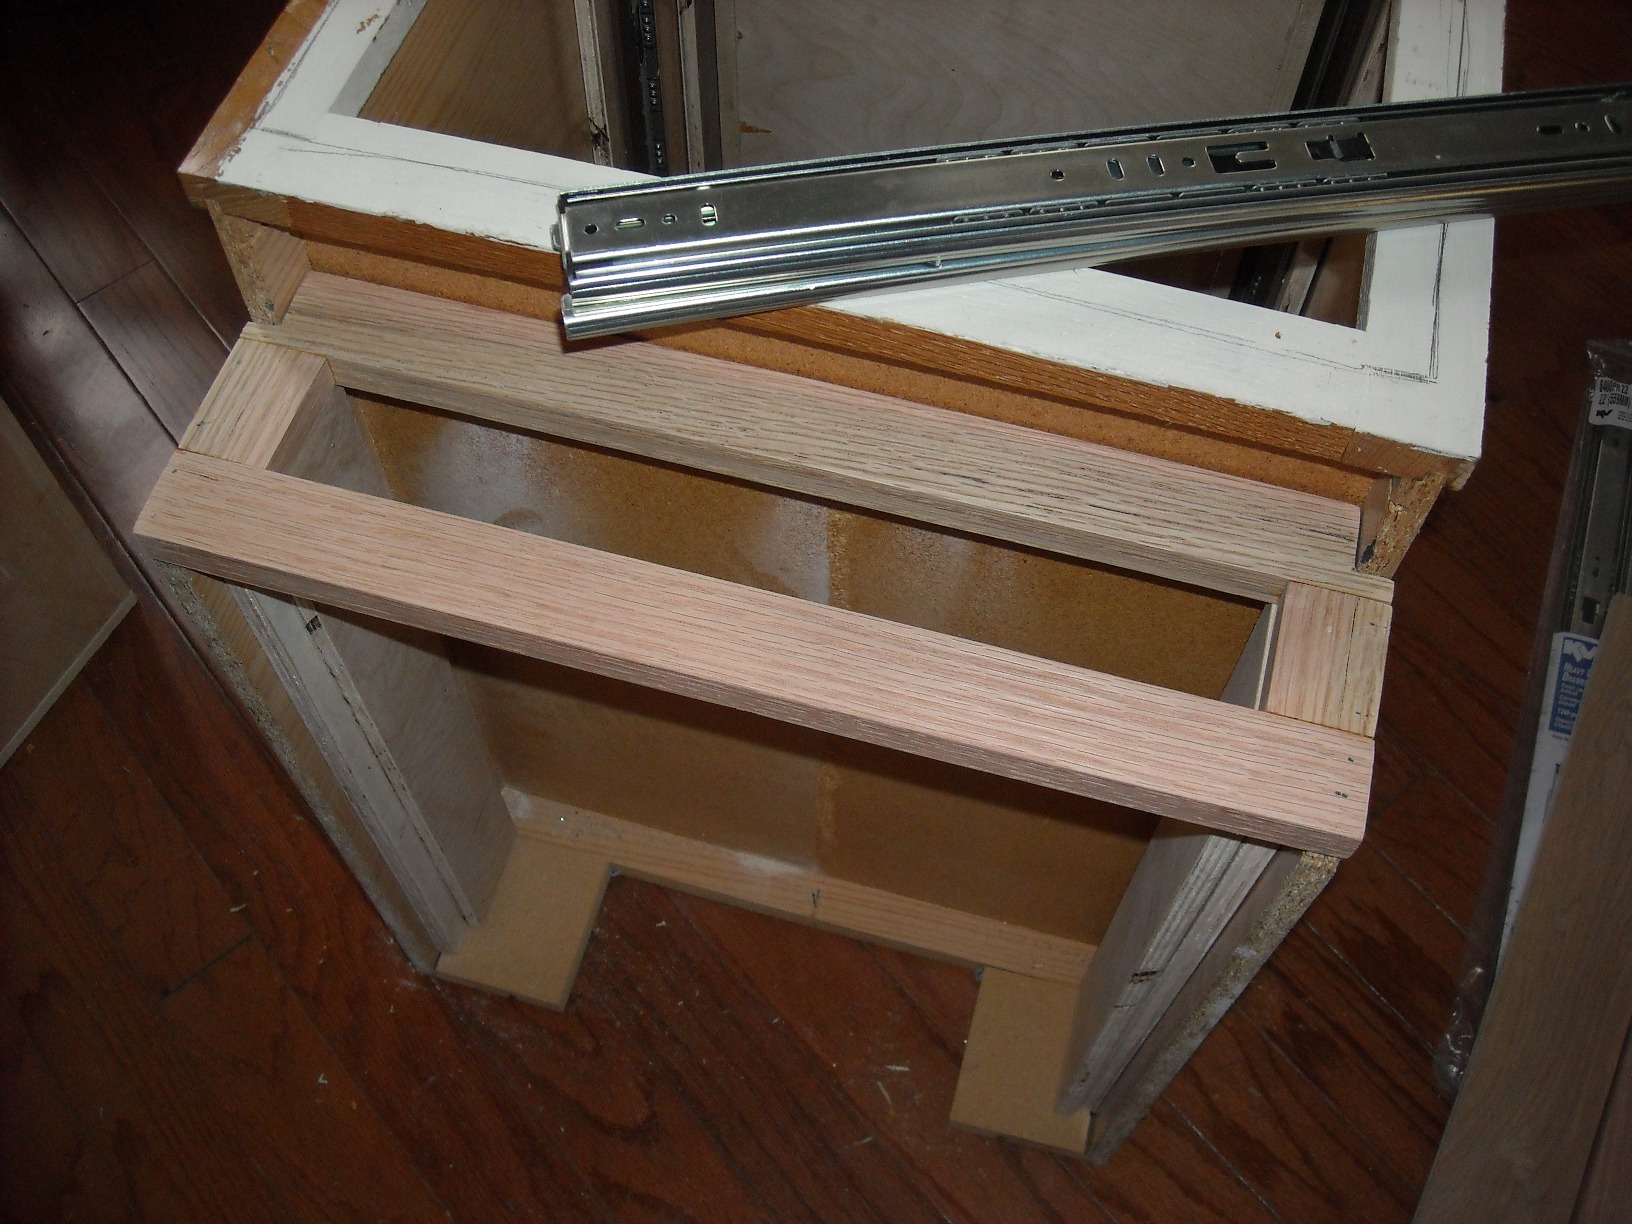
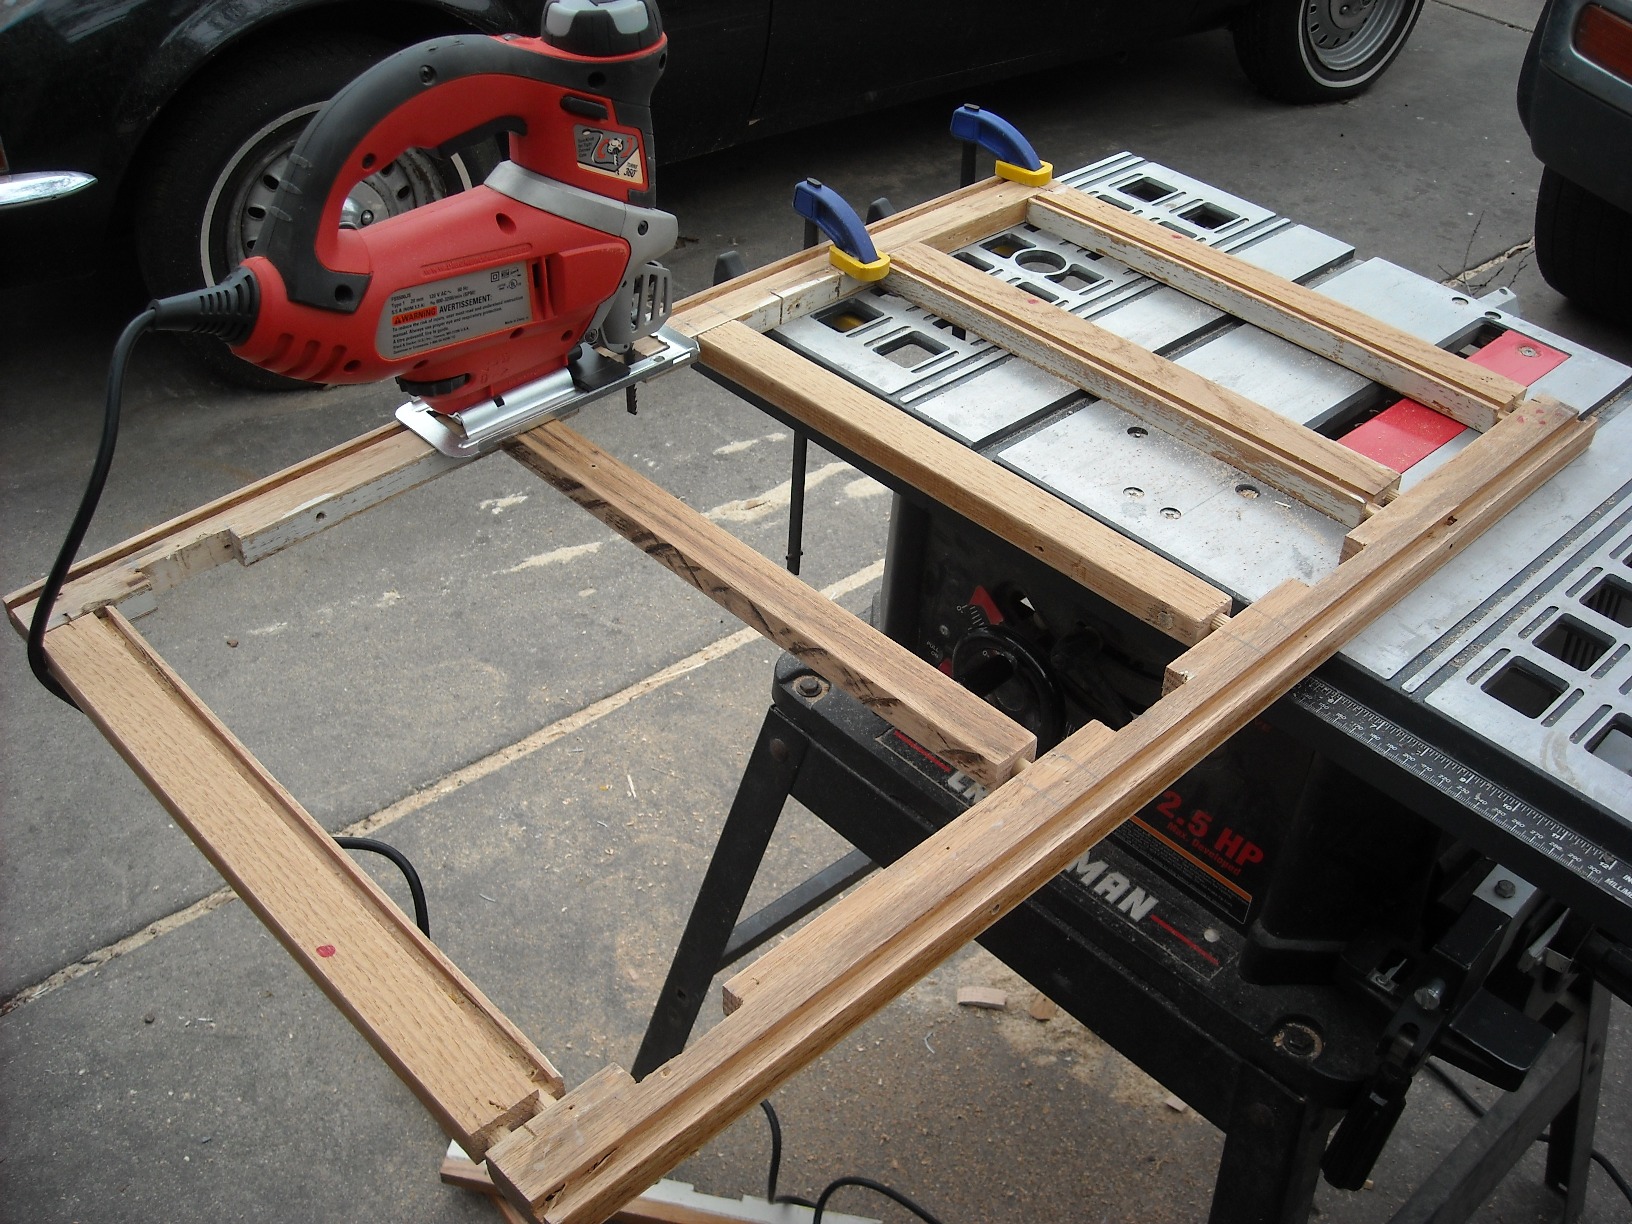
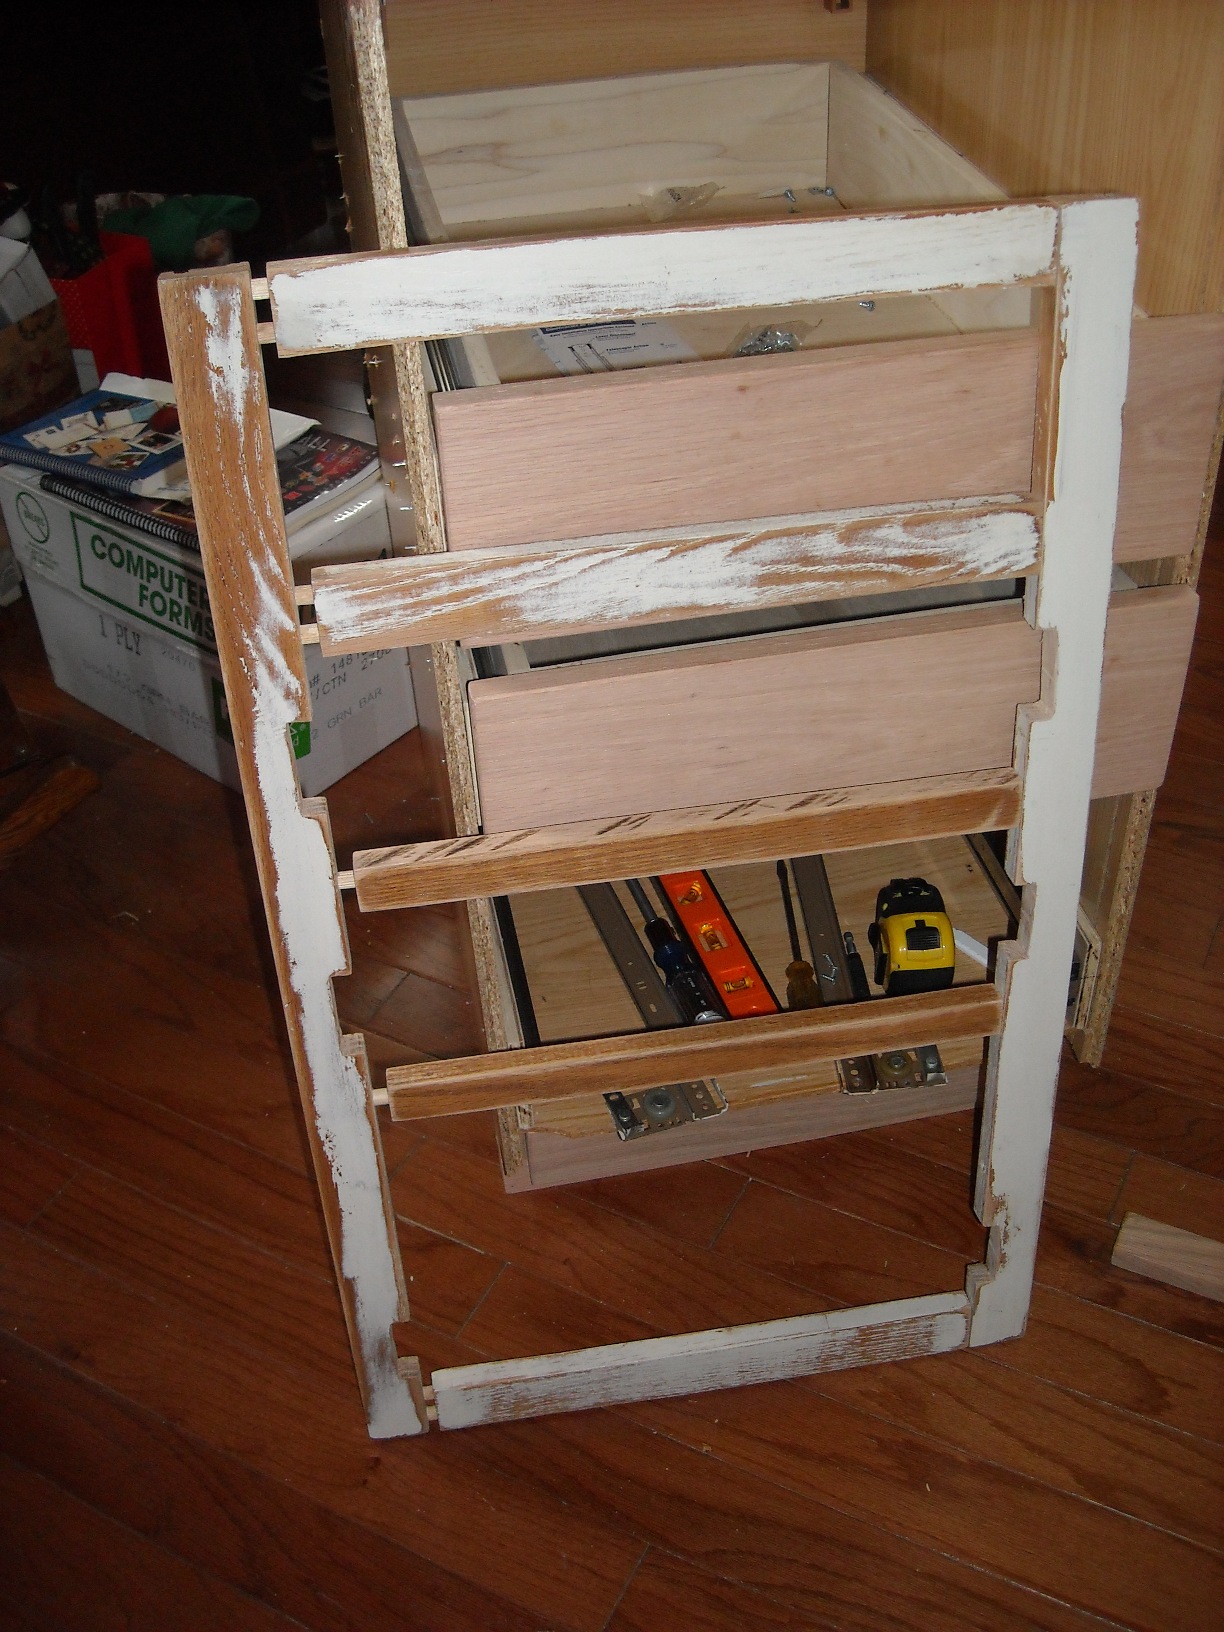
Turns out I am a pretty savy drawer builder... Although the instructions to install the slides were of little use, some trial and error did the trick. Word of advice - don't get cute and think you need two bottom slides to support a drawer... they are a bitch to line up (the drawer is sitting on them)!!! The slide in the blind corner will allow use of the unreachable space. When you need one of those rarely used items, you need only remove the three frequently used items from the cabinet and pull out the slide reaching what you need. There will also be a shelf in there to acommodate some of the other items that got displaced by the wine rack.
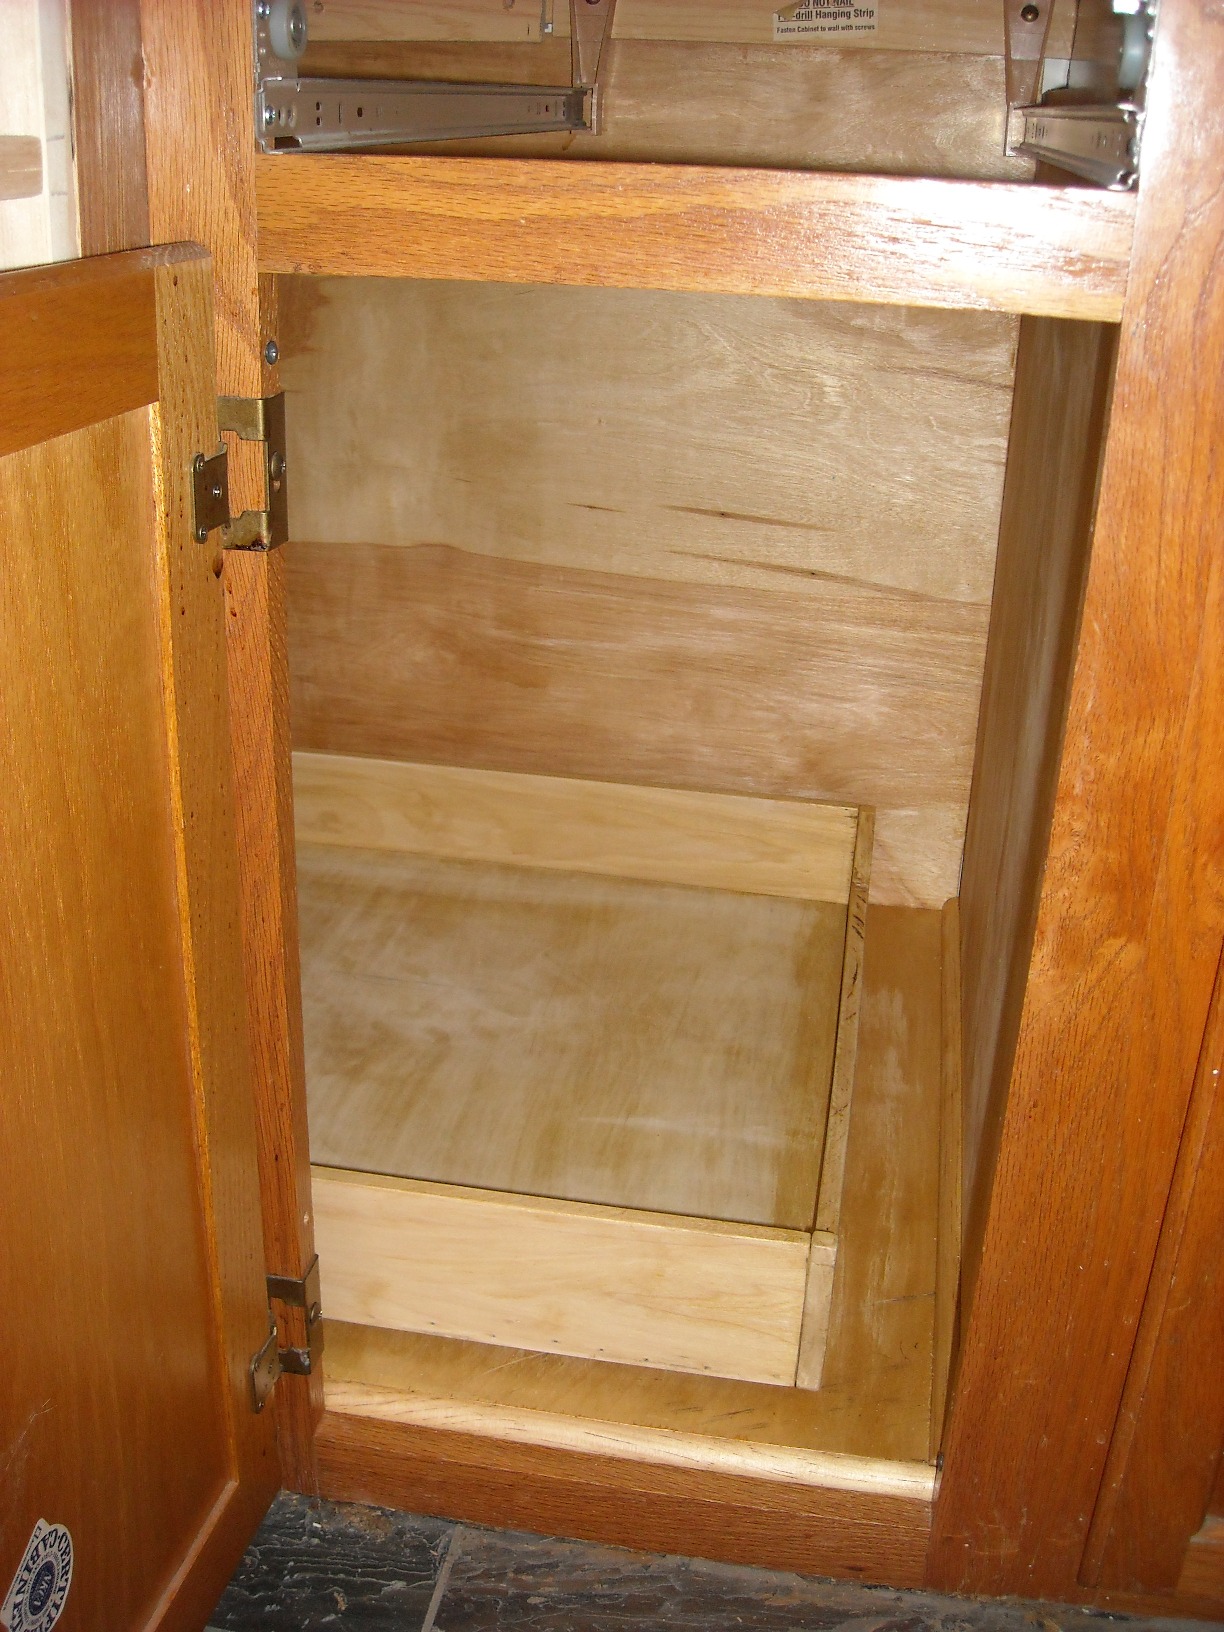
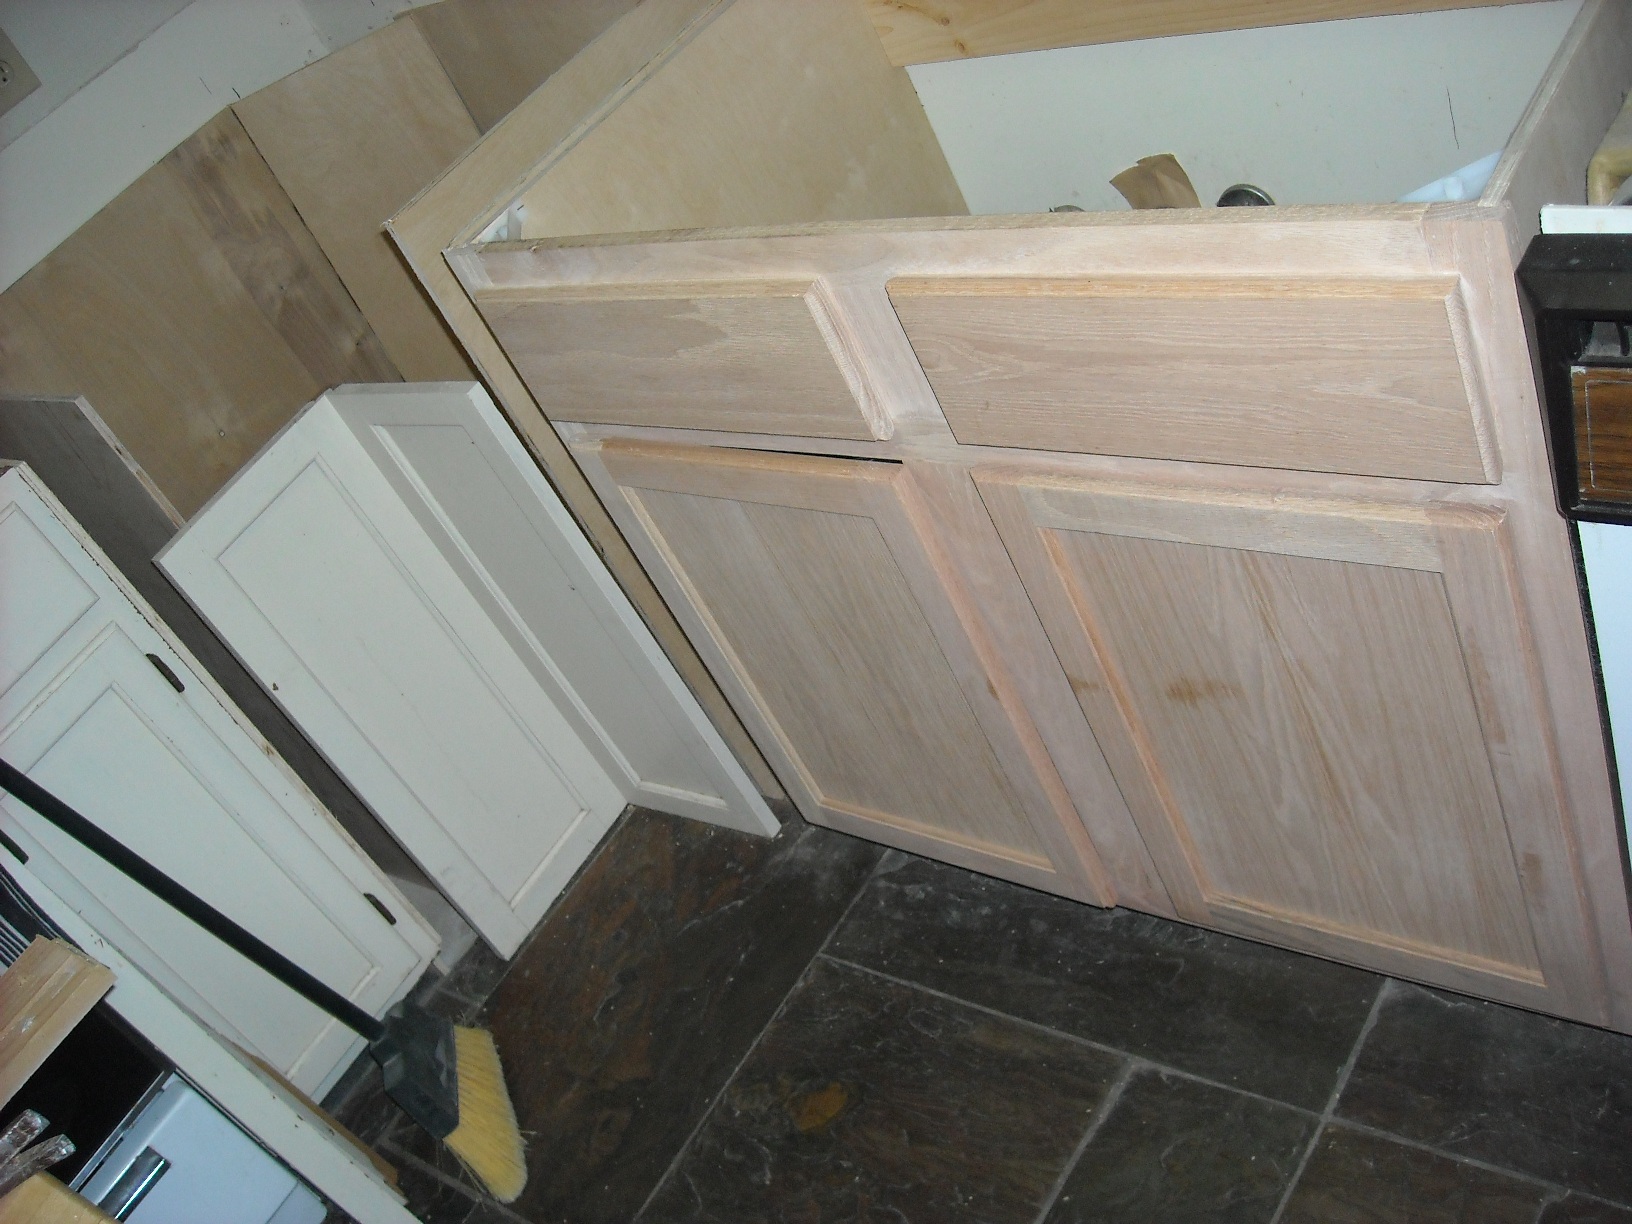
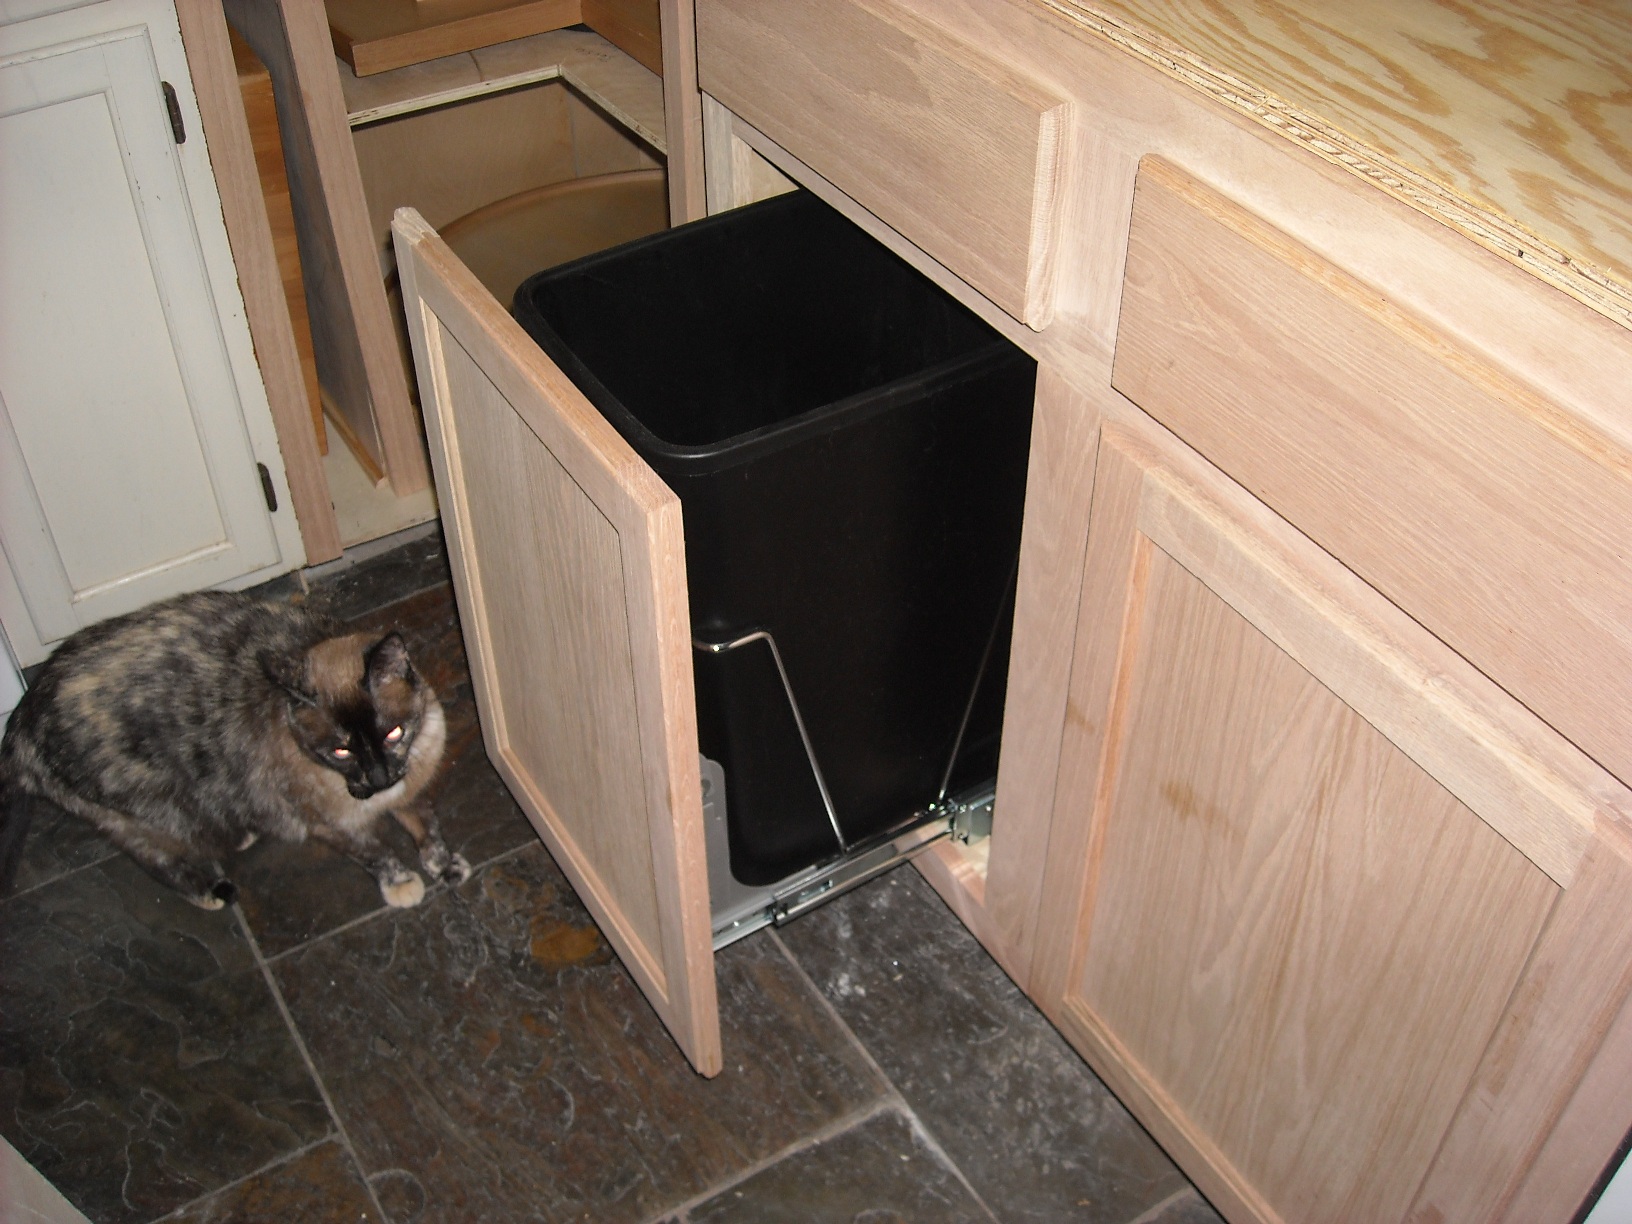
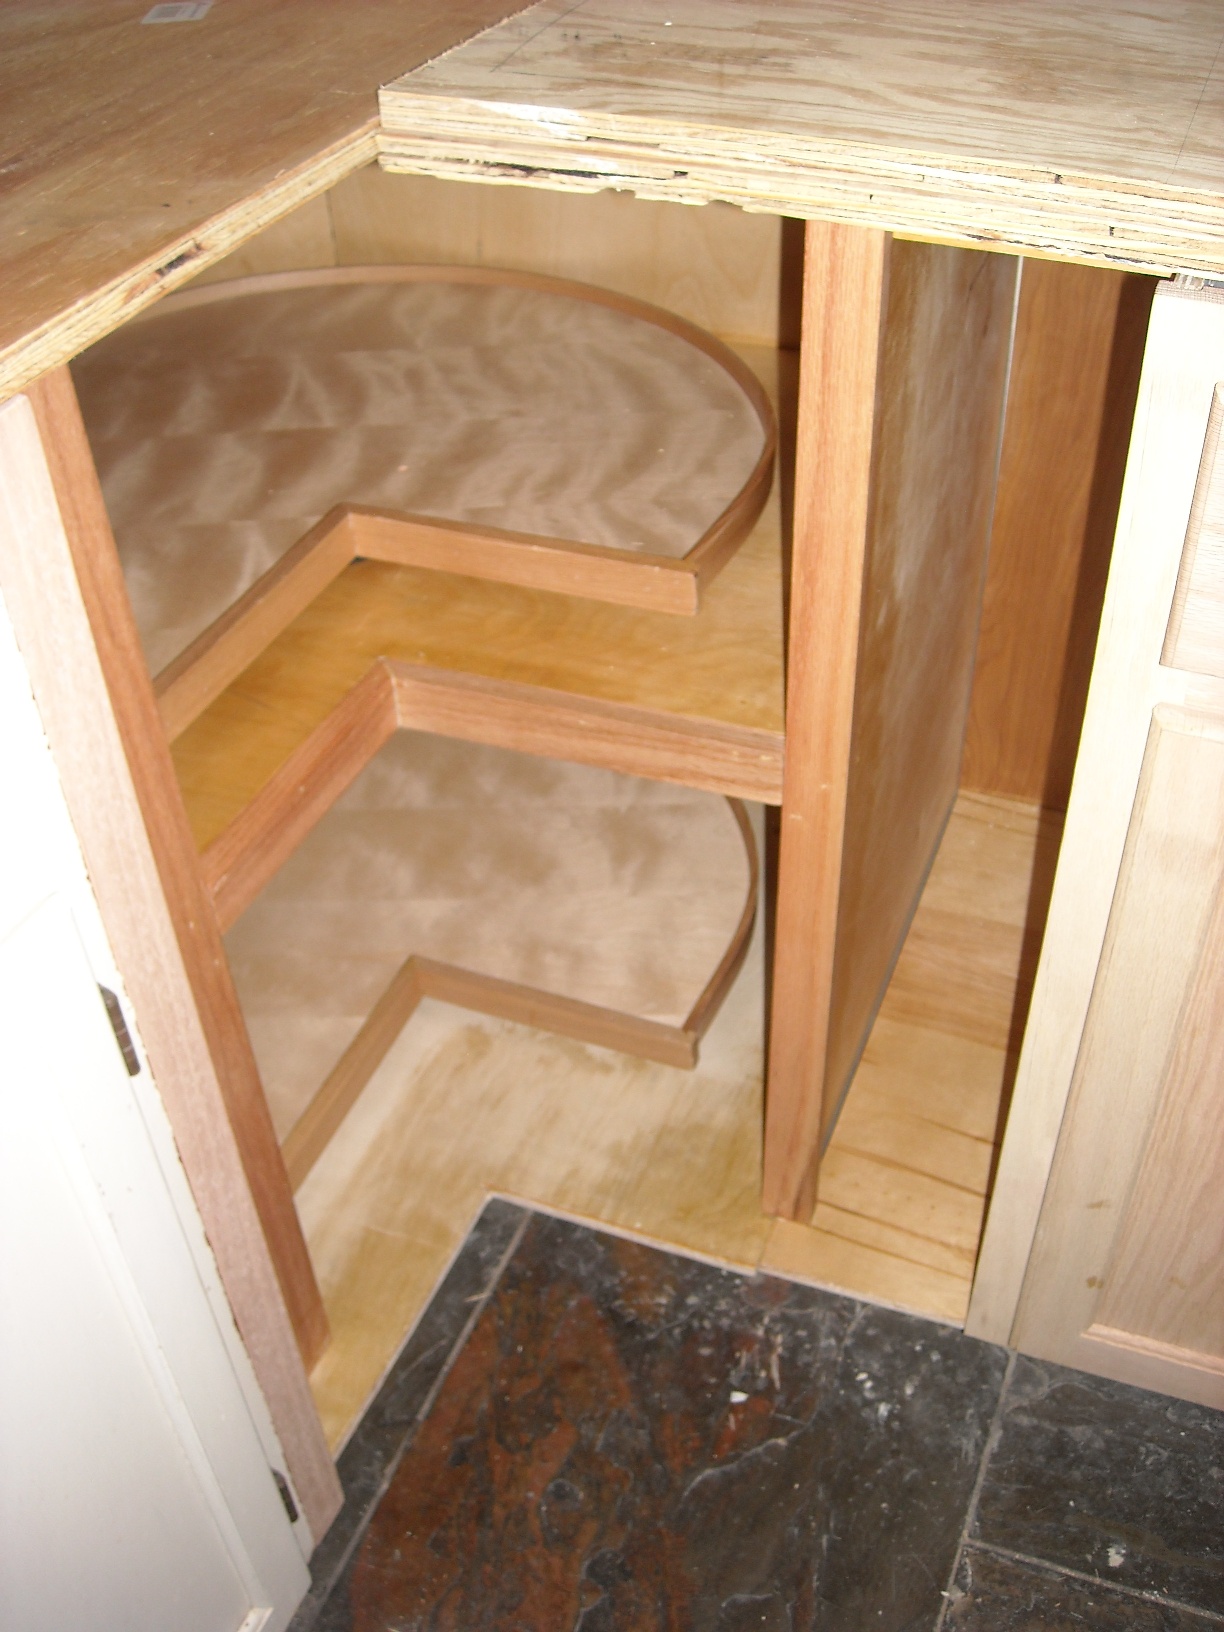
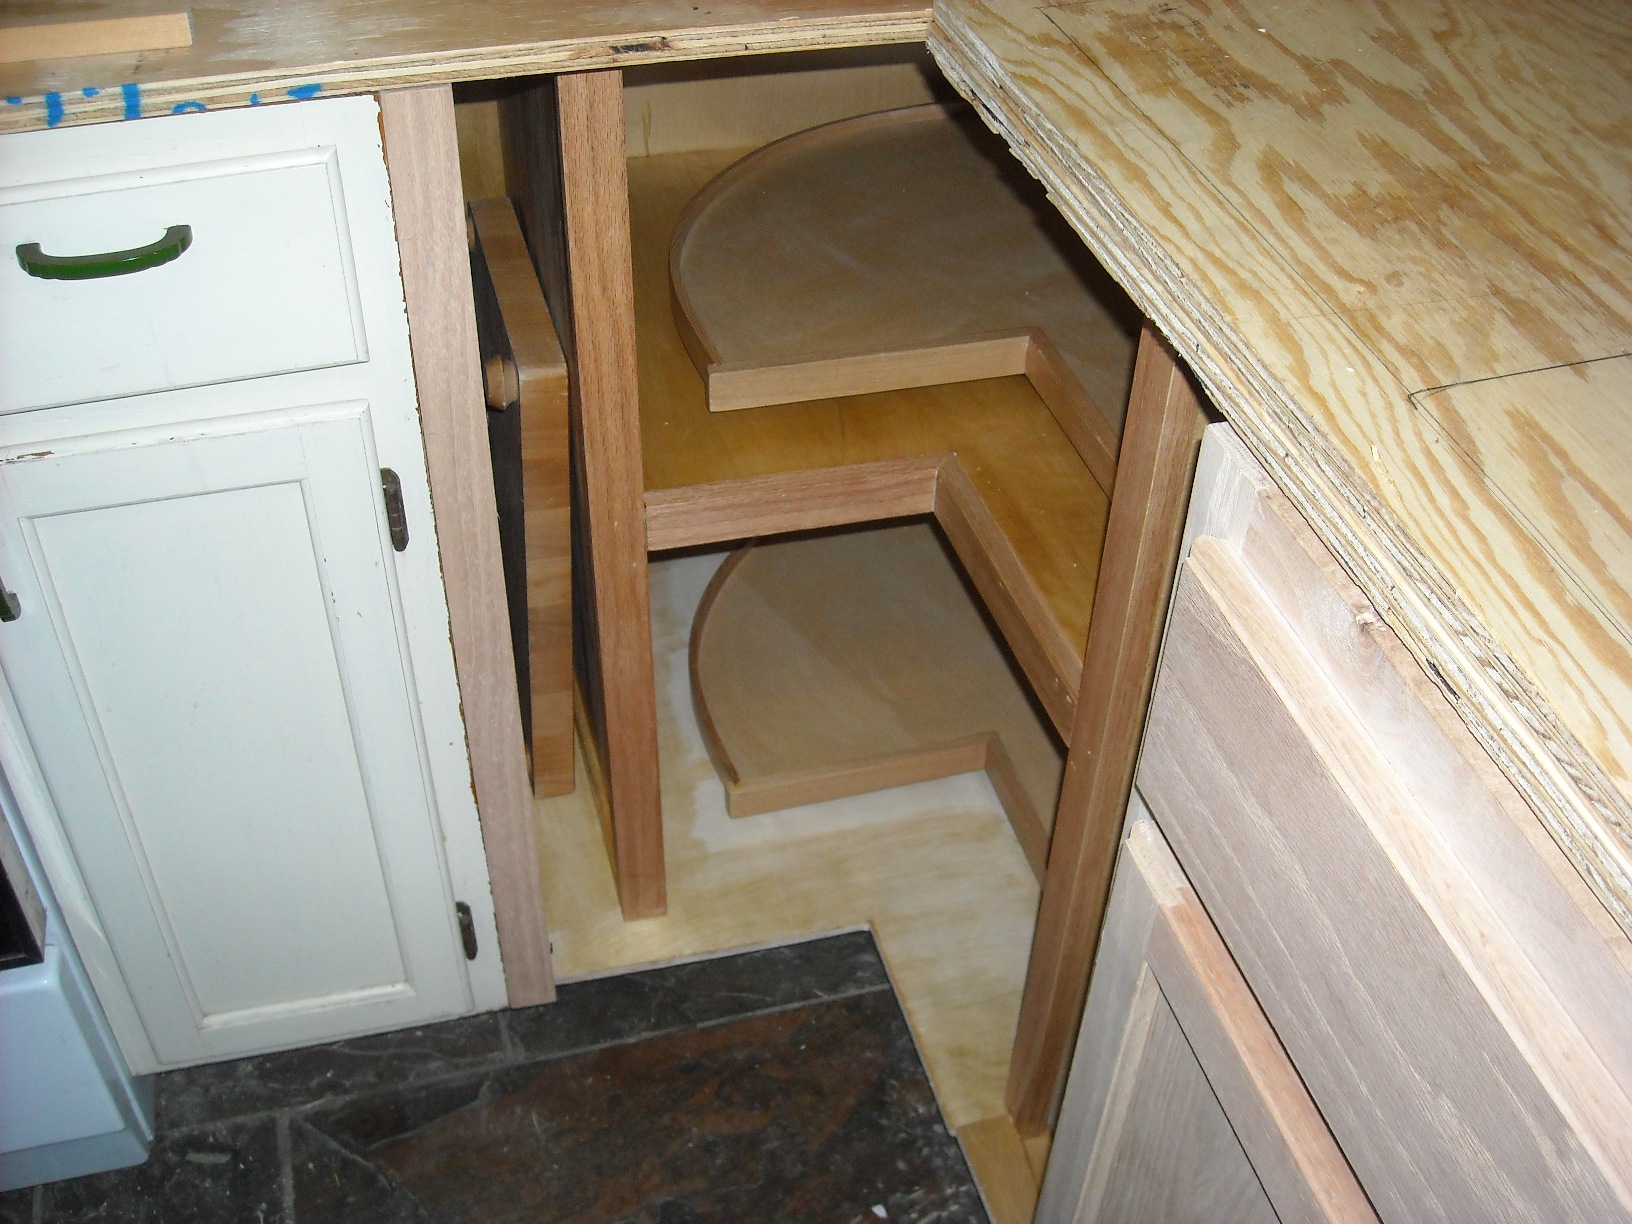
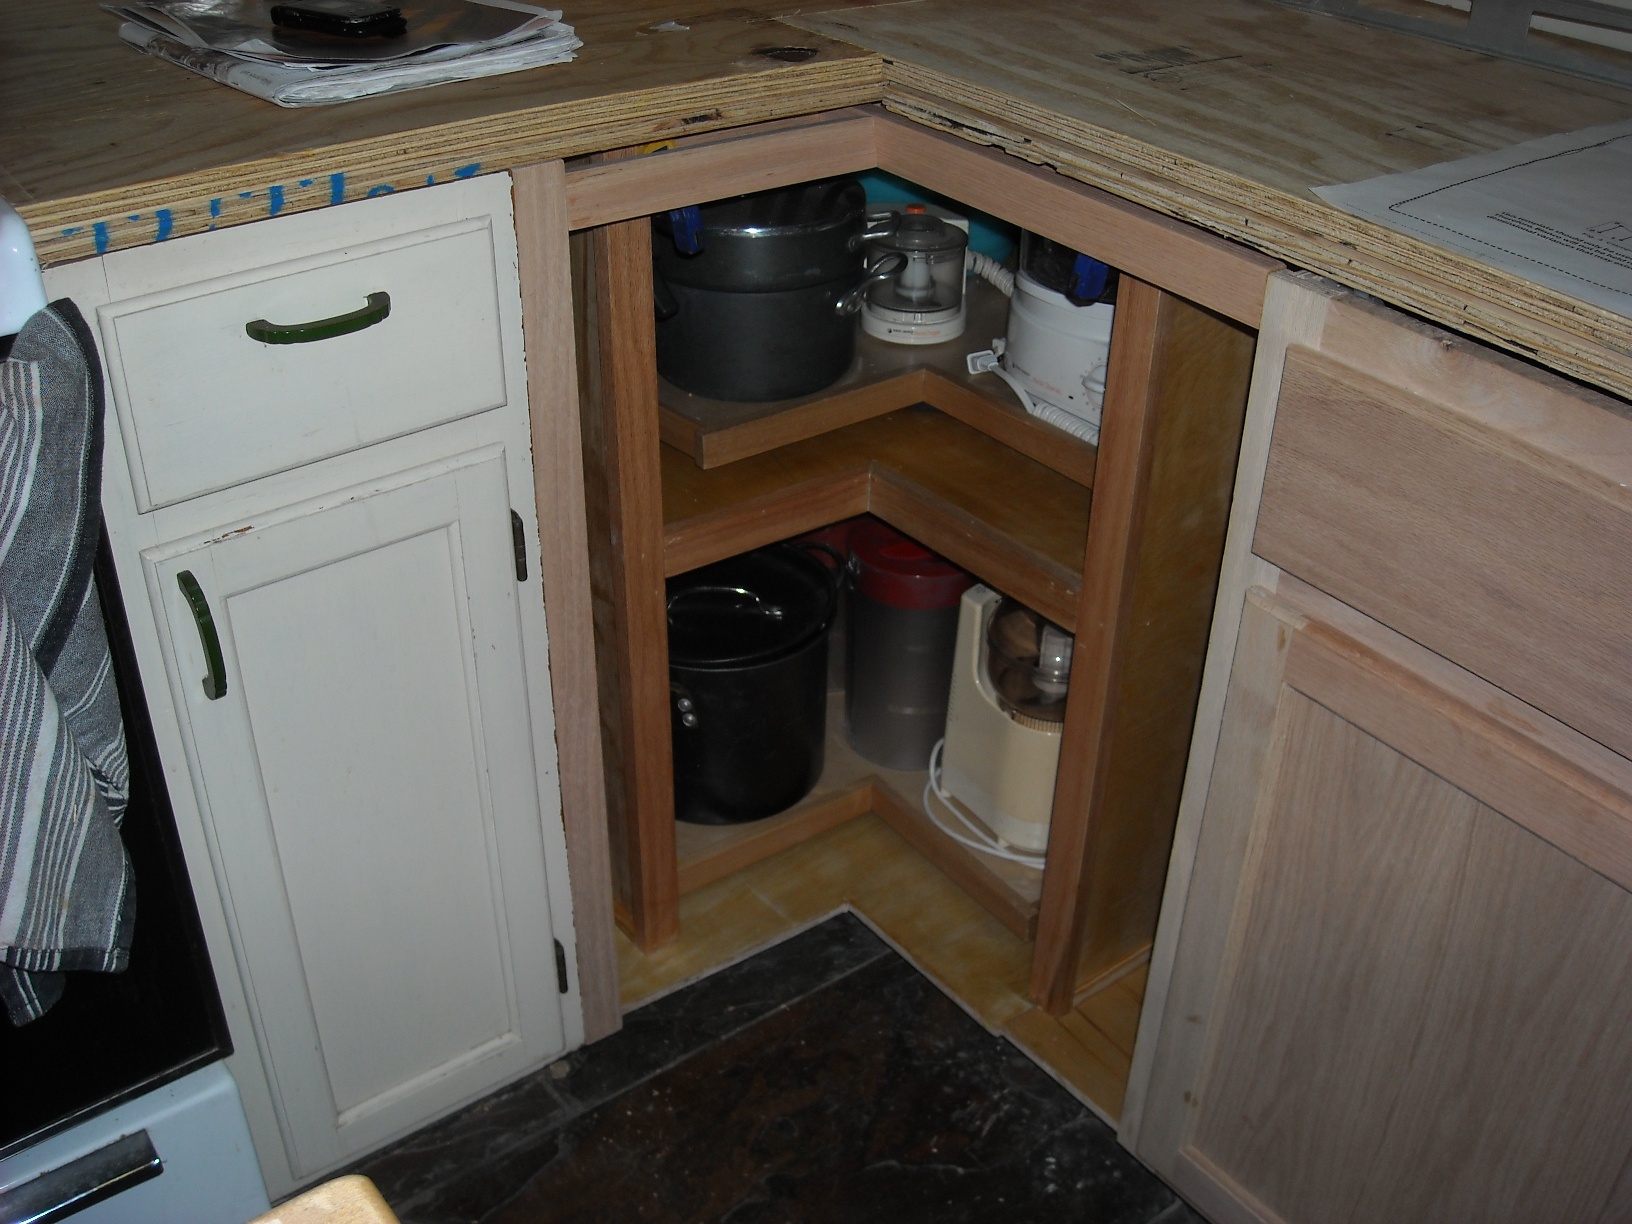
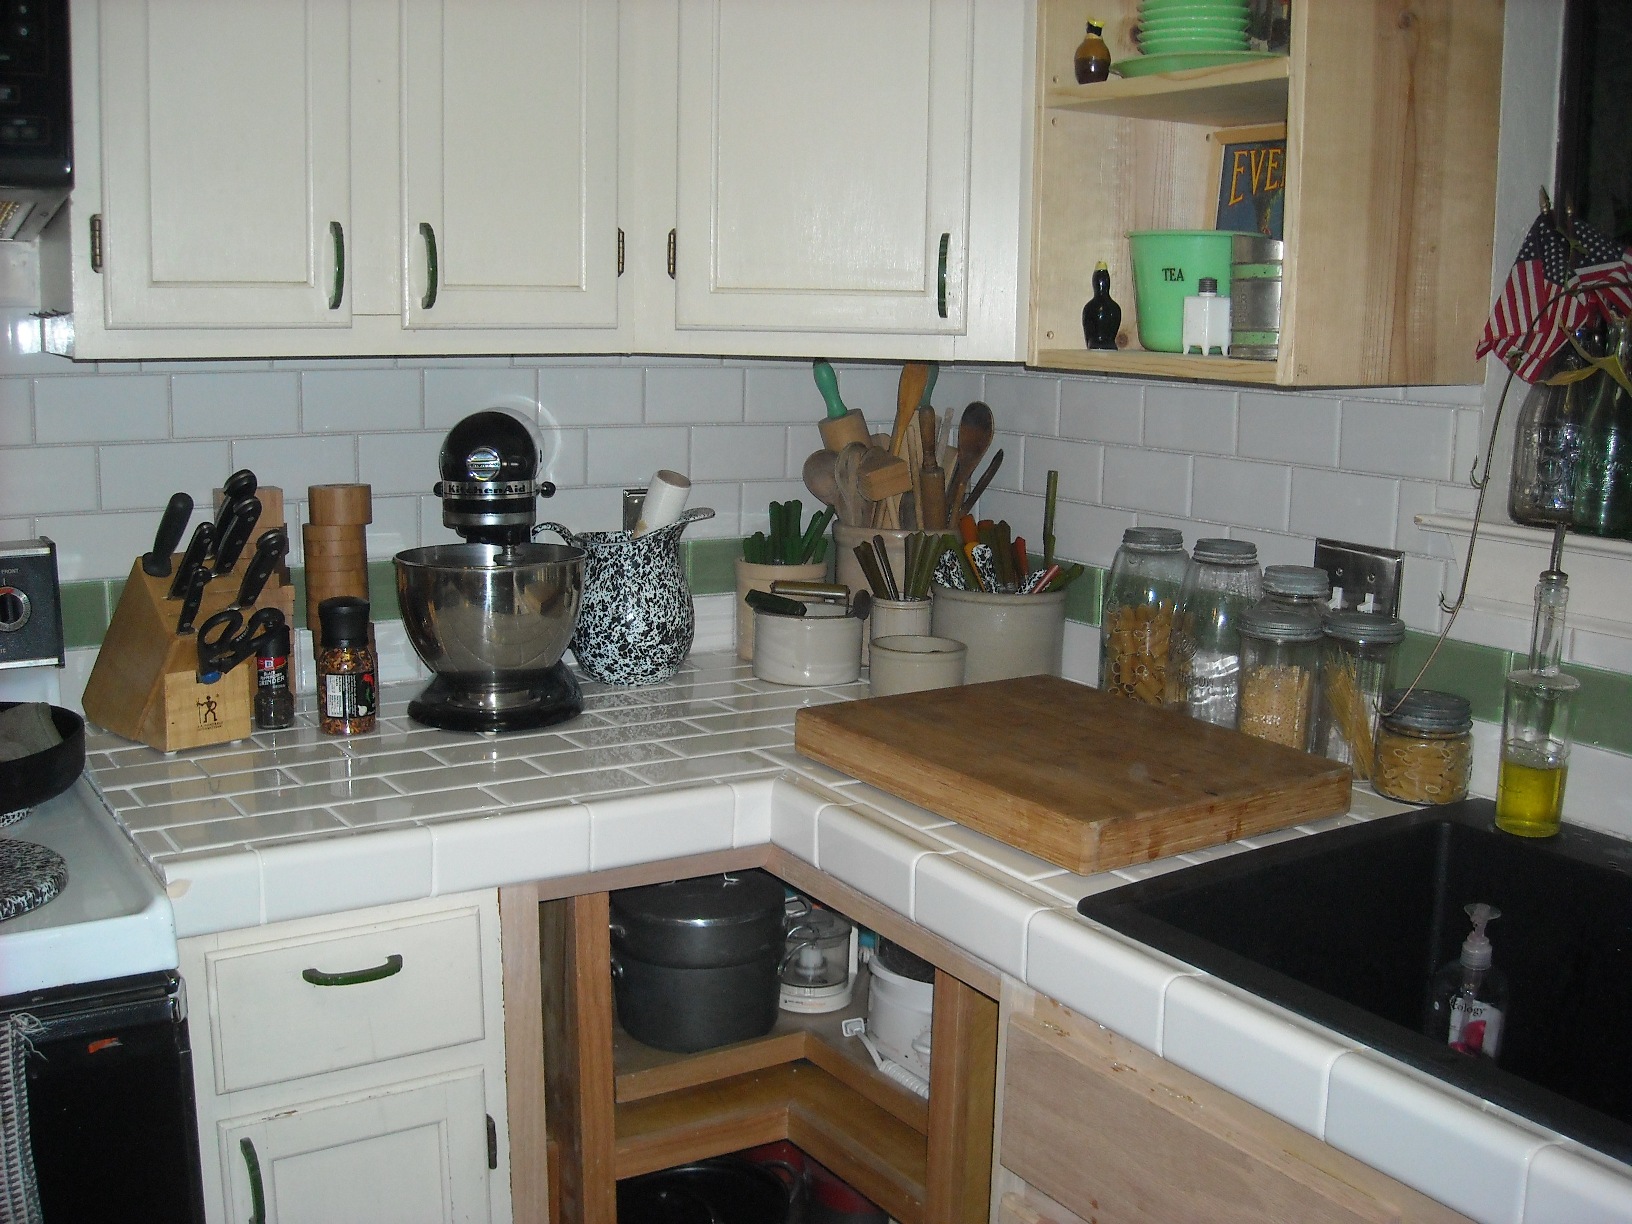
I installed a kit to make your trashcan a pull-out like all the new houses. I refabbed the sink base with oak to include a kick-ass kickboard drawer. This is when I realized I was pretty good at this drawer stuff... You can see some of the details of the blind corner with the lazy susans. I originally had a filler alongside my sink - more wasted space - and repositioned the sink to reclaim that space. That space along with the extra space wasted with that crappy plastic lazy susan-in-a-can that was there provided me with enough room to make two more side cookie sheet compartments. Upon first fab, I realized the opening would be too small. So I made those two side pockets a part of the one cabinet. A double door with french hinges will close off the entire space. The well-made lazy susans (which started this whole thing) are actually bigger than my original ones and have such better access without the pole in there.

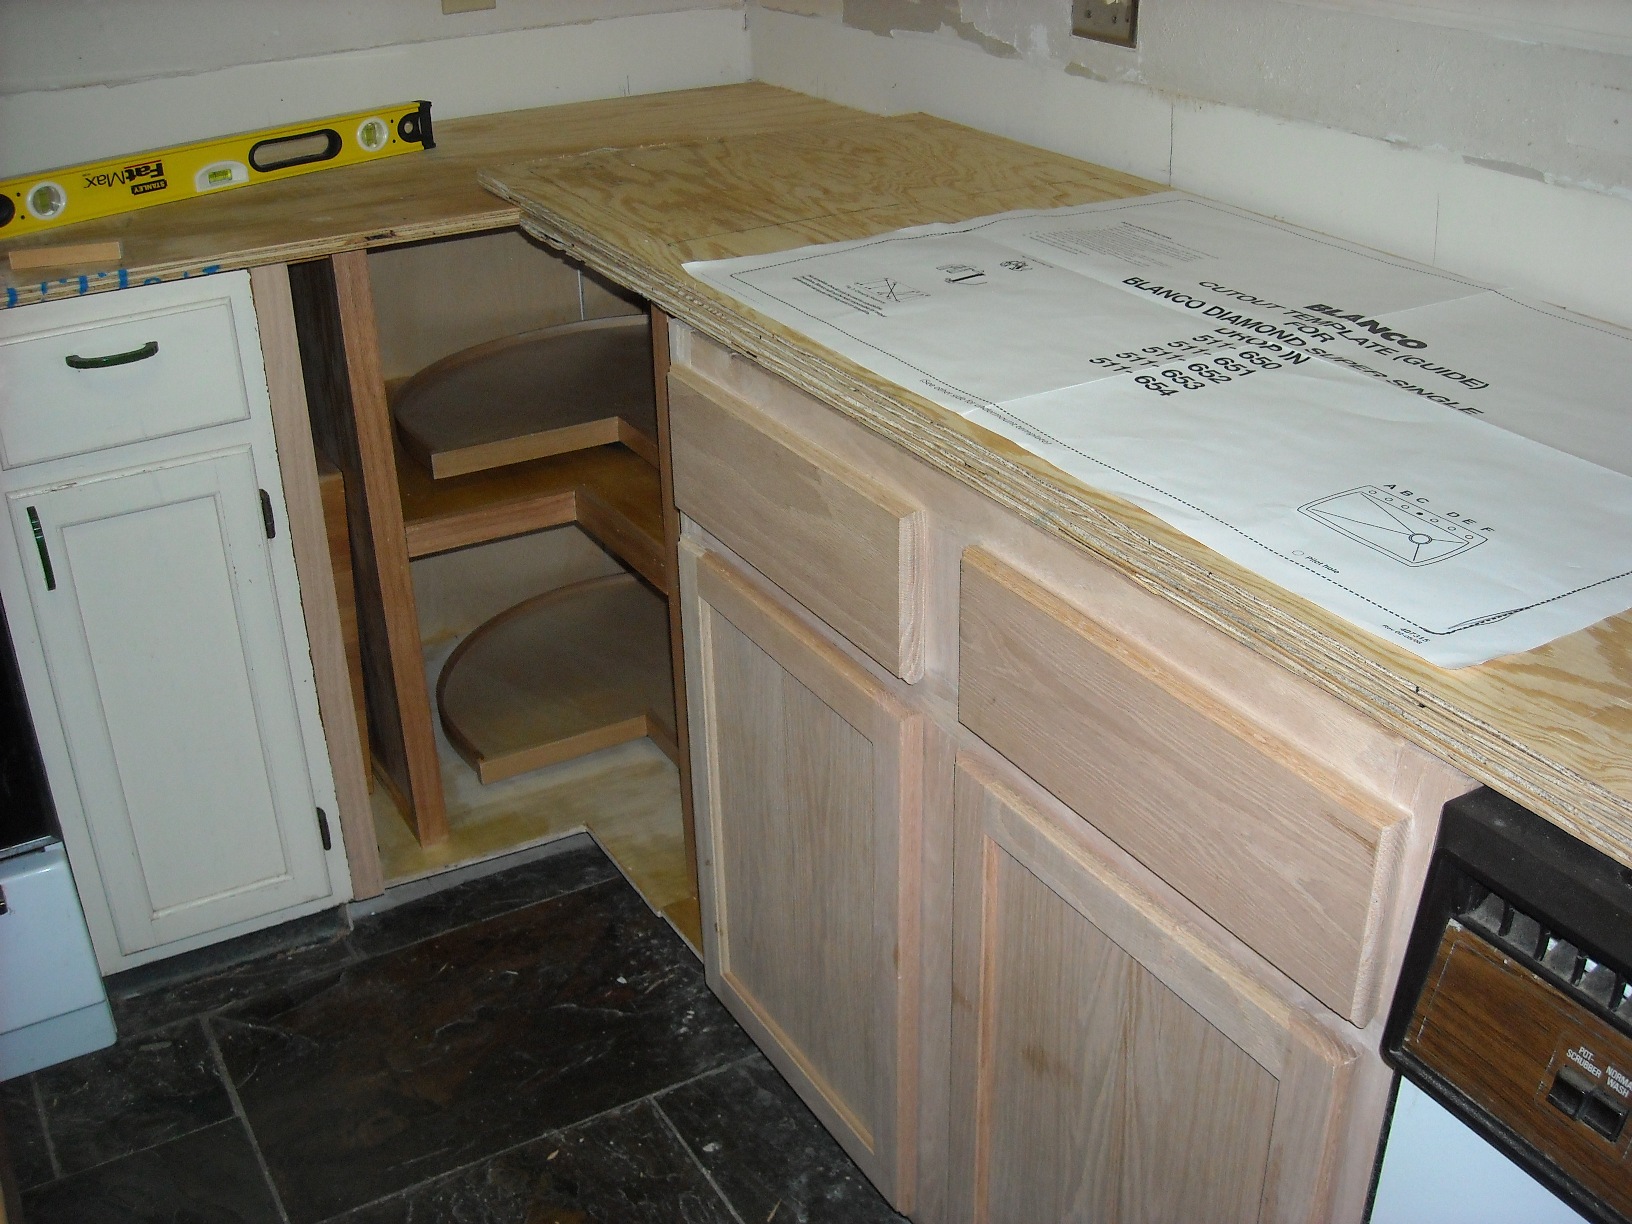
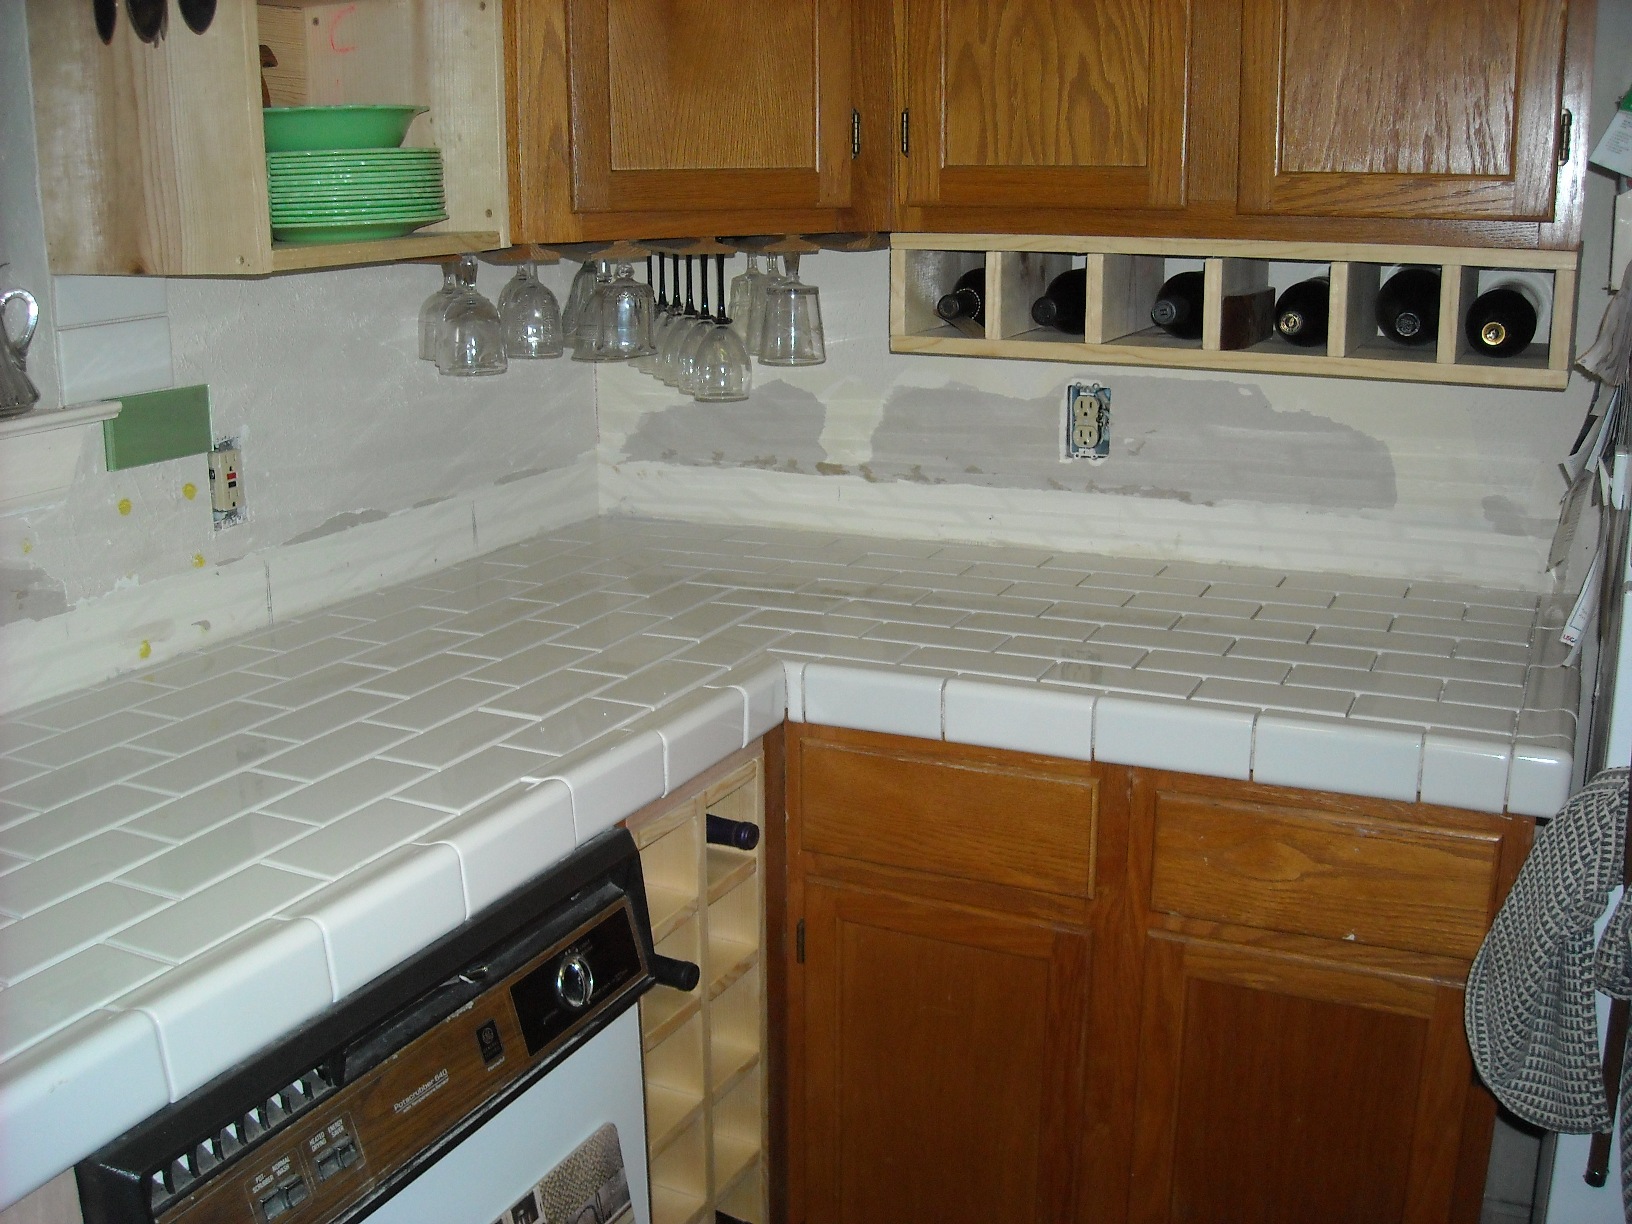
You can see the cookie sheet cubbies flanking the lazy susans in the blind corner. I still need to finish the cabinet front. The wine rack is trimmed out - I think I will eventually rebuild it out of oak (it is installed with a tight fit and not secured).
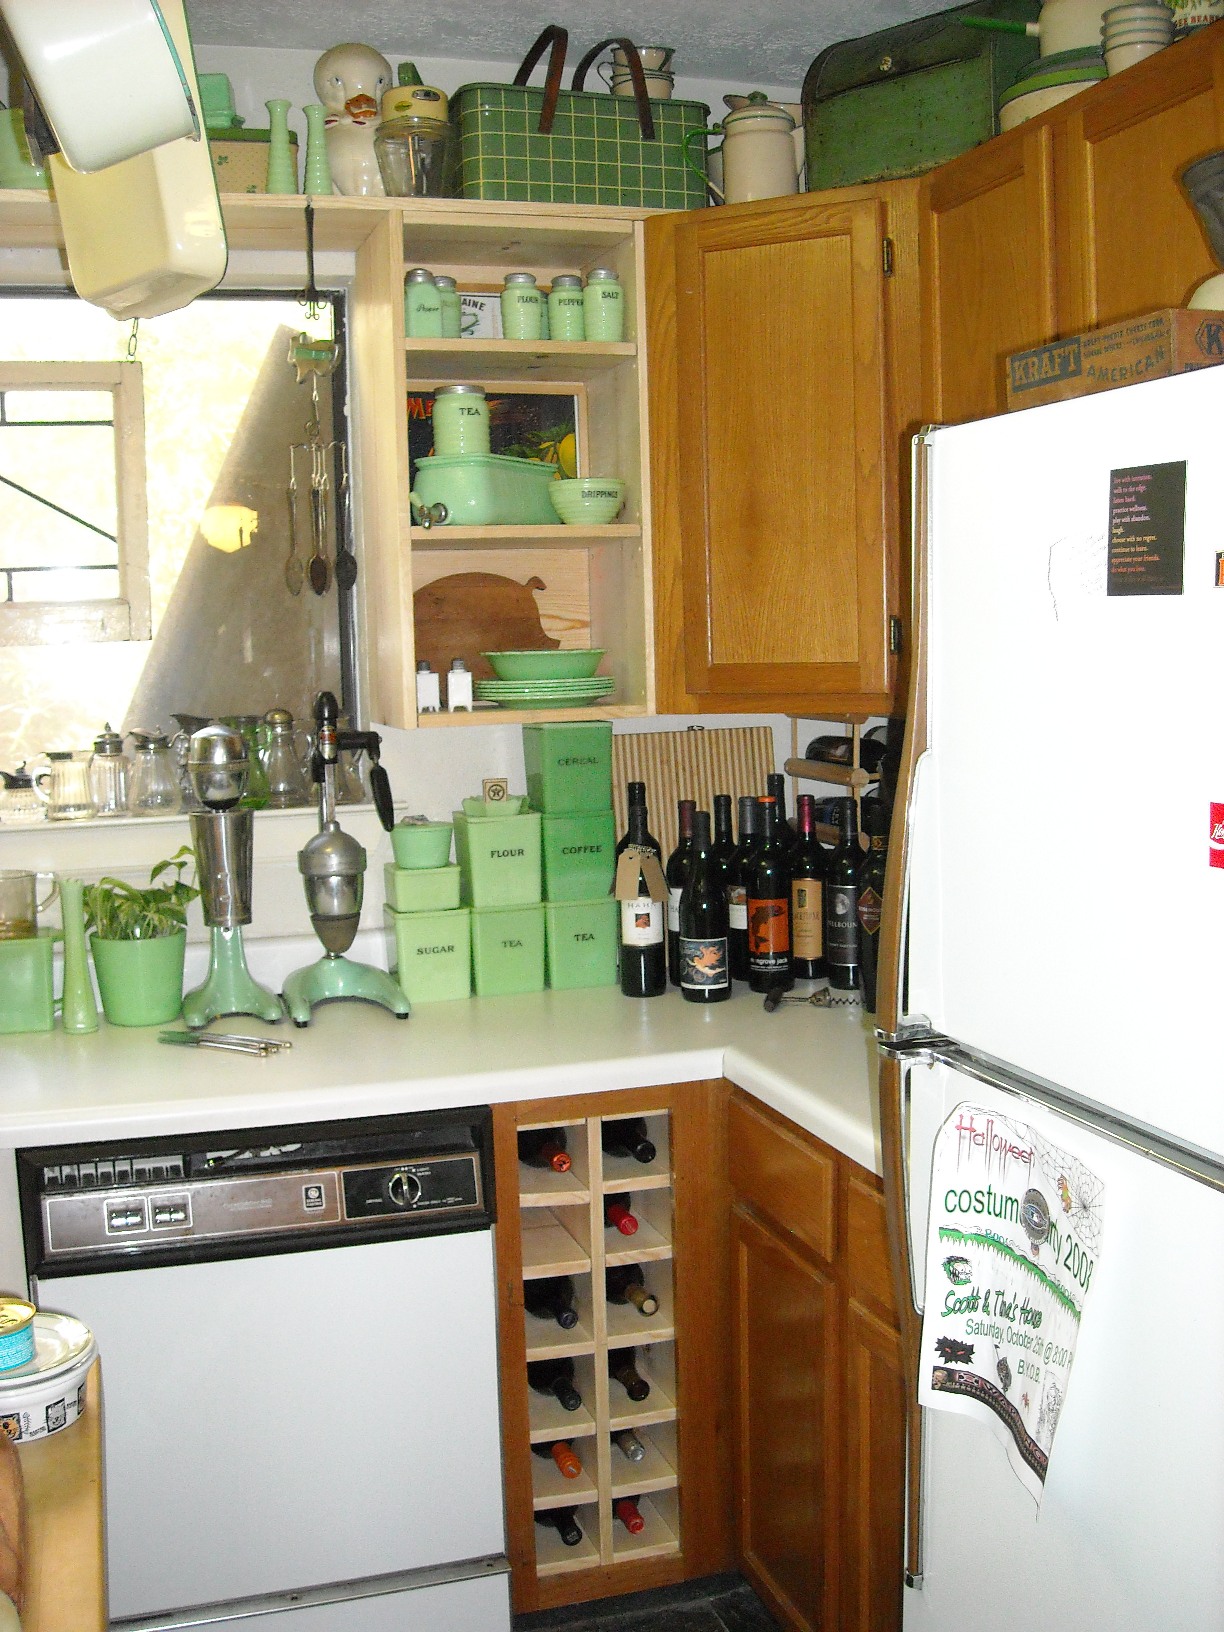
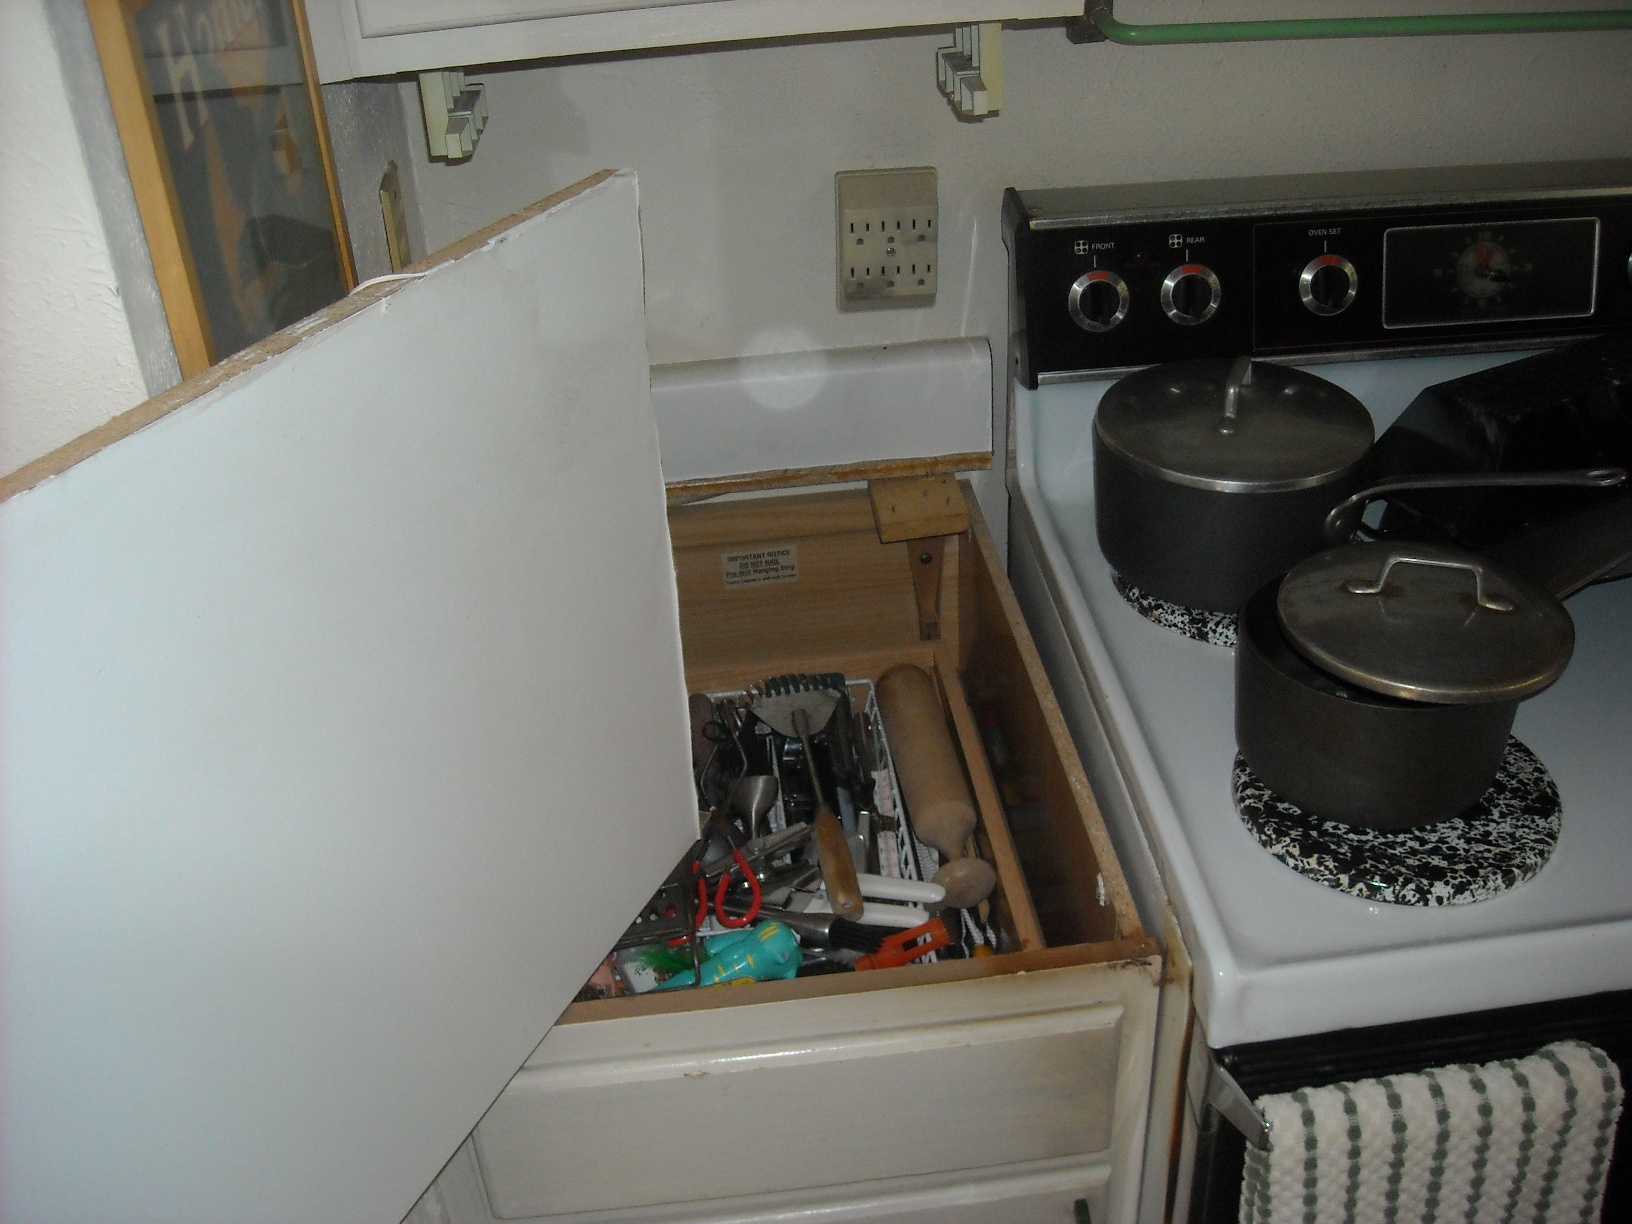
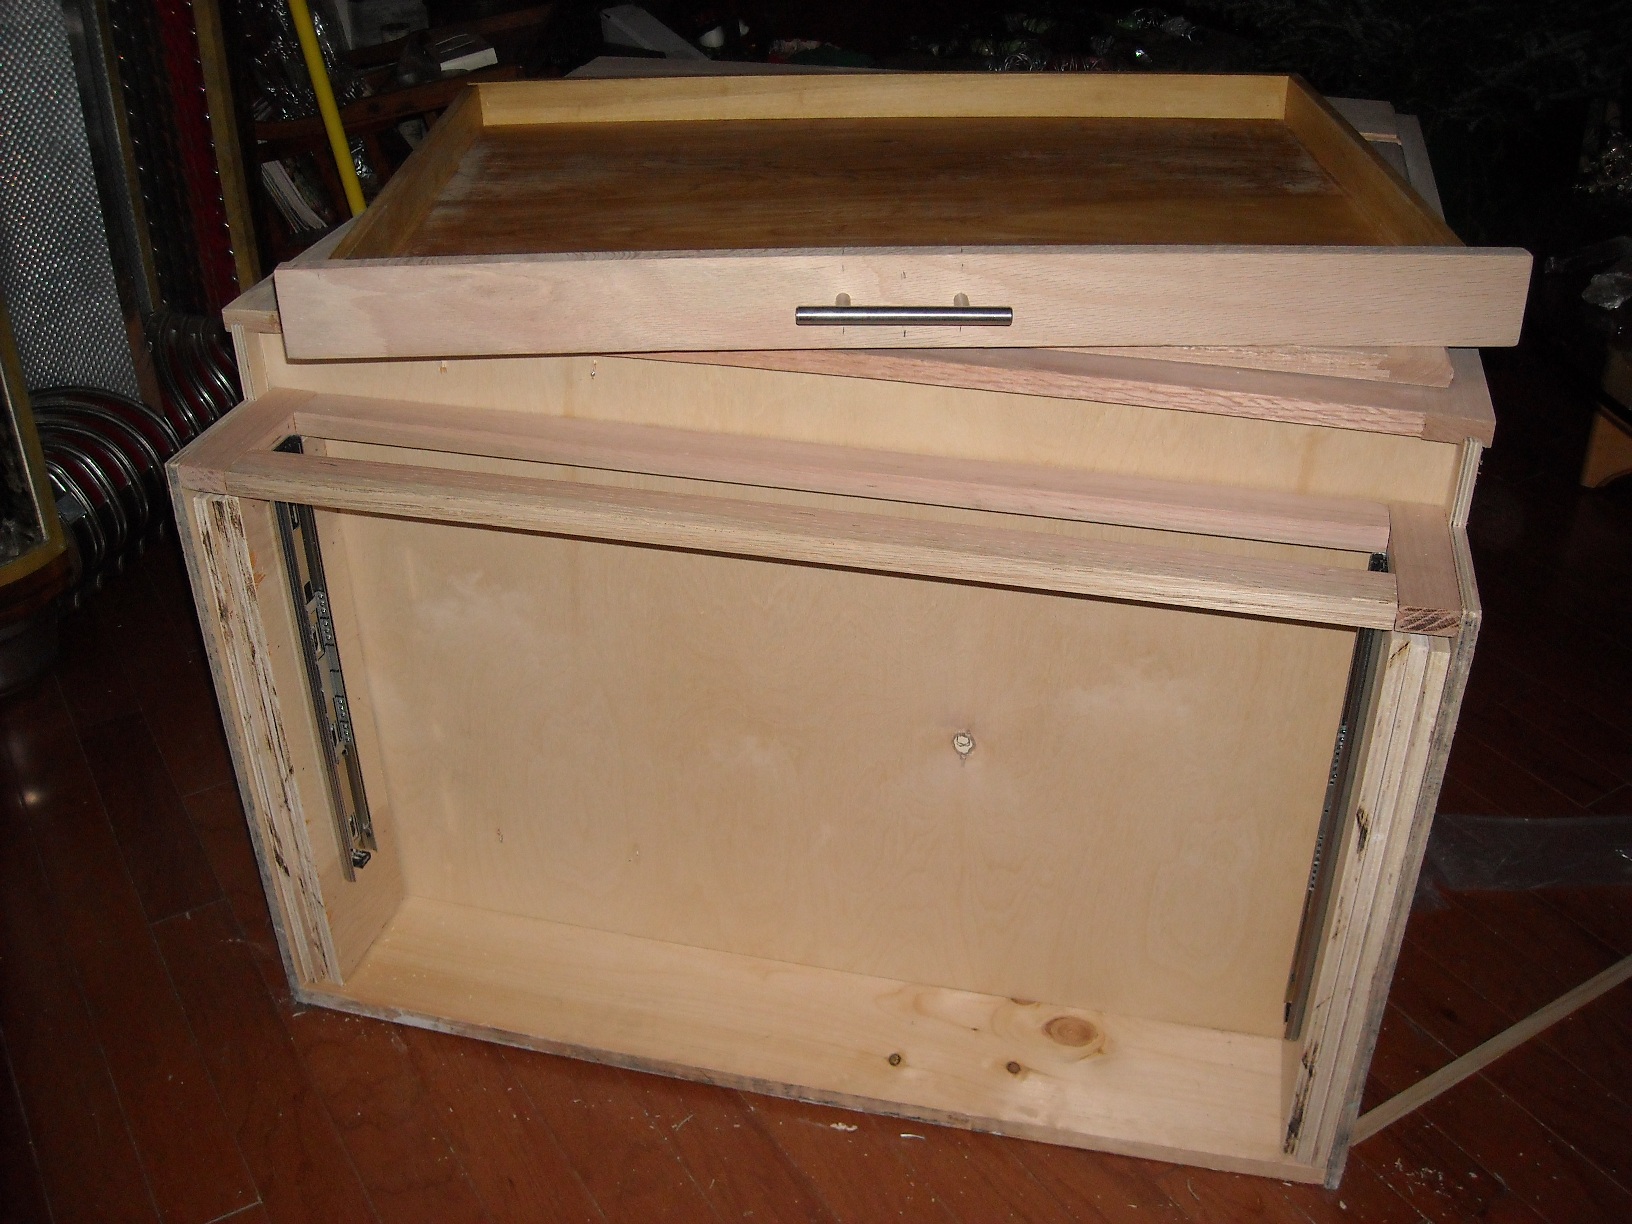
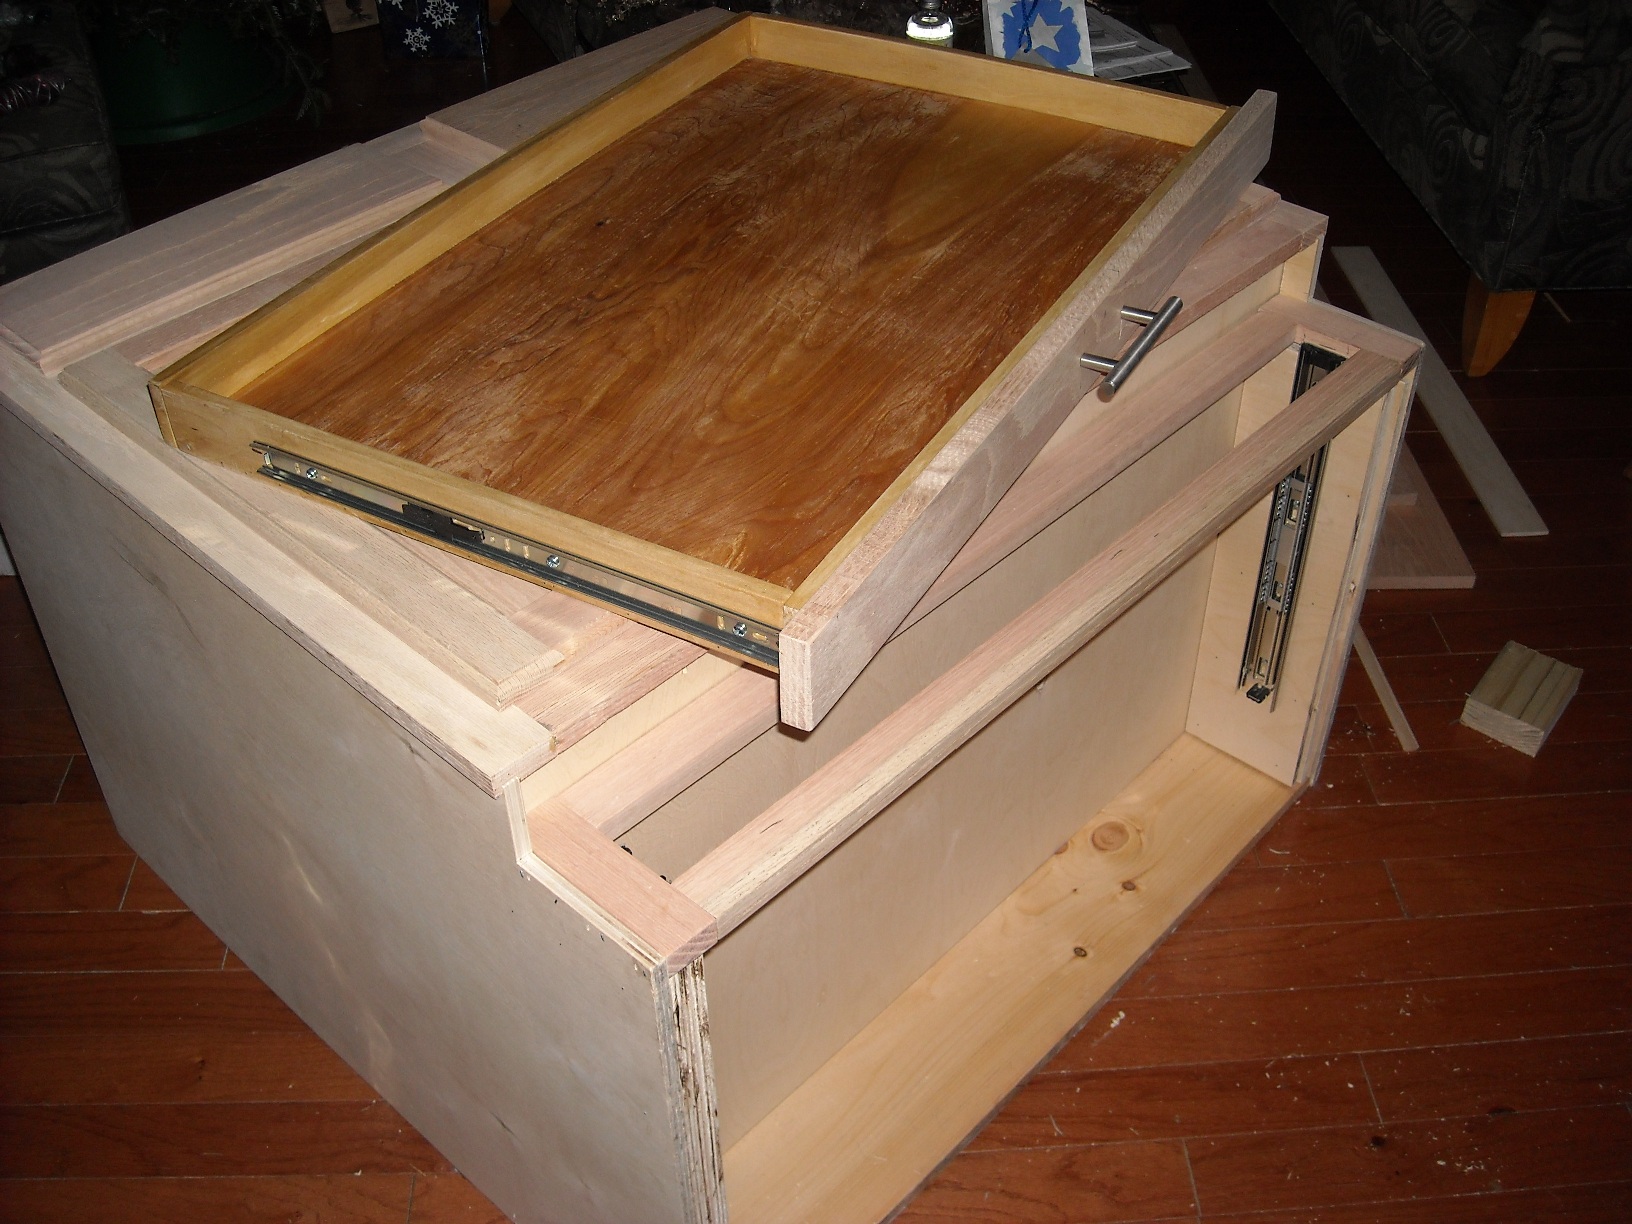
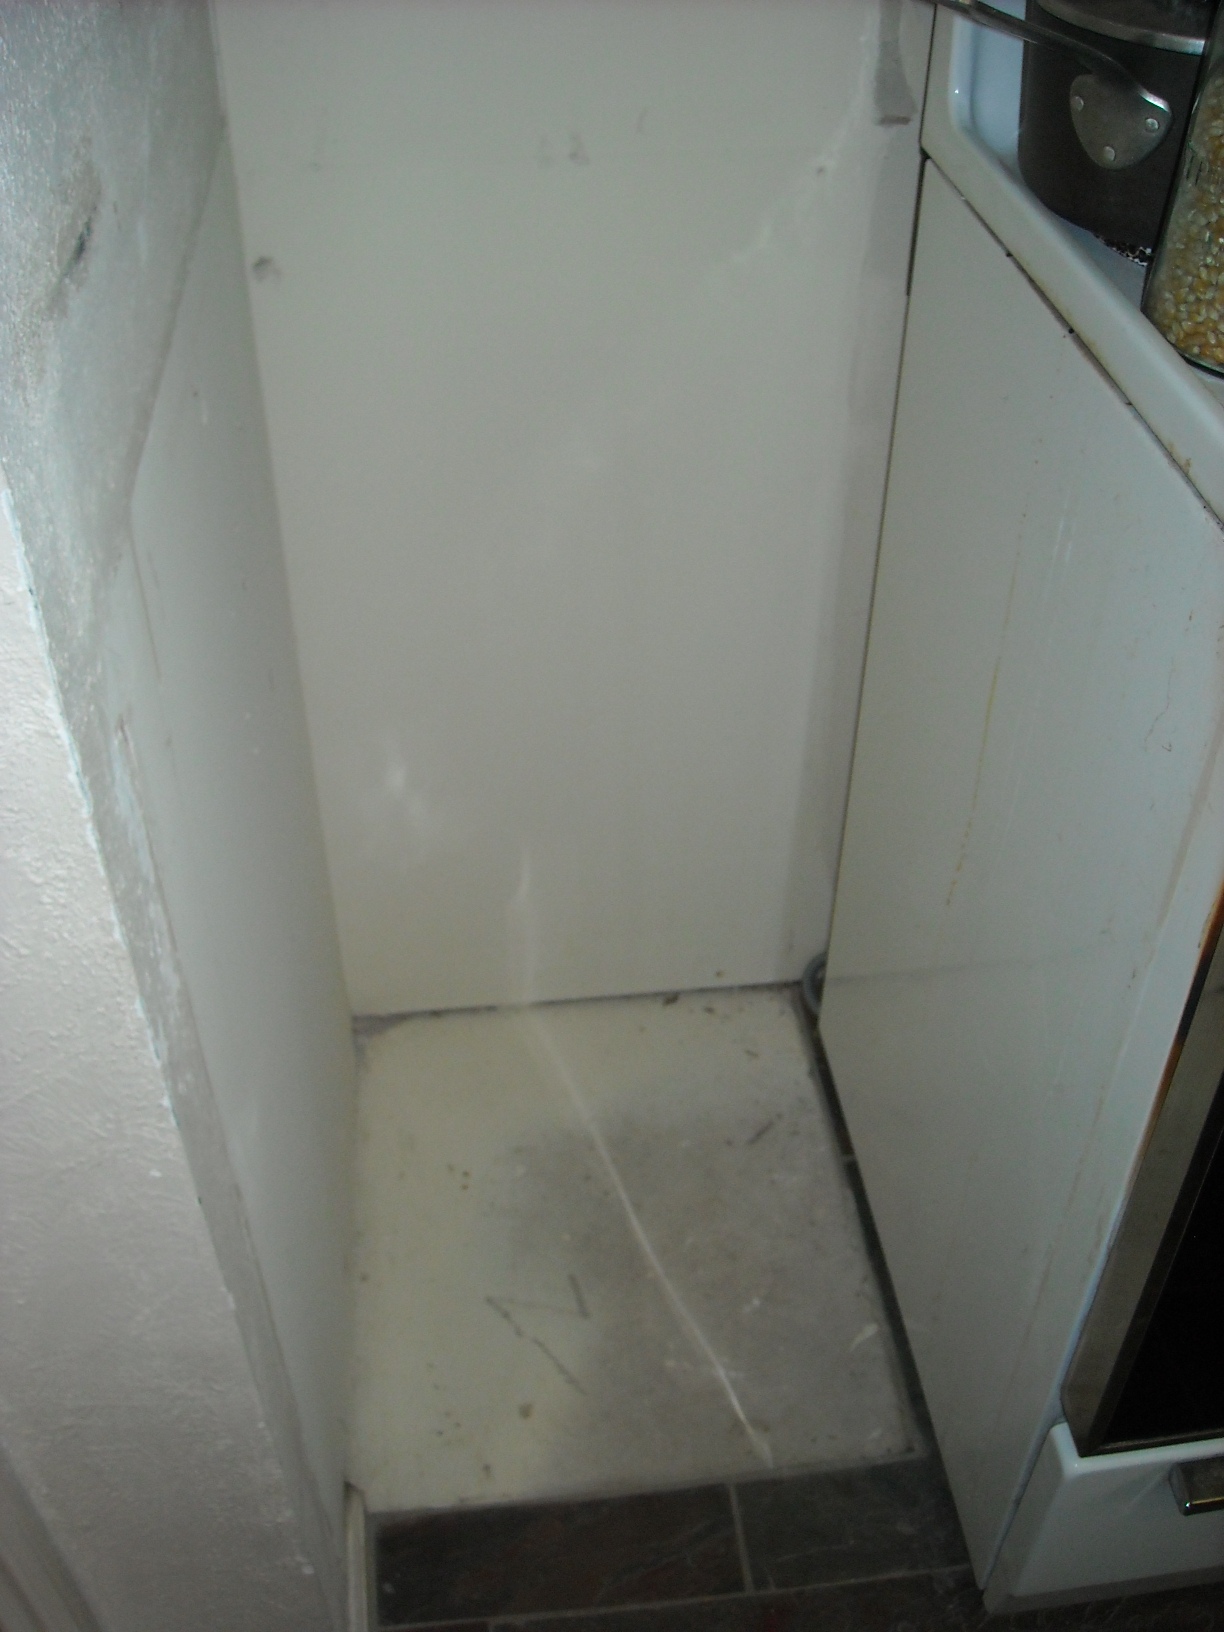
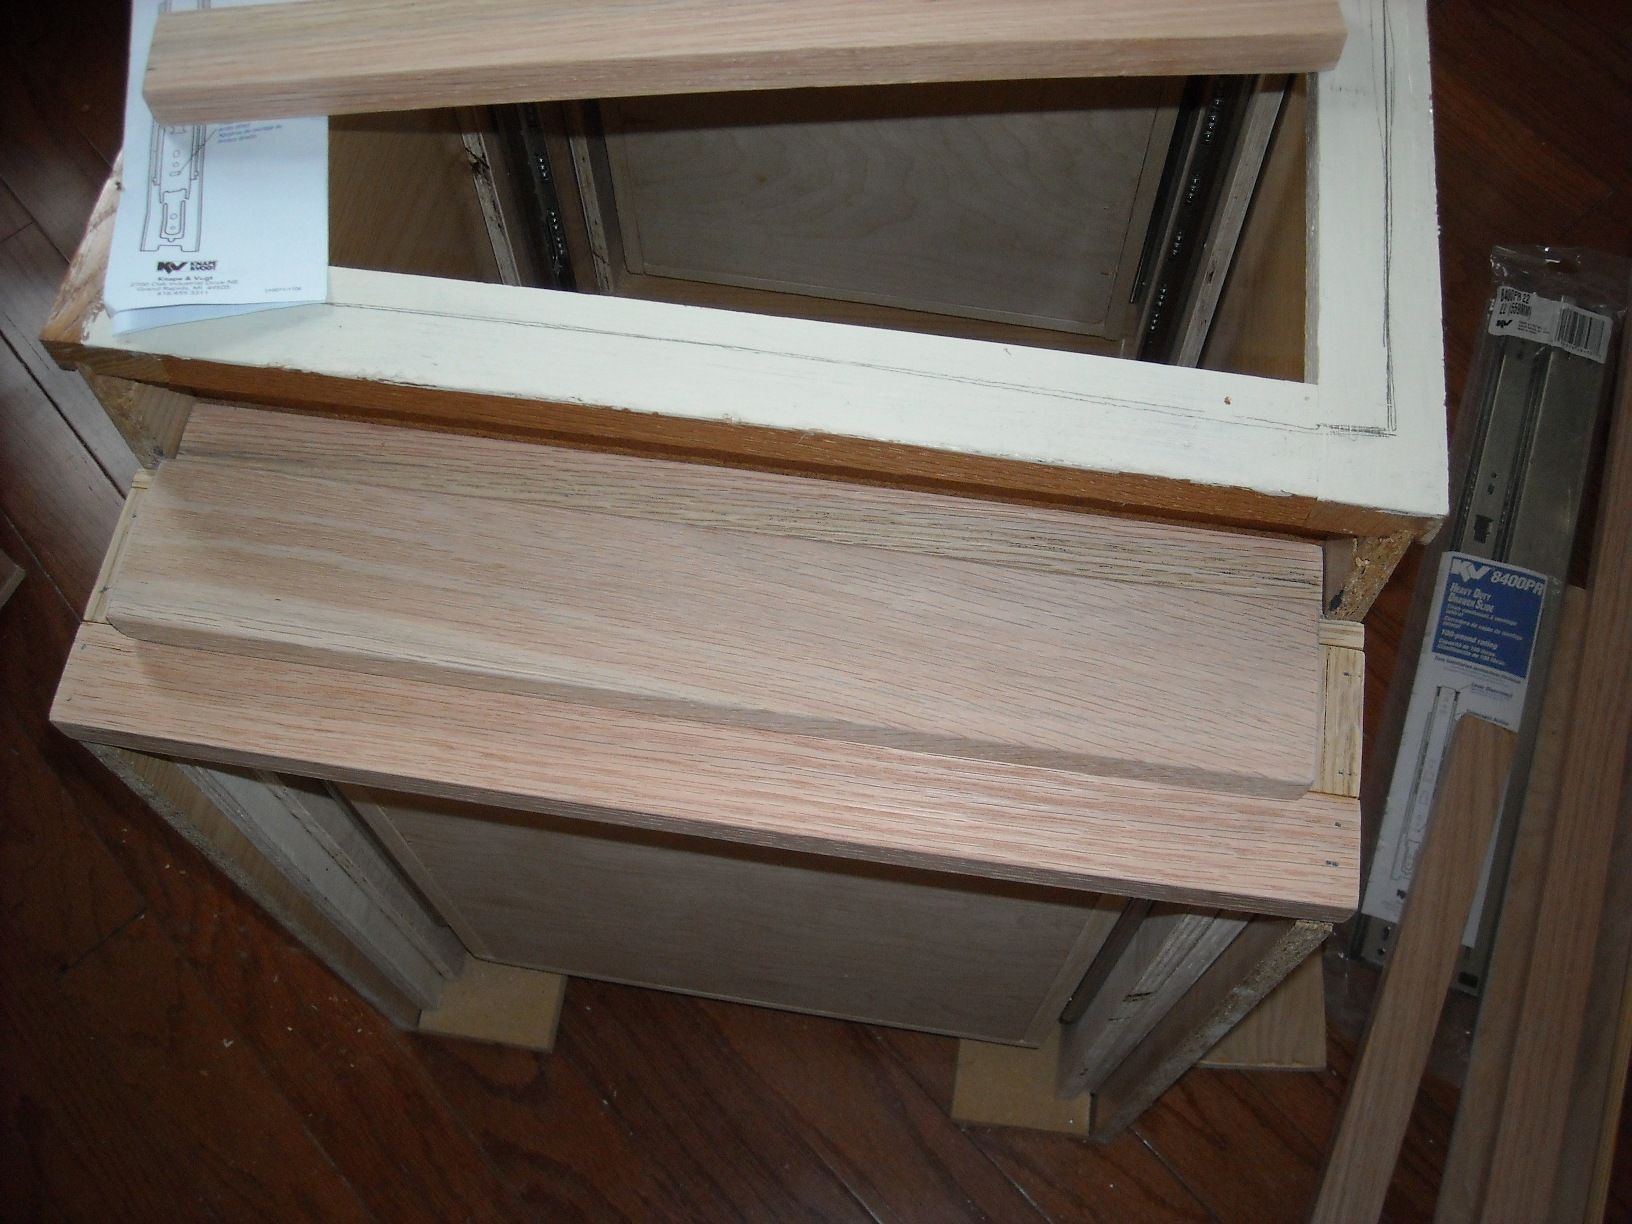
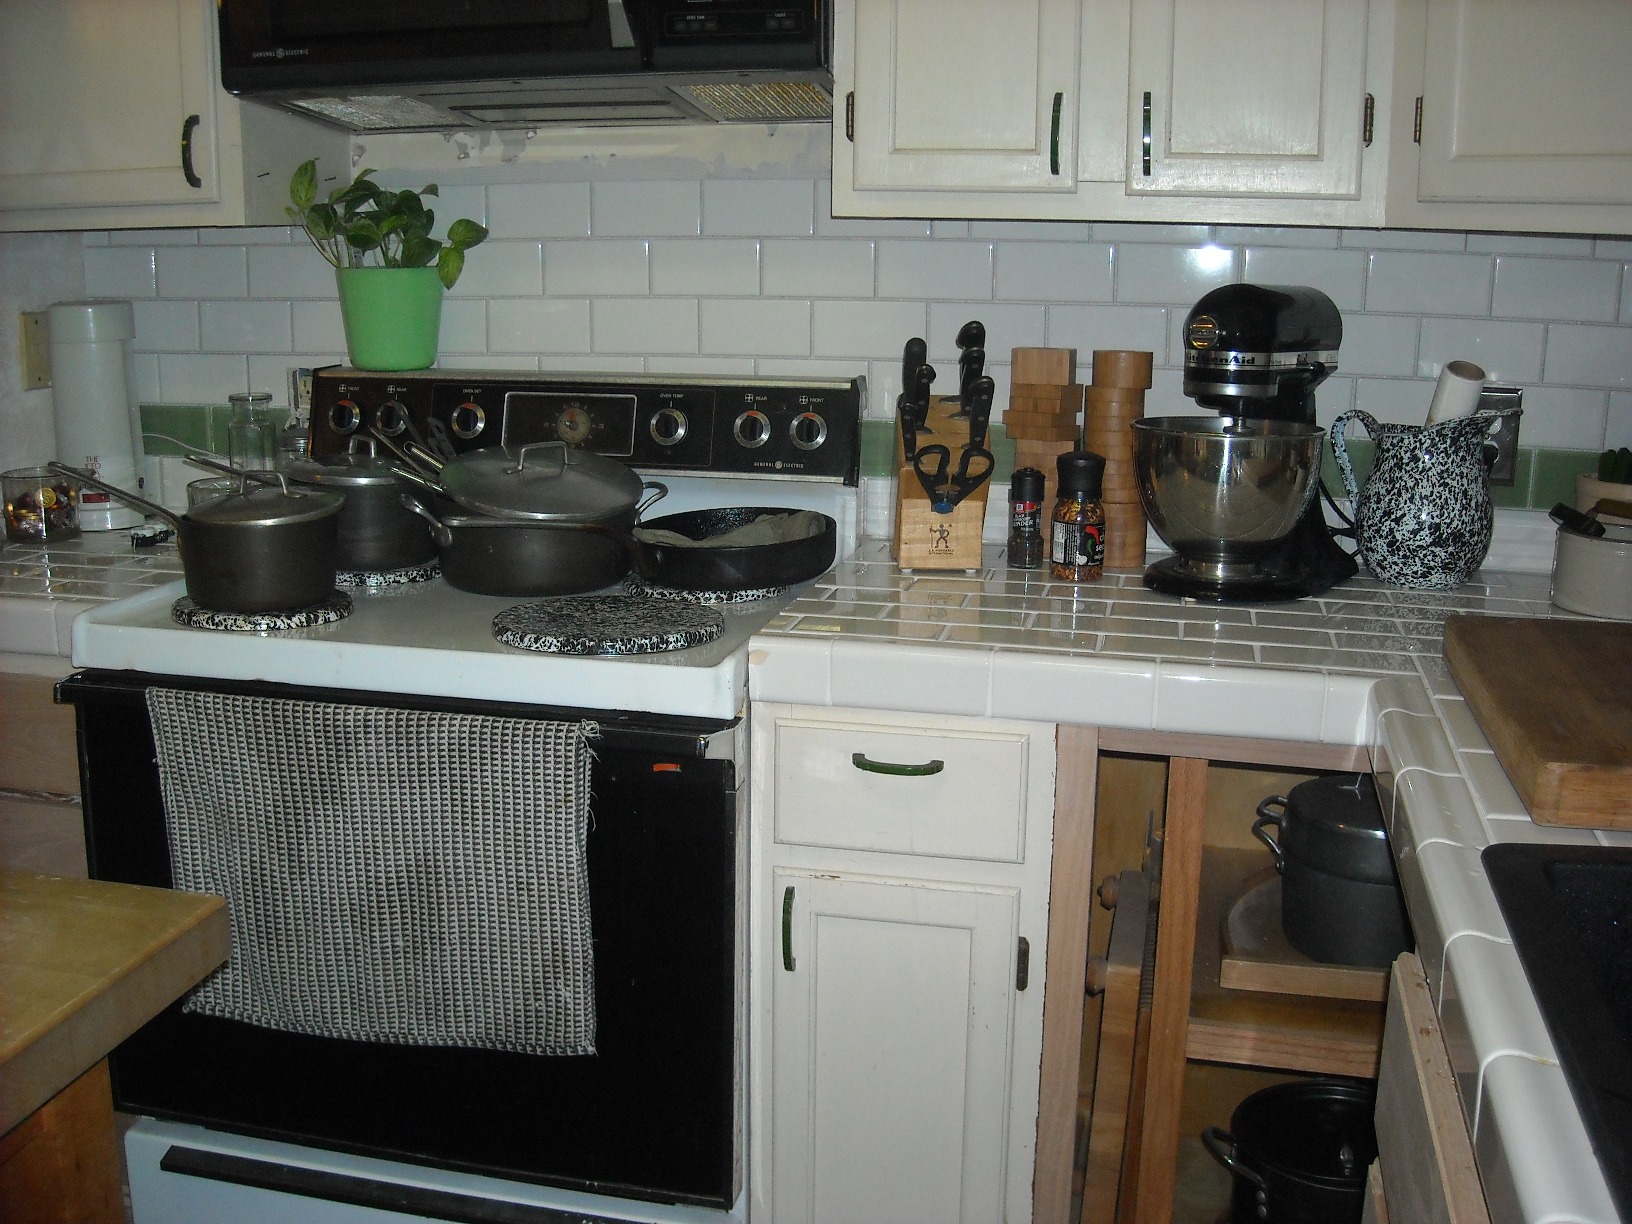
Although I am itching to put my first counter tile on the cabinet to the left of the stove so I can improve my technique for the more visible counters, I decided to pull the whole damn thing out to convert it to drawers. Better to do it that way than after a counter is installed. Well, actually I did spend many hours on a Friday night trying to add the slides in the cabinet to fit my new drawers - but made a critical mistake and cut notches in the cabinet face in the wrong place requiring me to pull the whole thing out to modify the face. Better all the way around because I can add the cross beams with dowell pins for a more secure frame. The existing cabinet was a horrible waste of space and I never could find a well-made pre-fab unit. Plus, this allows me to custom size the drawers I need along with maximizing their size. Not to mention, the quality of slides I used is way better. Of course once I had the cabinet in the living room floor, why not add a kickboard drawer (especially with the crappy twenty year old black (???) particle board kickboards I have)! Same technique as the sink base, but I think I am finally getting the hang of mounting drawer slides. To modify my now butchered cabinet frame, I discarded the side beams after measuring the locations of all my necessary cut-outs and additions. I used the two side beams off the discarded cabinet front from my old sink base. I cut out new notches for the slides (I had reason for the drawers to be the whole width of the cabinet opening) and added new cross beams to accomodate the new drawers. I used dowell pins and did probably three fit checks before gluing it all together. I still need a larger piece of oak to make the bottom drawer front (and unfortunately, I didn't have any poplar large enough for that drawer - so I made that one from birch plywood). I will most likely remake that drawer later with better wood, even though I trimmed the top so you can't see the plywood edge.

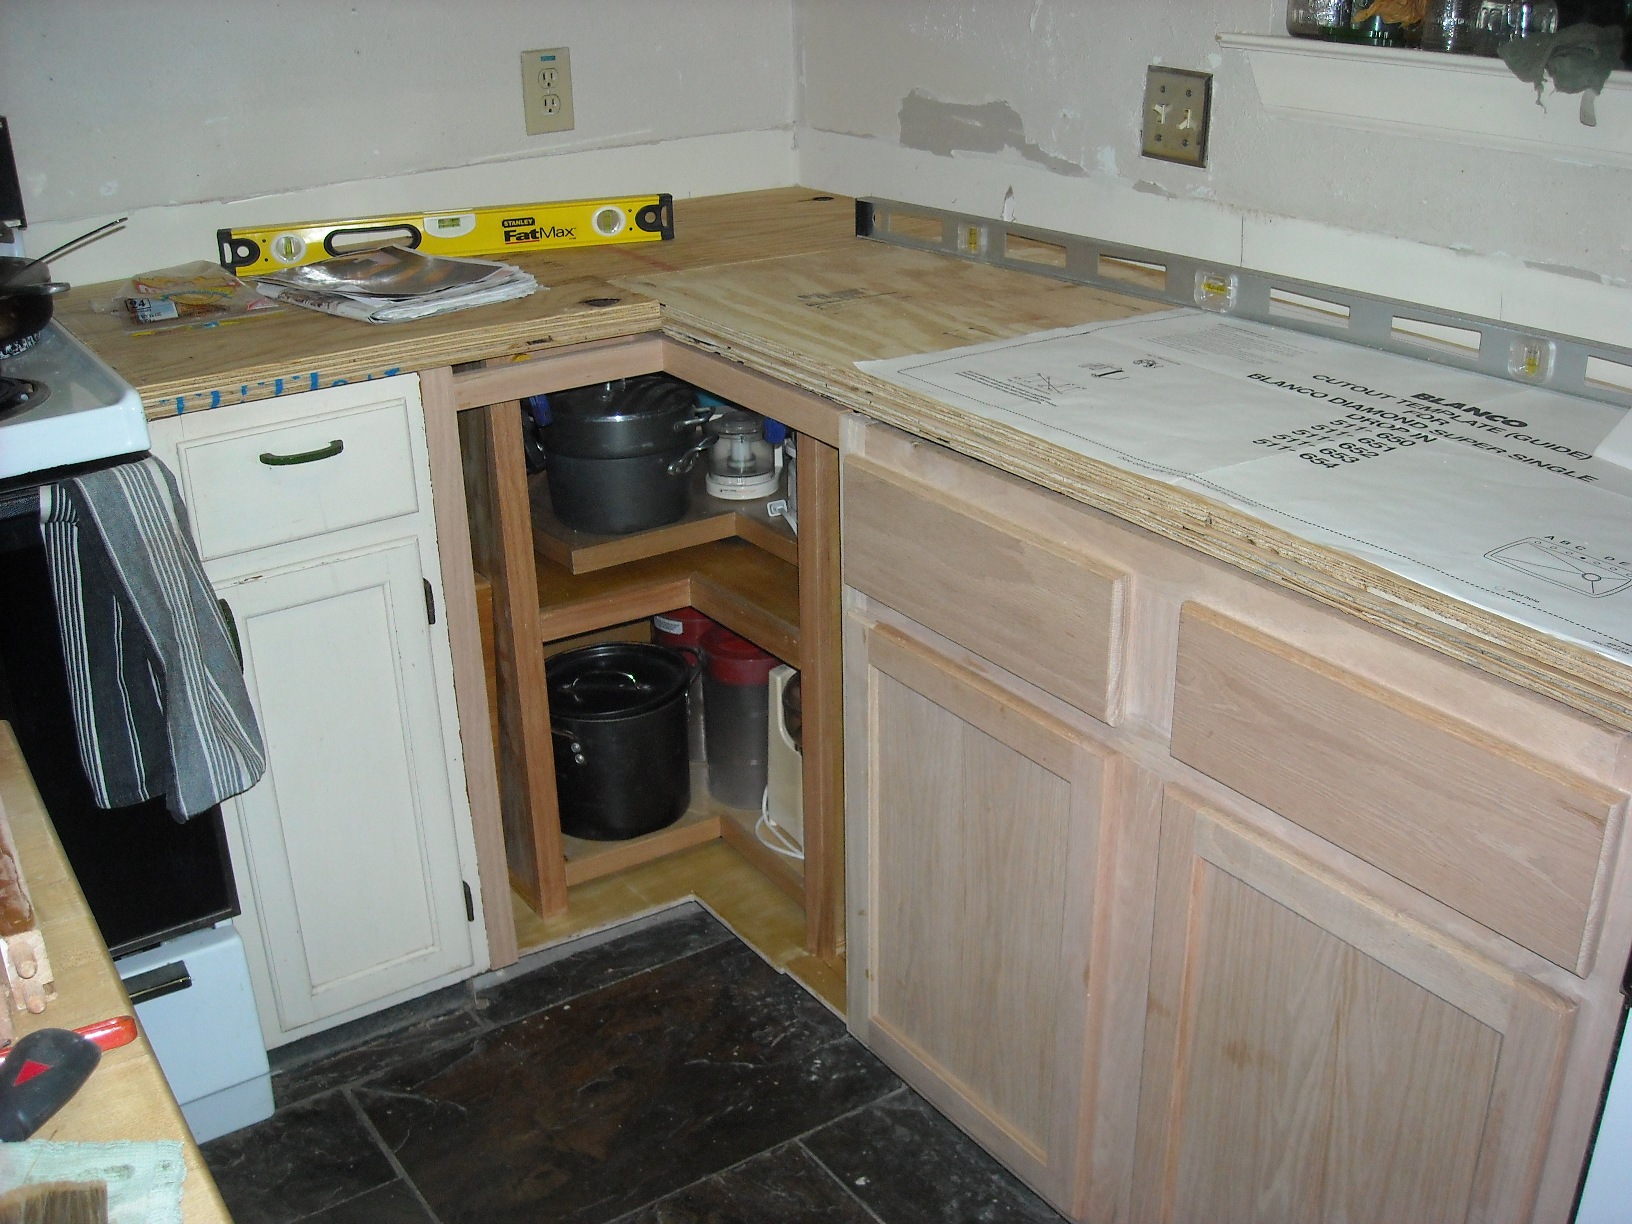
I finally added the upper cross beams to the blind corner that will support the french doors (along with the plywood base for the counter top). Then.... I moved the butcher block out a bit and created a true functional triangle between the fridge, stove, and sink. It is quite amazing the difference it made. I didn't lose anything off the front since the table is already out there - but it visually added more depth making the kitchen seem bigger even standing out front (as did adding the cabinets on the side of the window). I really can not wait to be done and cook in there again!!! I am getting close, finally!


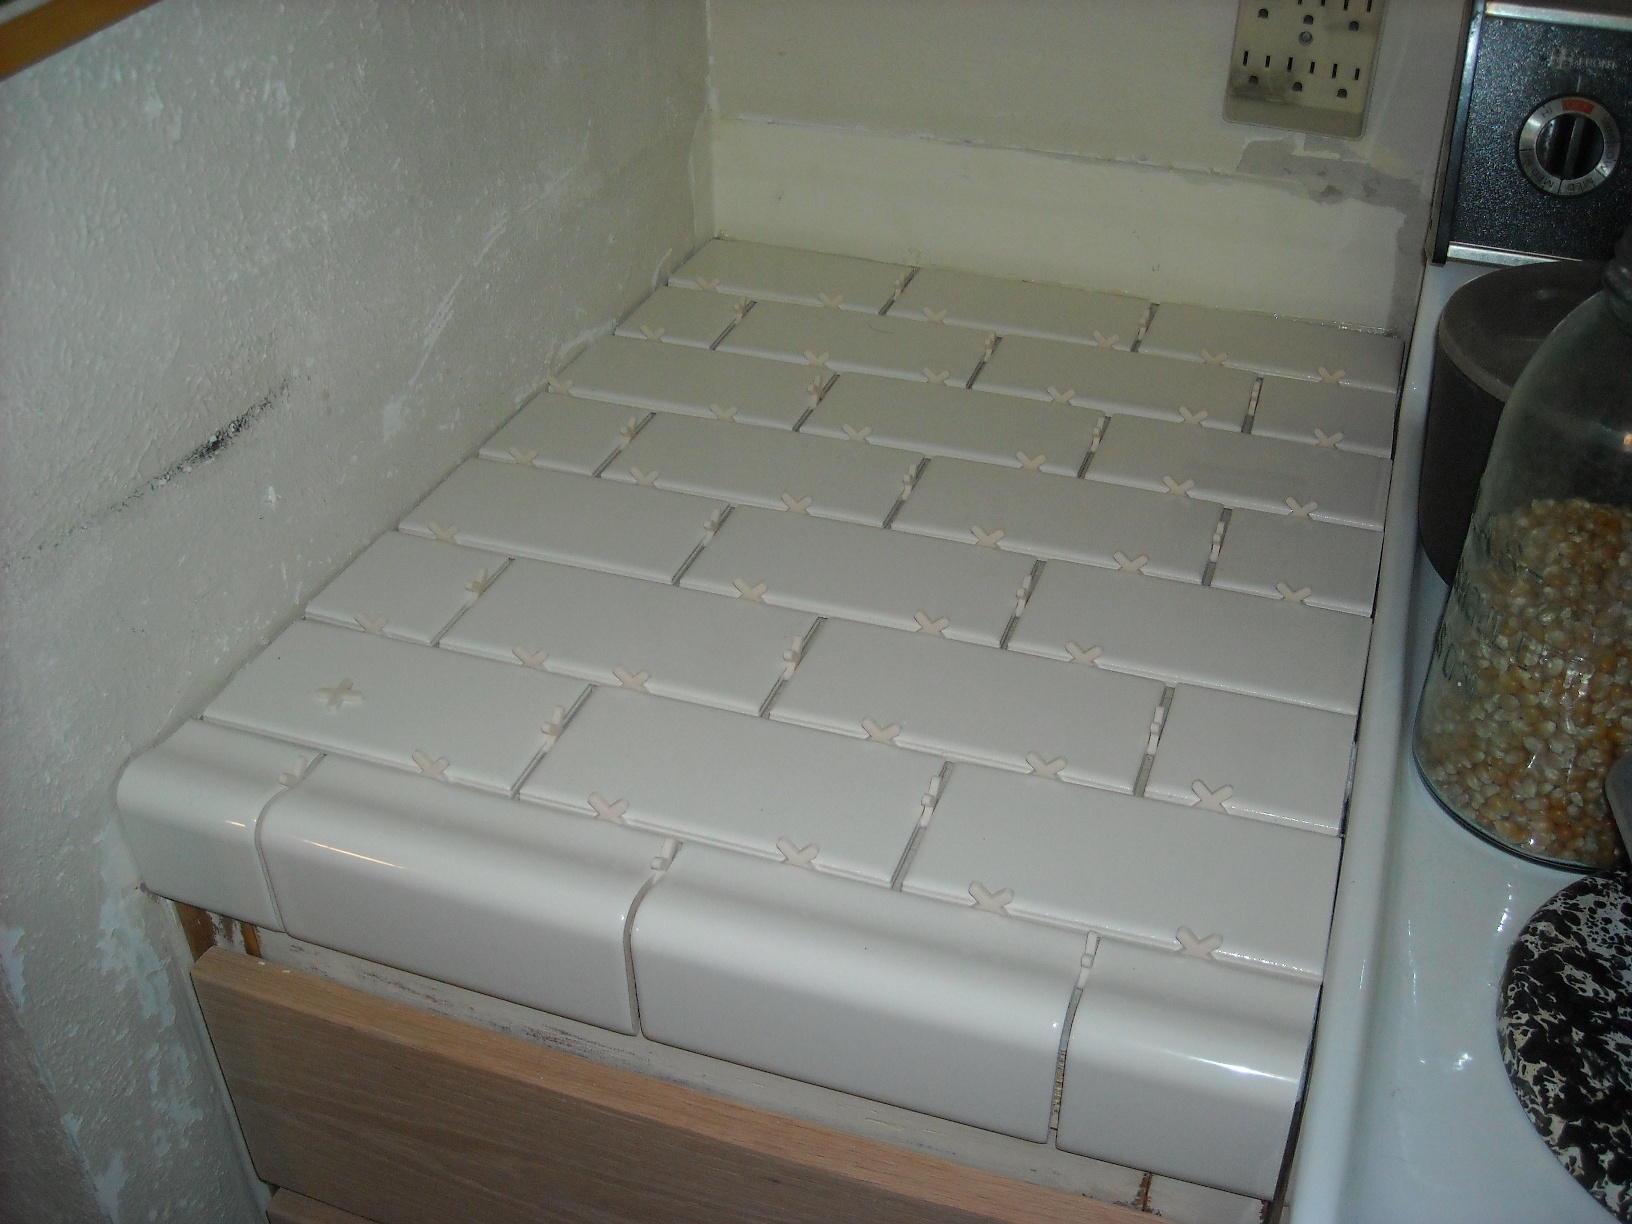
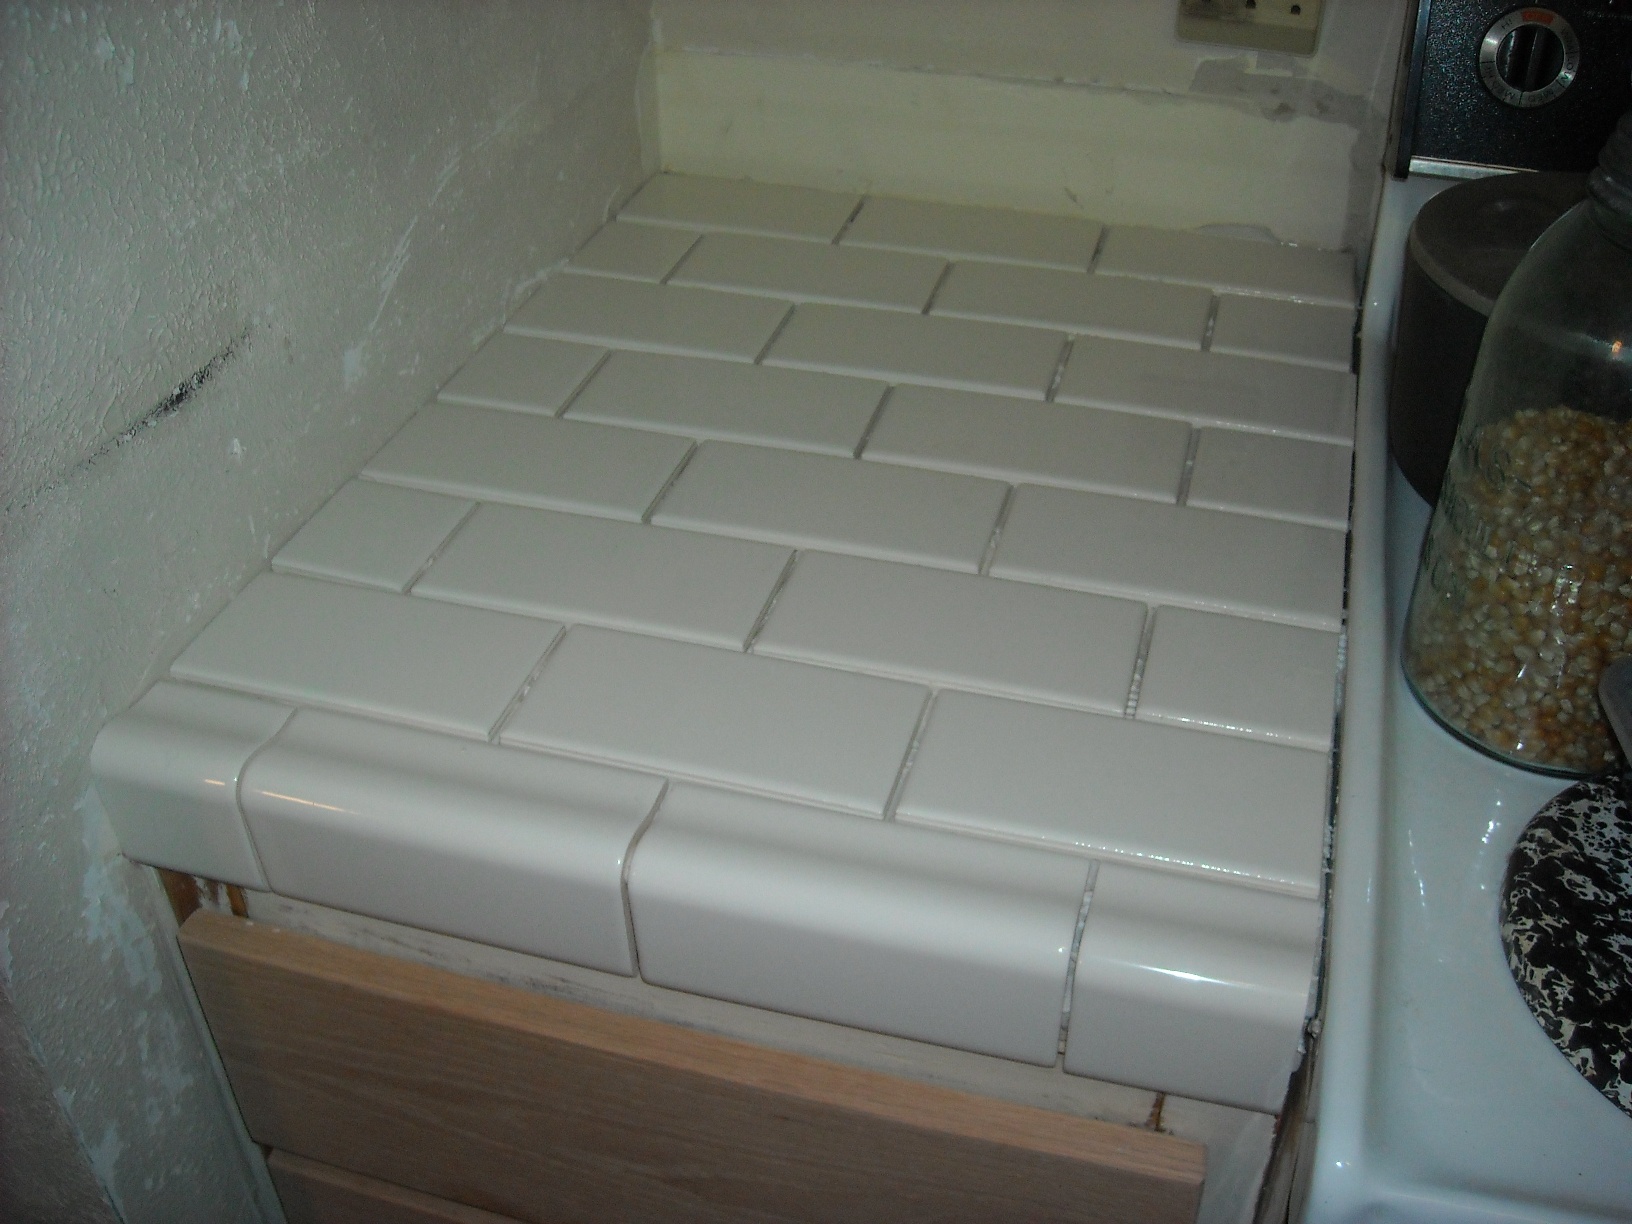
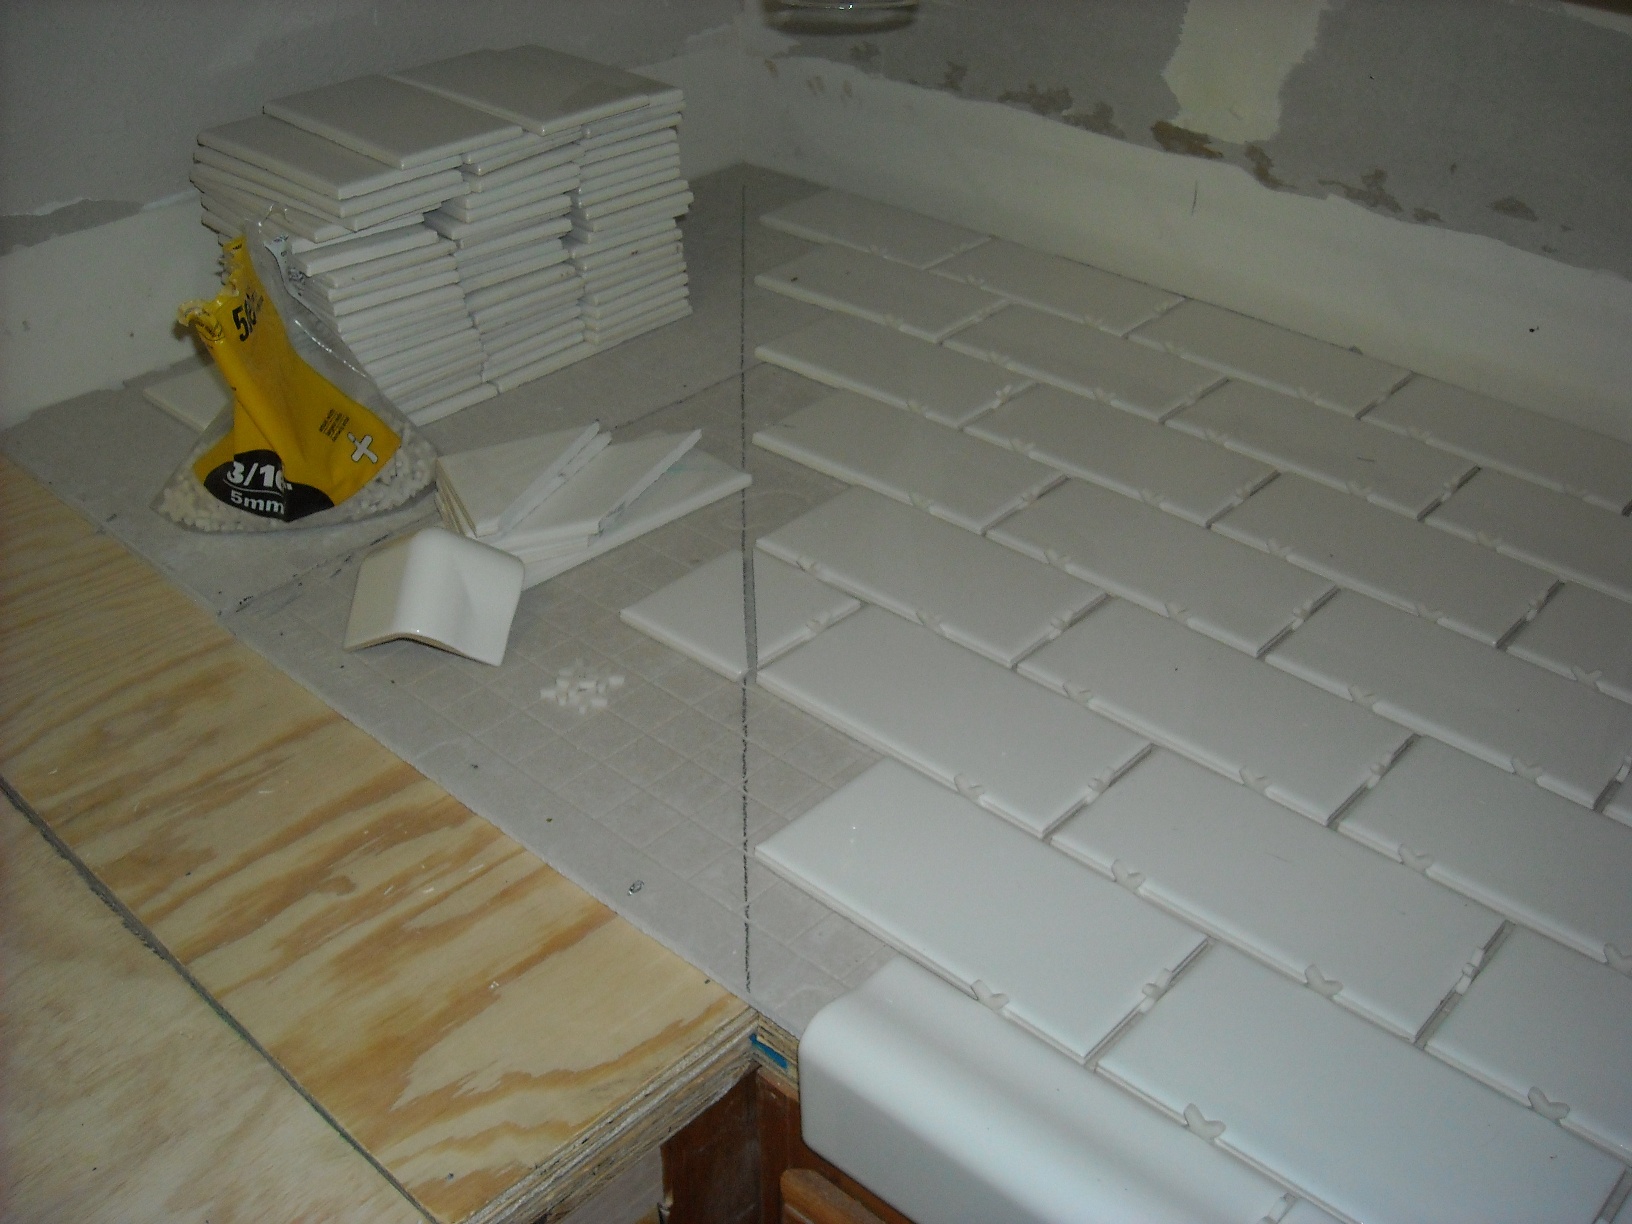
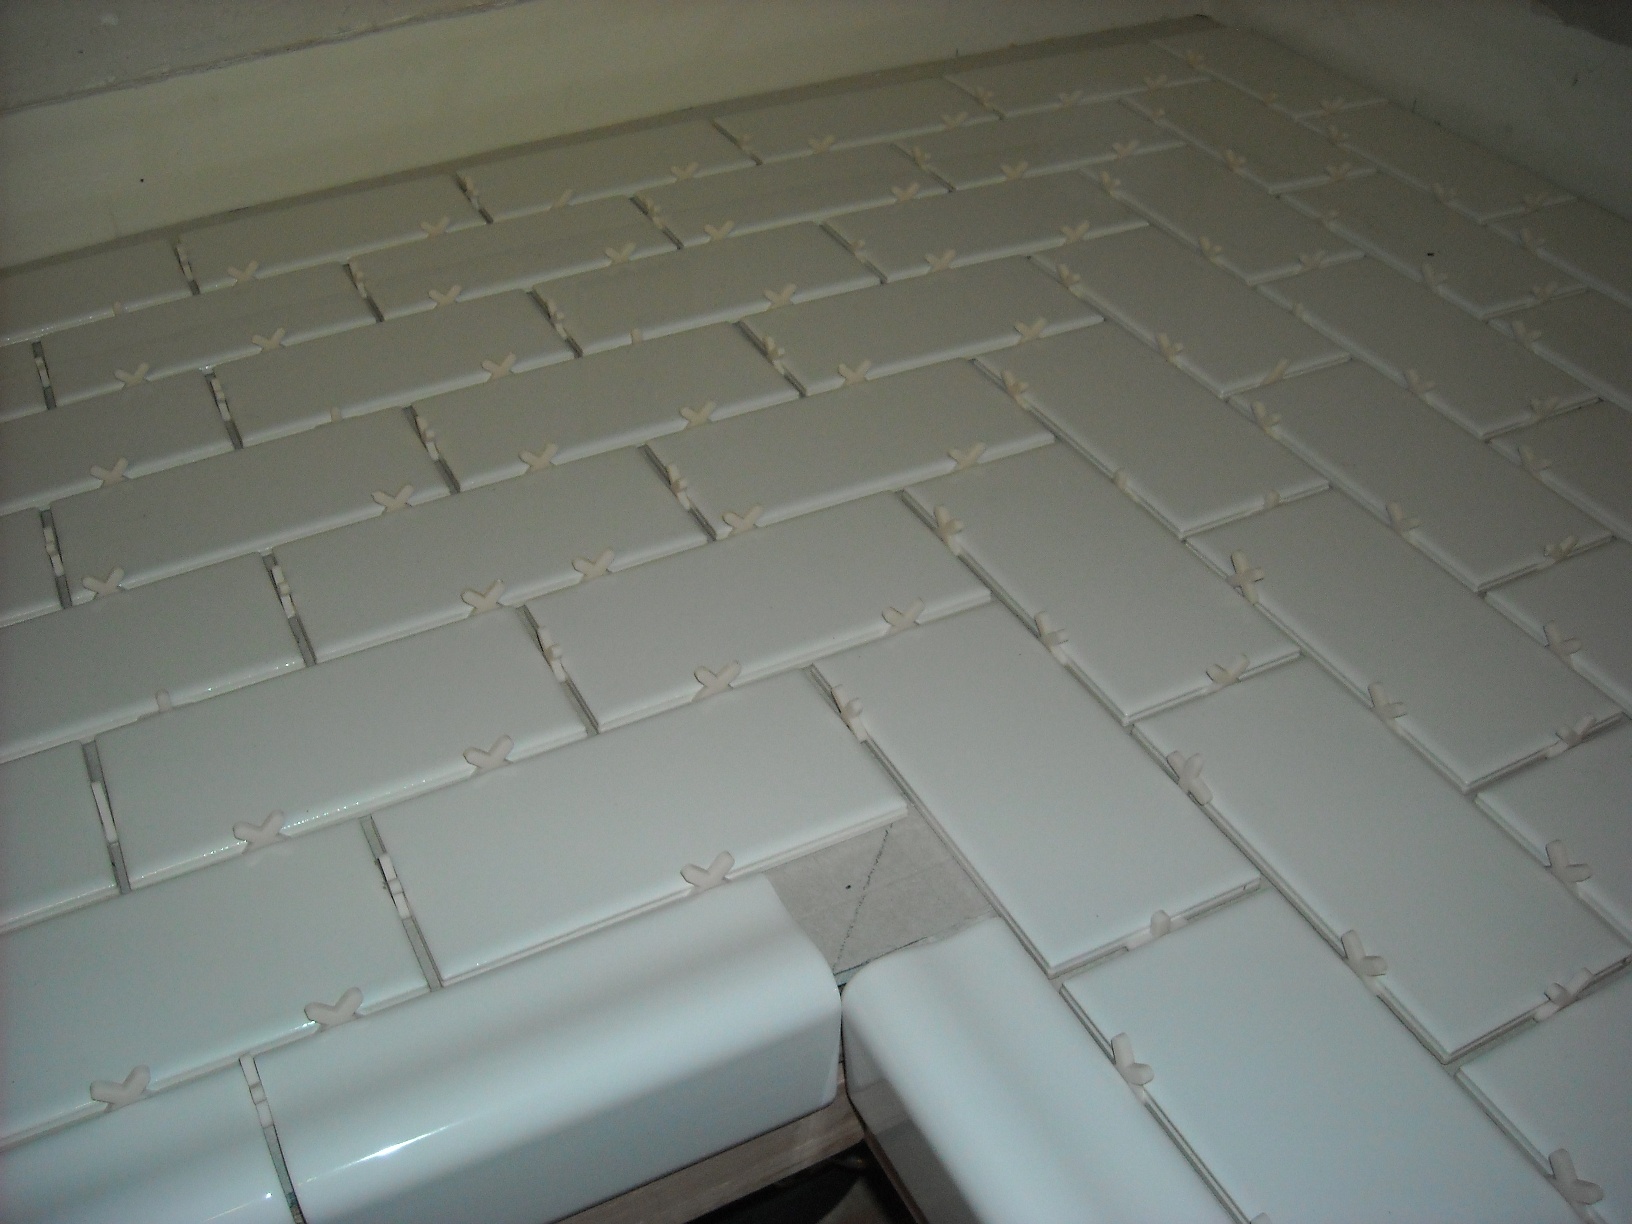
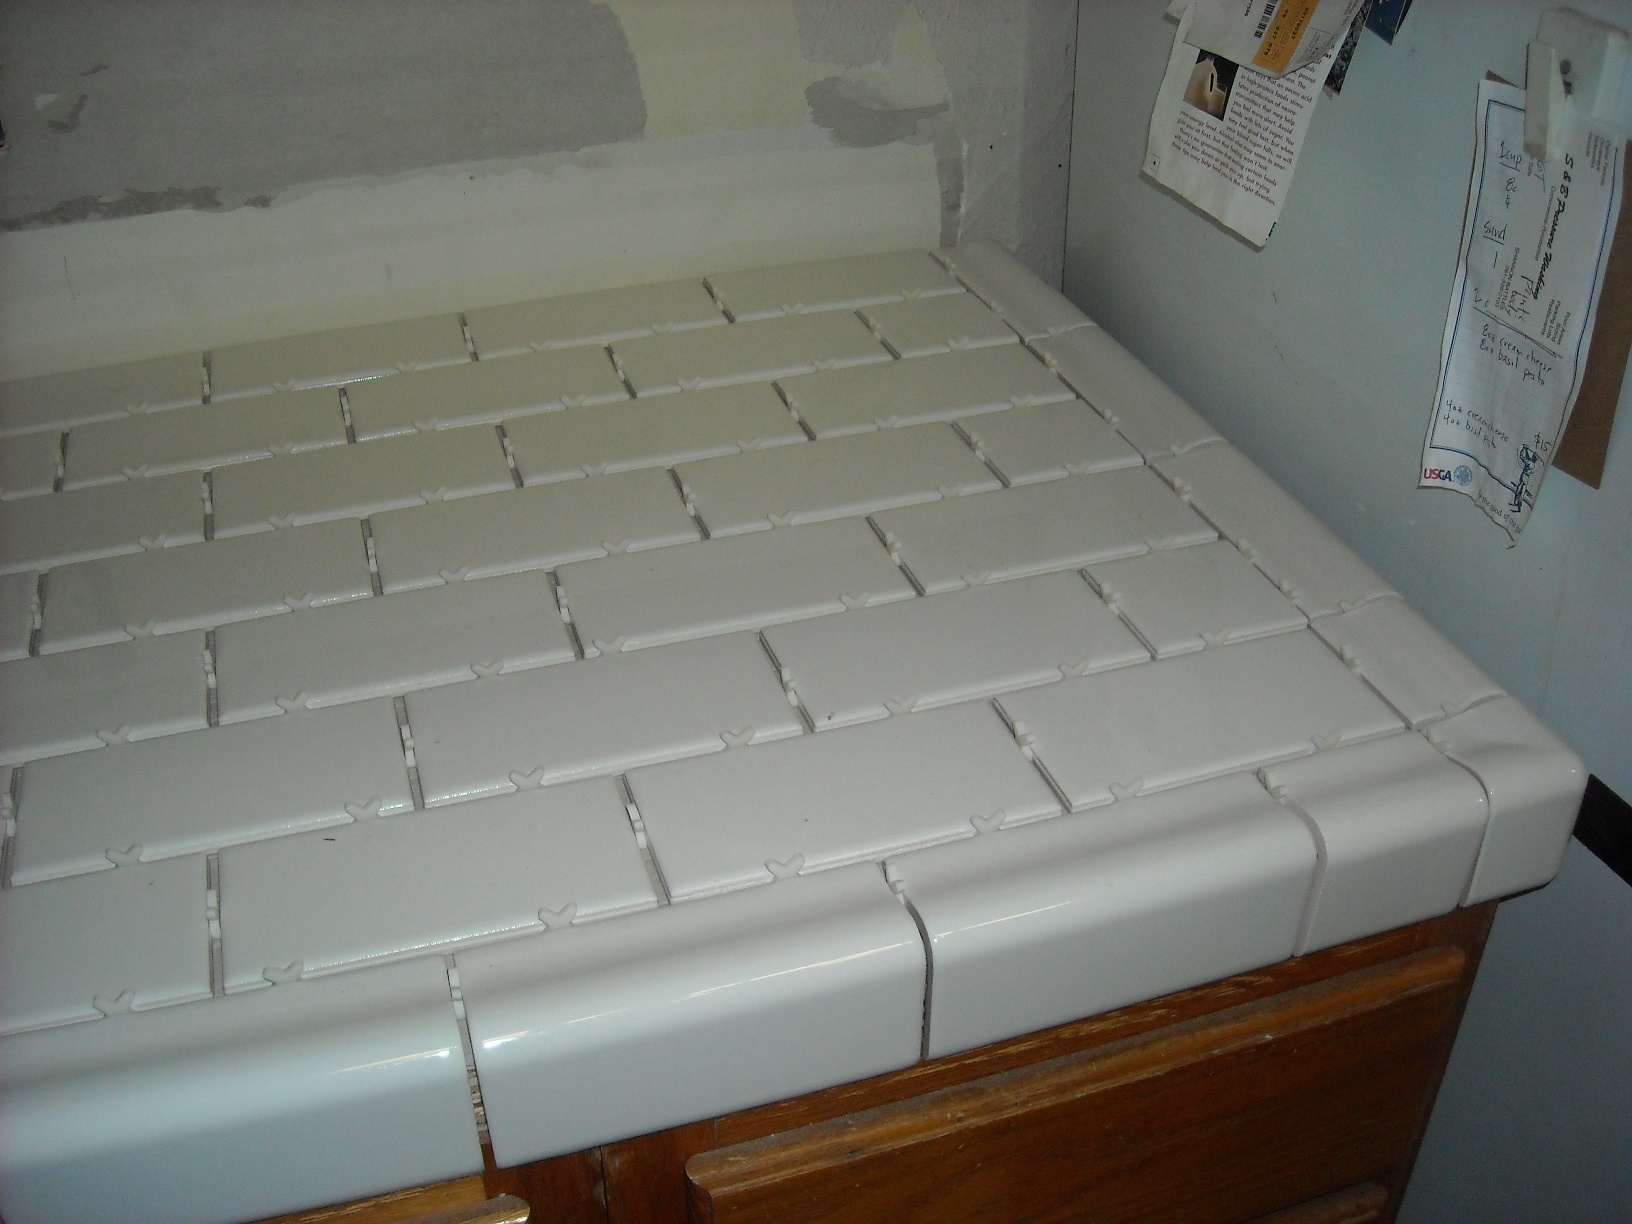
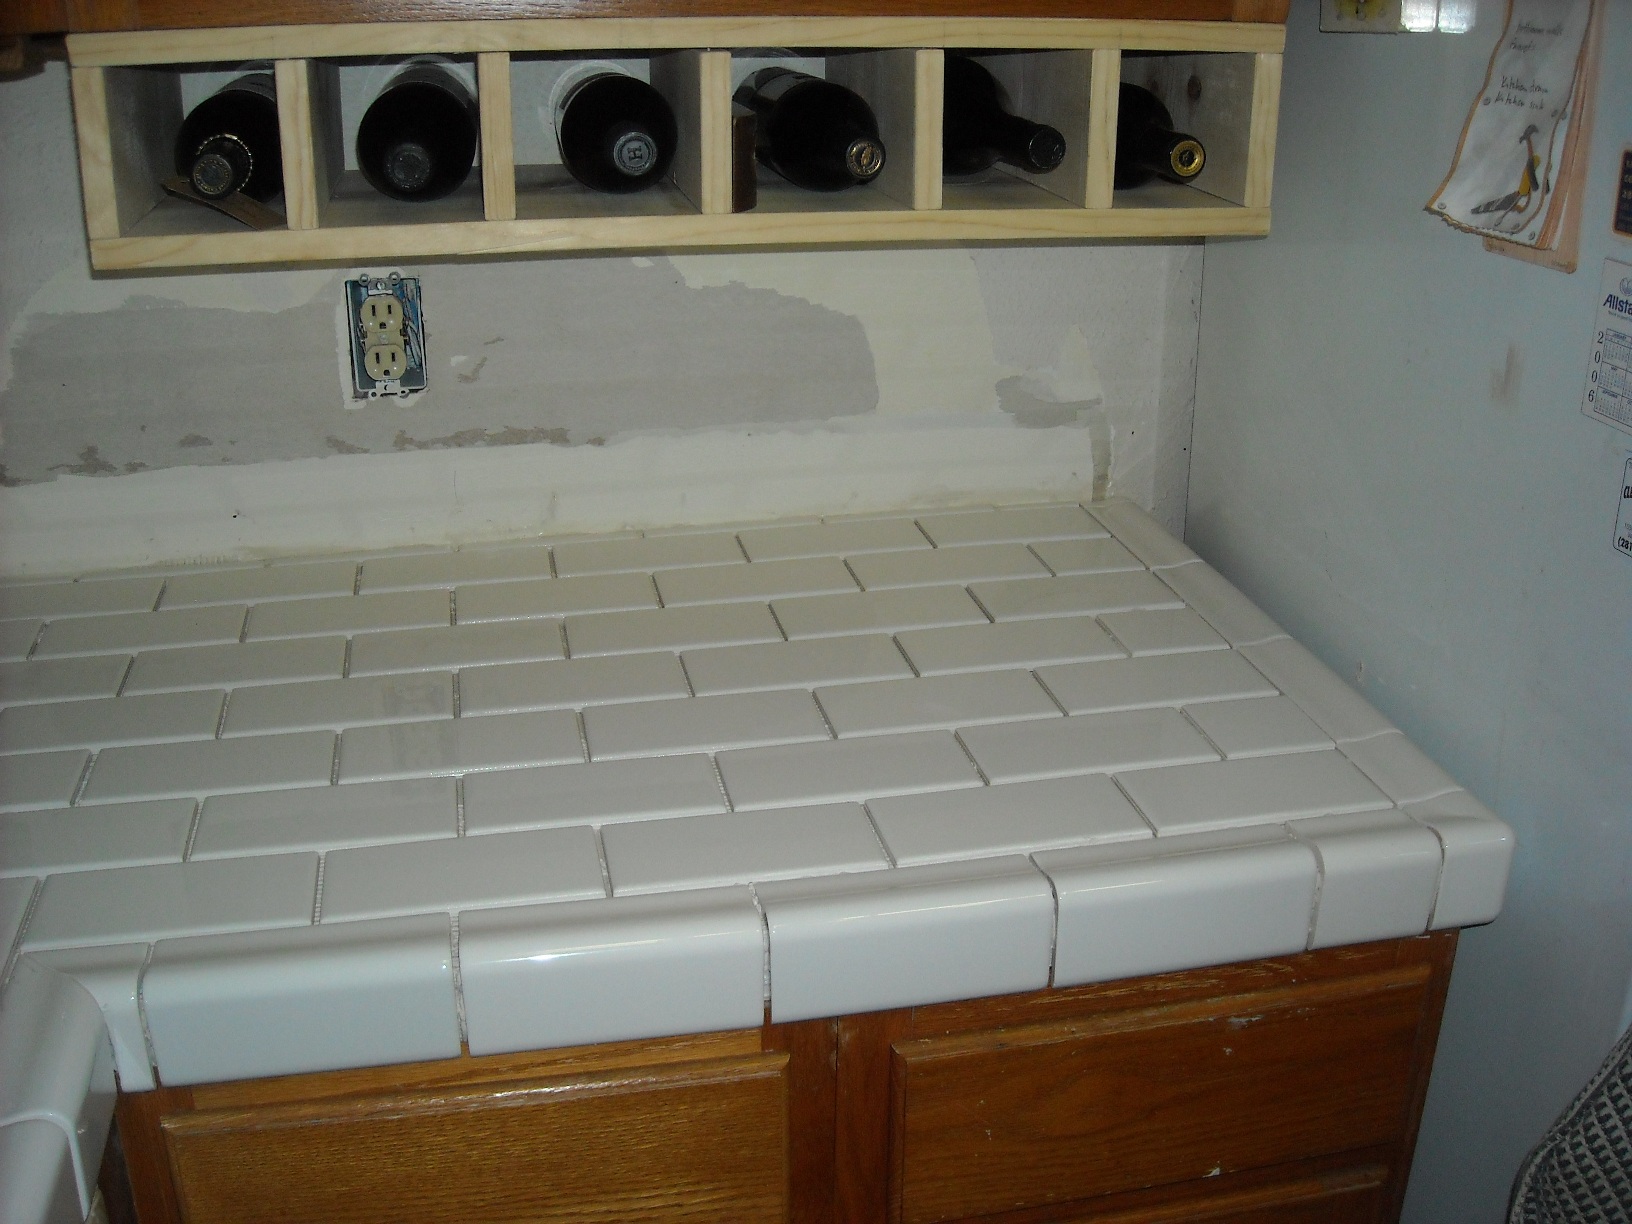
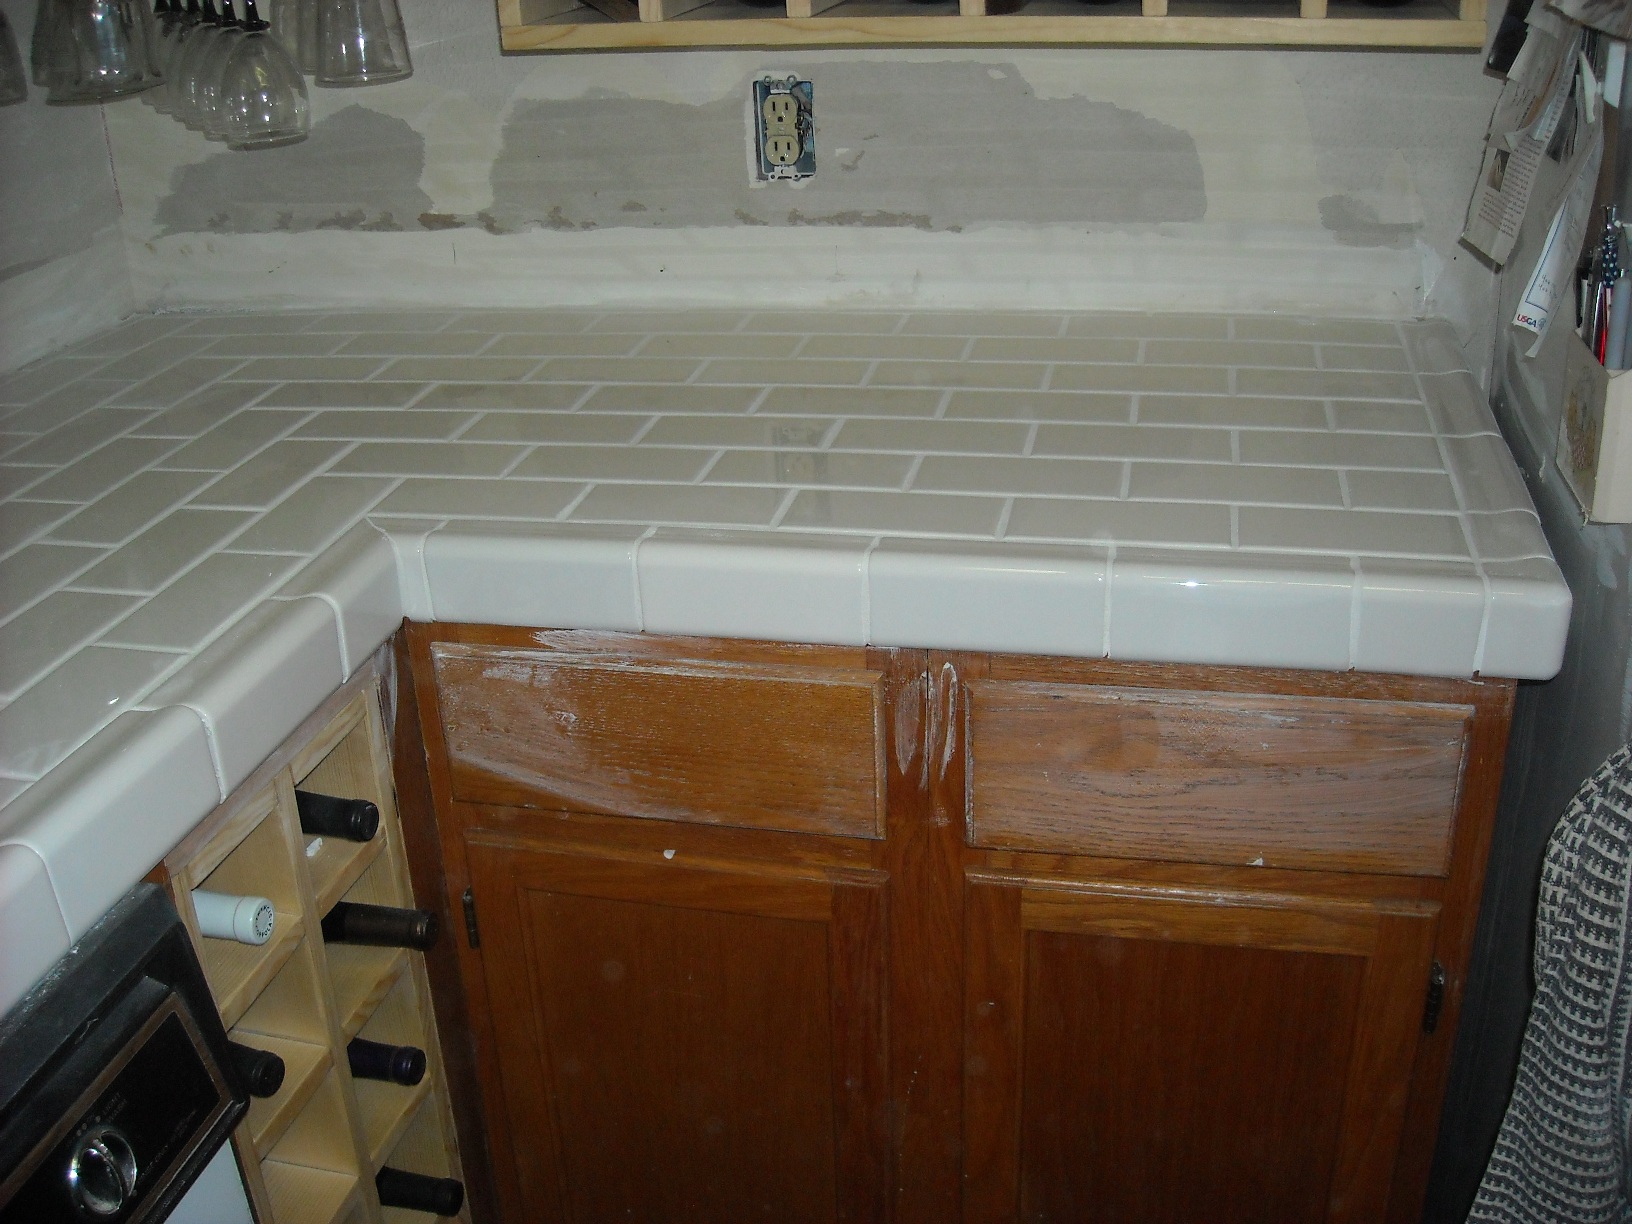
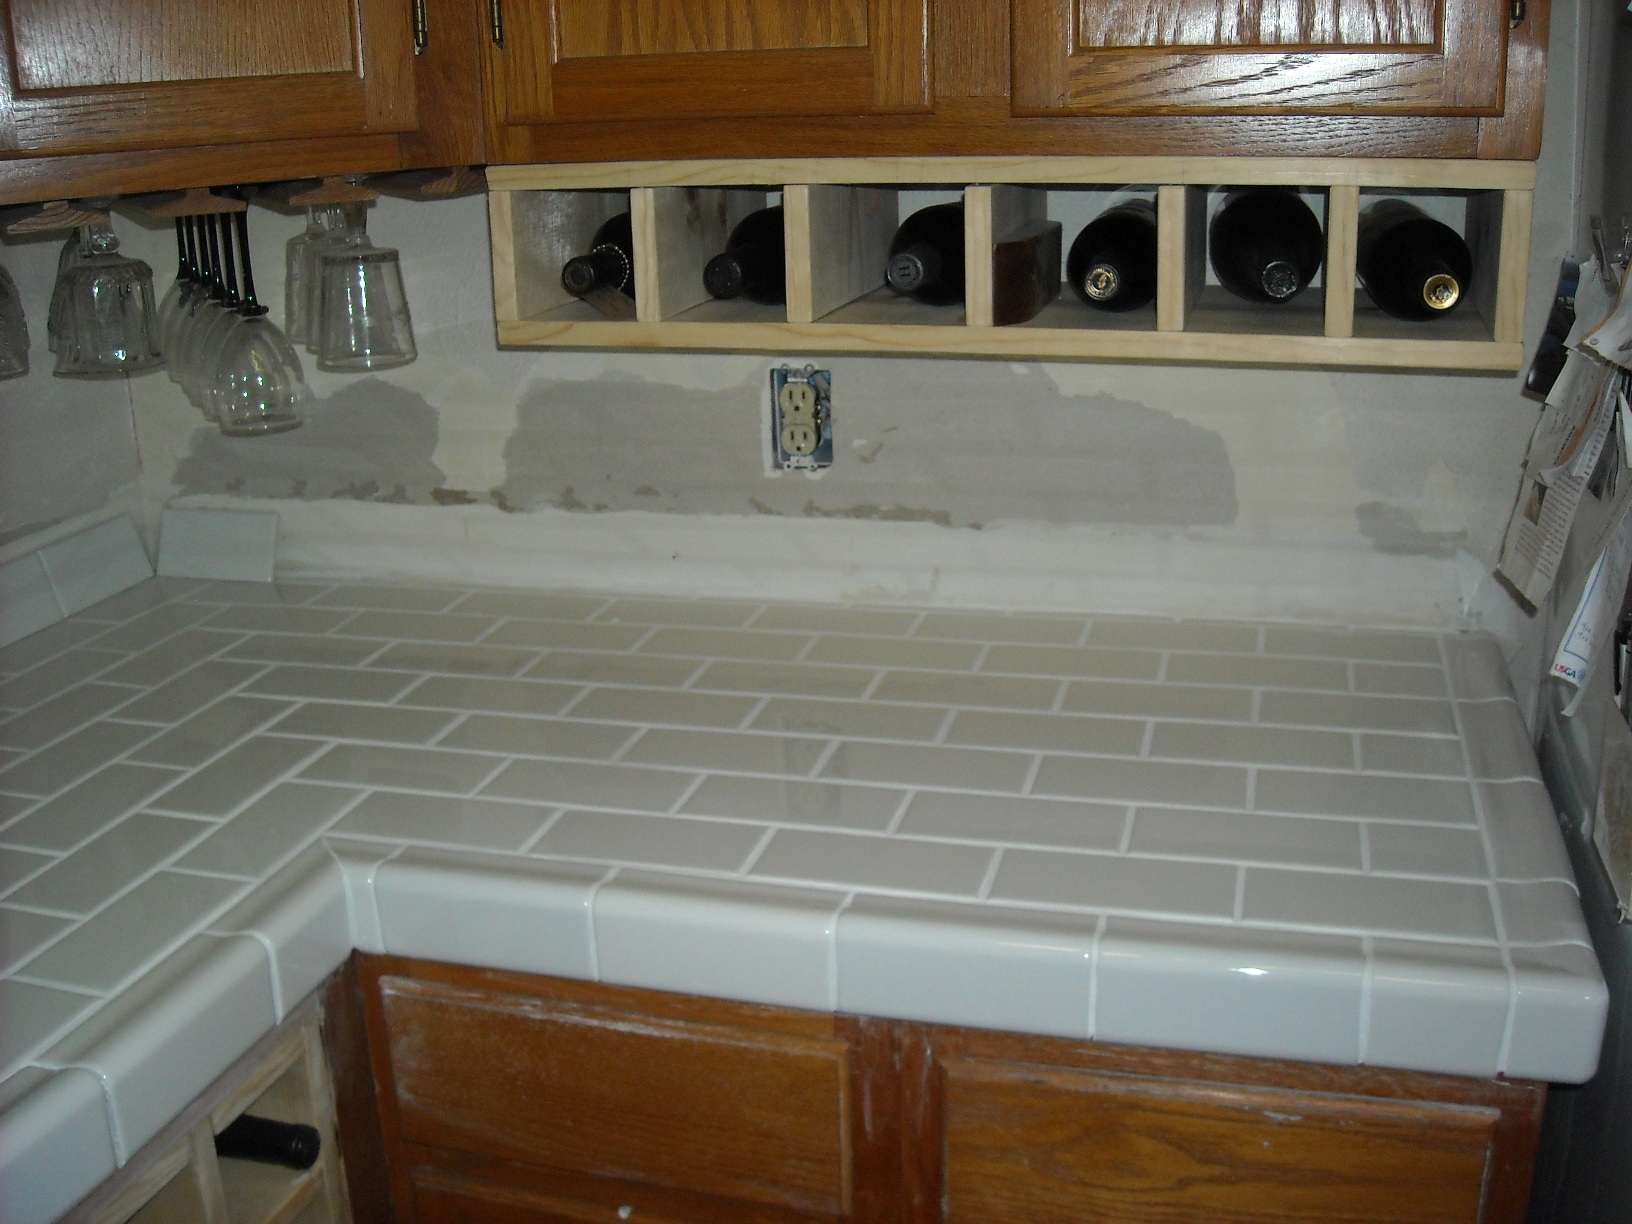
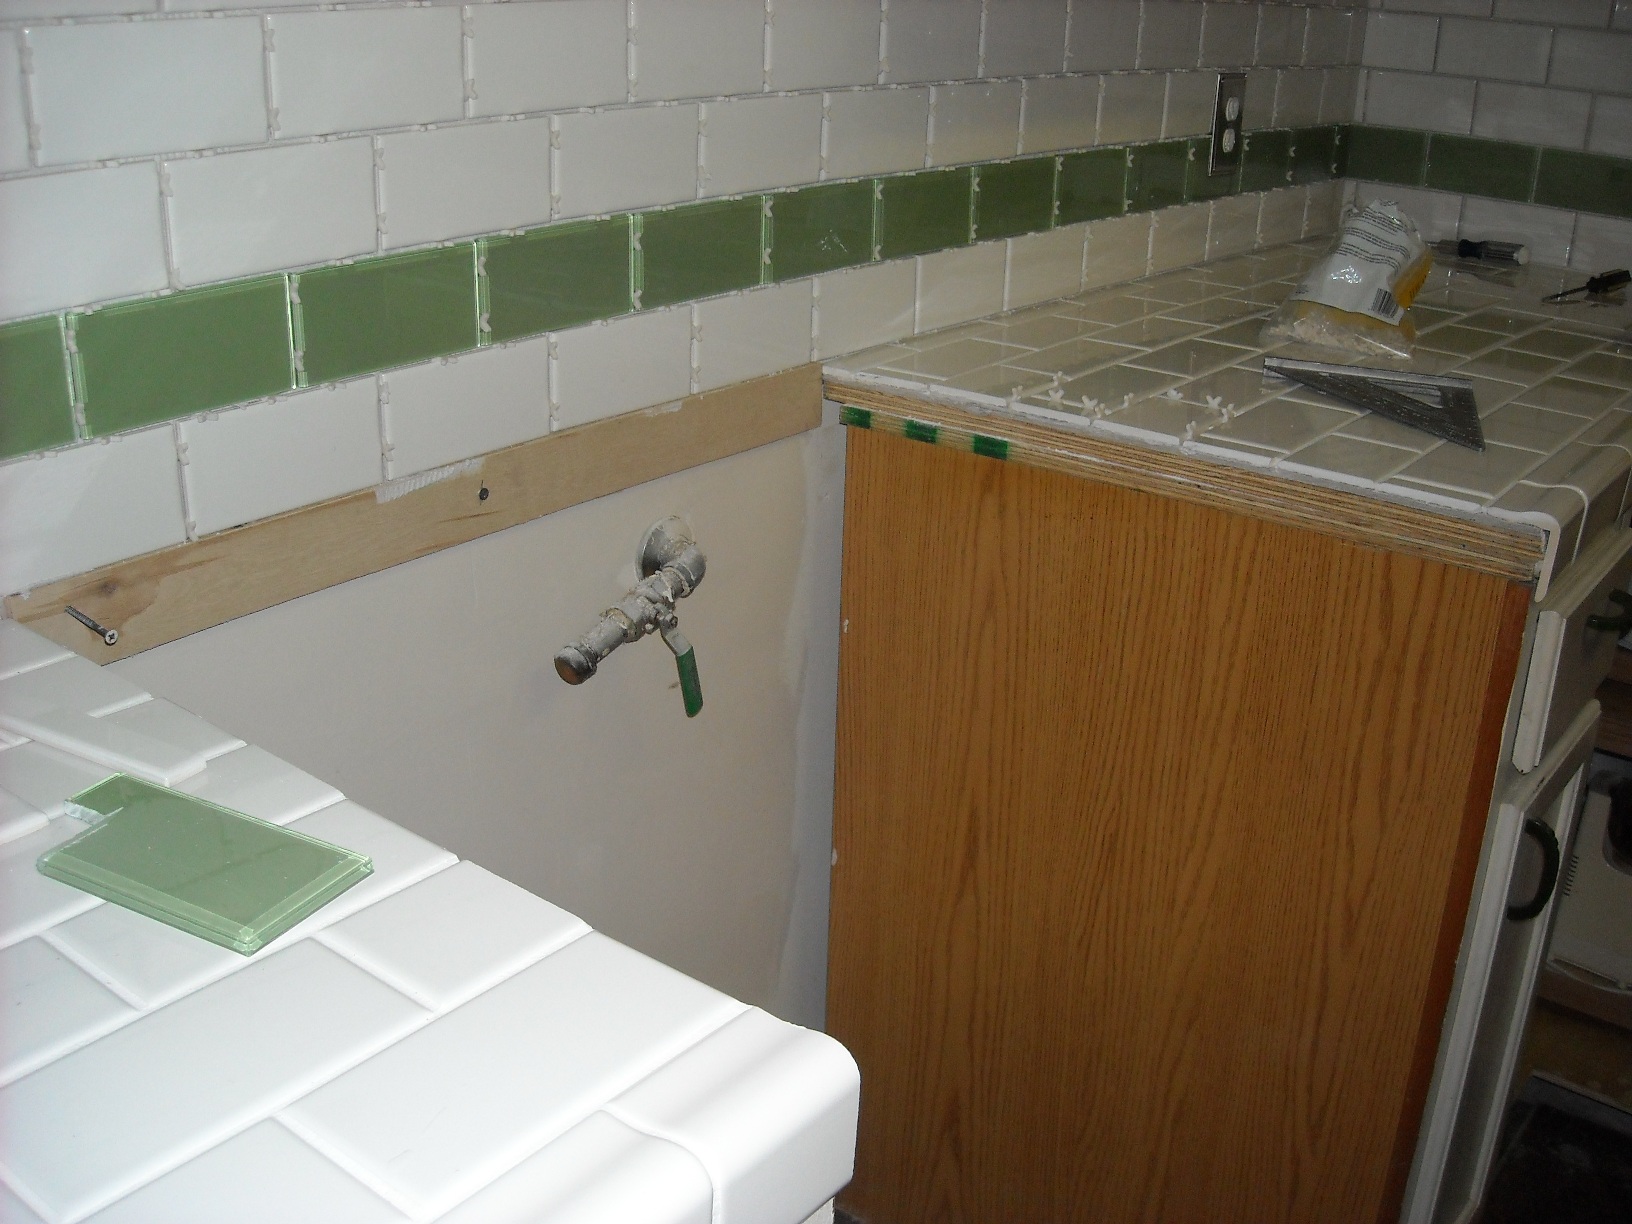
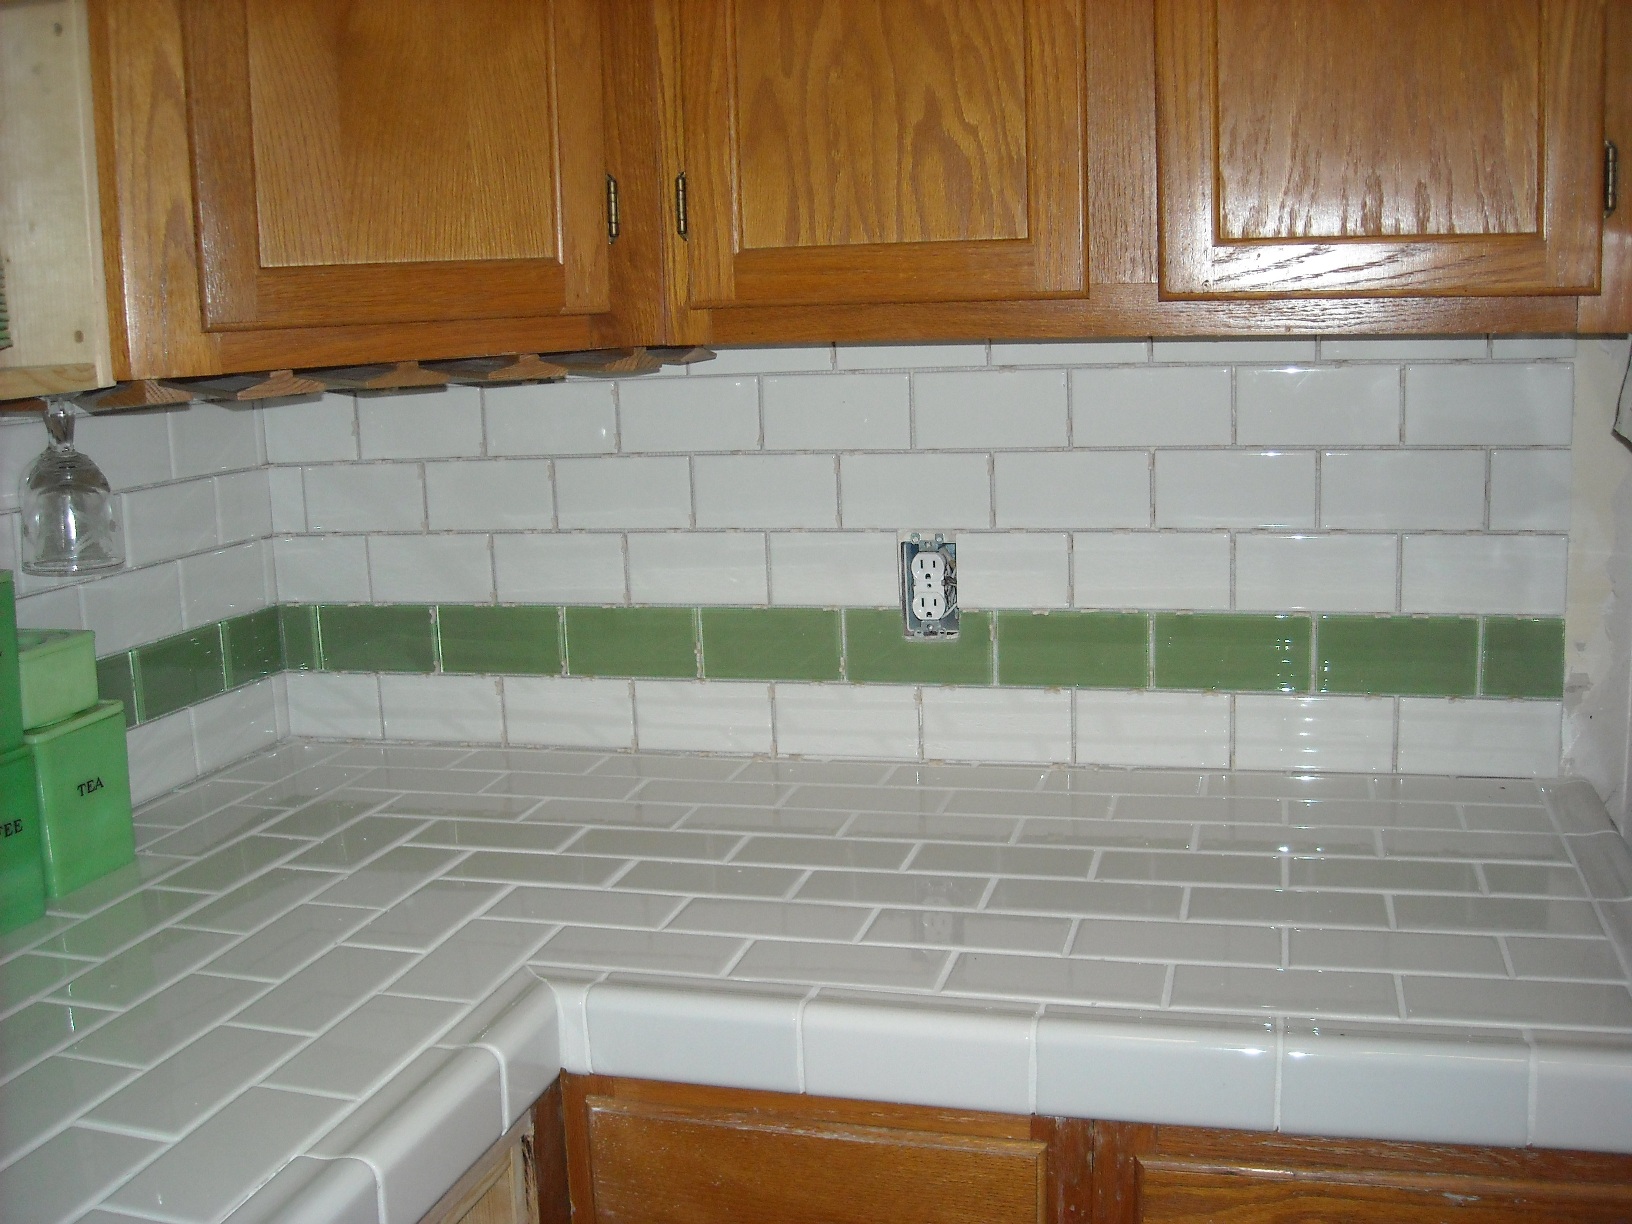
I finally laid my first tile... It was actually the easiest thing I had done in the kitchen so far... you just have to get everything measured out, pre-cut your tiles and do a dry fit. Then it is a piece of cake and a smooth process. I used my little pneumatic nailer to secure the two sheets of 3/4 inch plywood and 1/4 inch backerboard. I made sure I applied the thinset carefully and evenly providing a nice smooth surface. Then all I had to do was transfer the tiles I had laid out to the side to their positions - it went on nice and flat - no need to roll or anything! Cutting the drip edge tile was even easier than I thought it would be. I used spacers to ensure an even tile set - freeform would not work with this kind of a refined look. Now I need to map out real good the rest of the tile - like I need to start from the sink I think so I have full tiles coming out from the edges - and I need to line up my 45 degree angles at the corners - that will be the real trick! Oh.... and the issue of cutting the hole for the sink... I think I have been putting that one off.
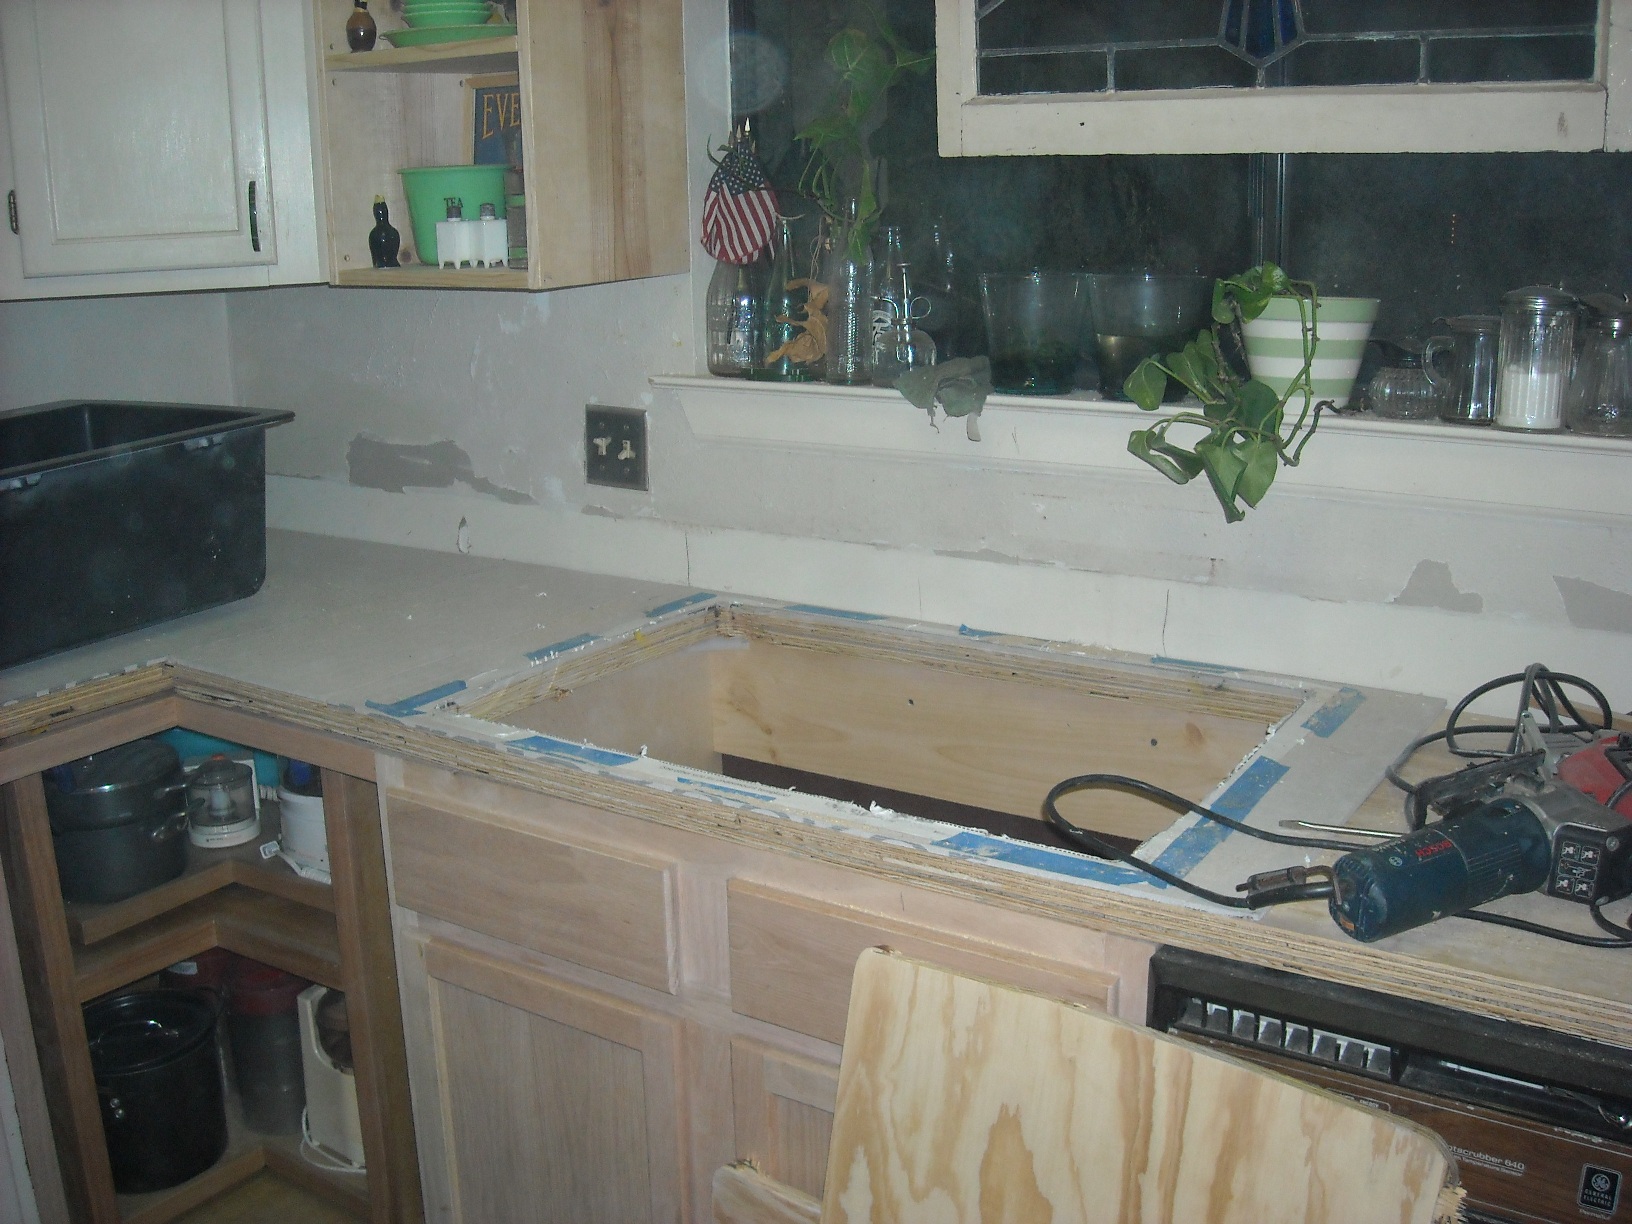
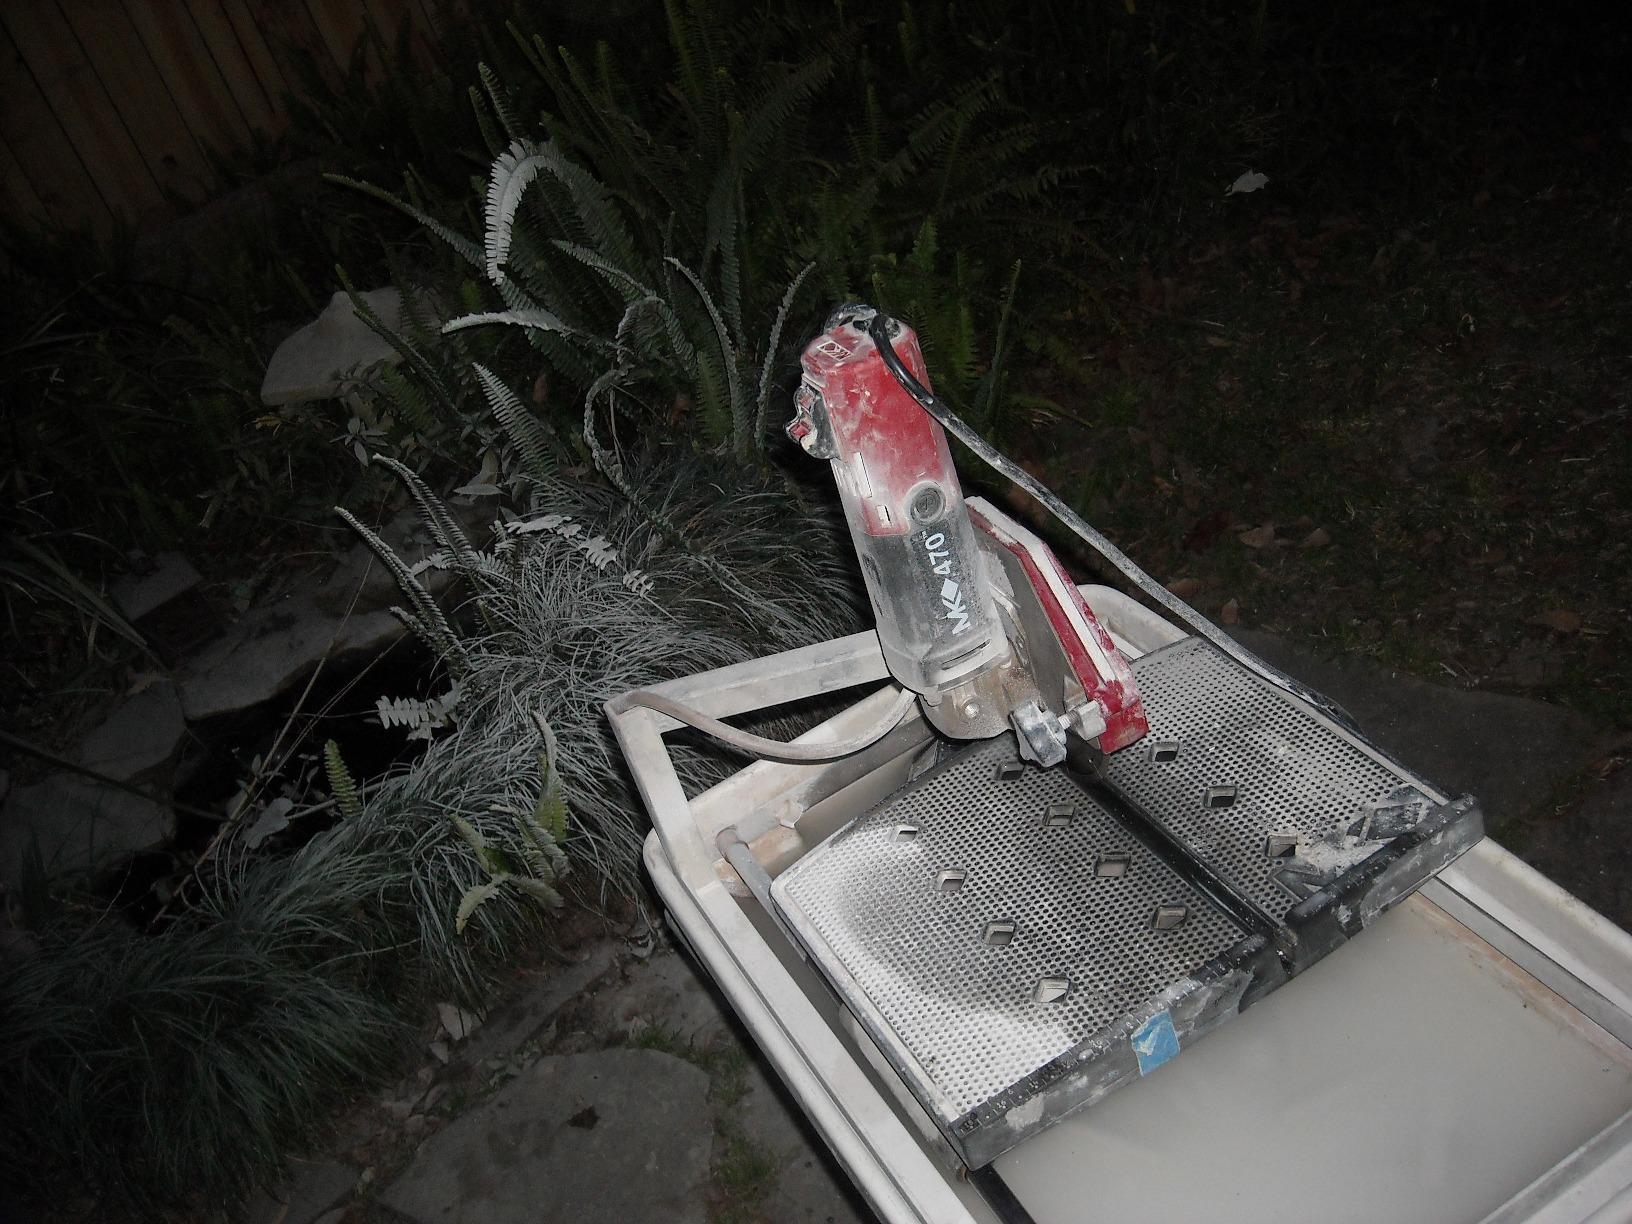
Cutting the hole was scary. After aligning all the plywood and laying the rest of the backerboard, we measured (I enlisted a firend on this step) VERY, VERY carefully since the back of the sink has a larger lip. We even test fit a cut piece of wood with the sink to see if we picked the right dimension. Once we were confident, I taped the template down and with much hesitation, started cutting. I made it about five inches and my blade had no teeth on it (I was cutting through two sheets of 3/4 inch plywood and a 1/4 inch backerboard). I then ran to get Chris for help. He suggetsed my cordless circular saw... while not many of the cuts were straight, it would get the bulk of the cutting done quickly. We killed my two dewalt 18V batteries, and then moved on to his and killed the better part of his two. The haze in the picture is real and why I didn't want to resort to the circular saw - dust went EVERYWHERE! With the bulk cut, I was able to trim out the corners and the rest with his jigsaw (I have never liked mine - I think I will sell it on Craigslist and get one like his). So, the hole was a big step. I did a fit check with the sink and then started laying out the tile to do my dry fit and work out any kinks.
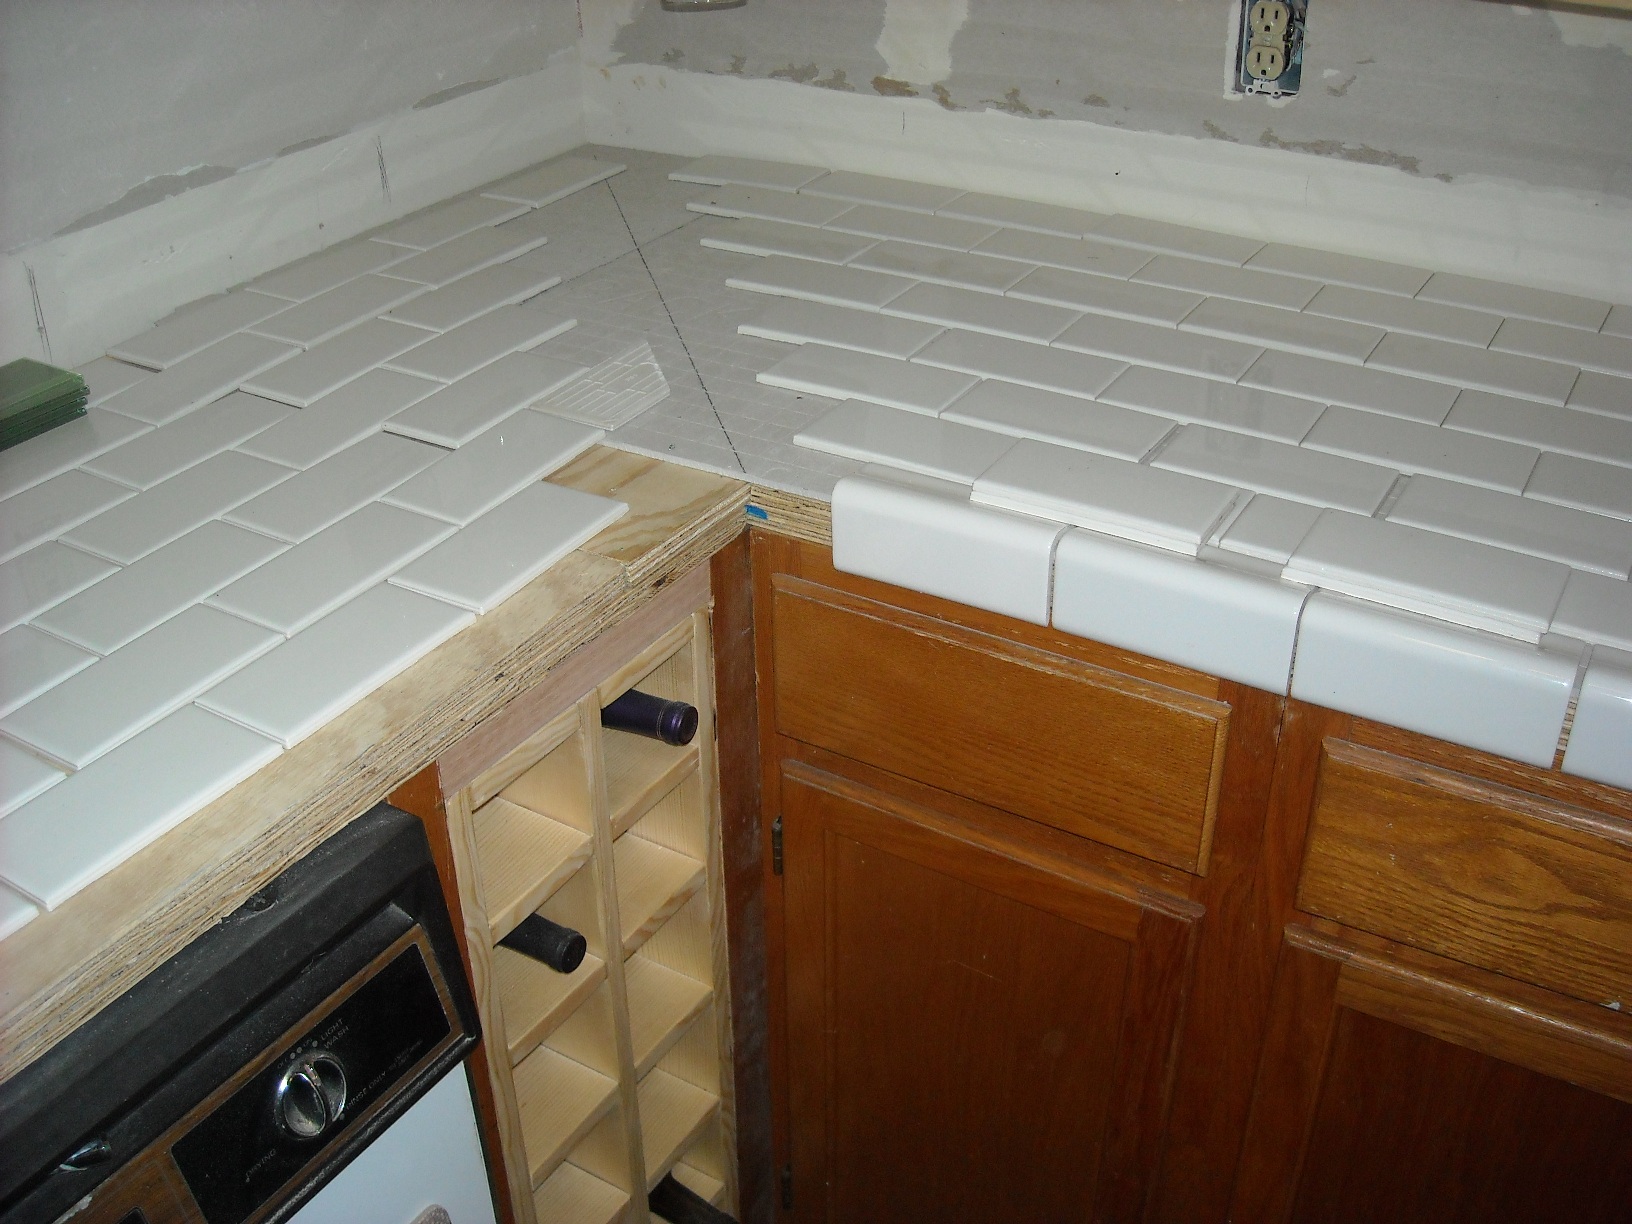
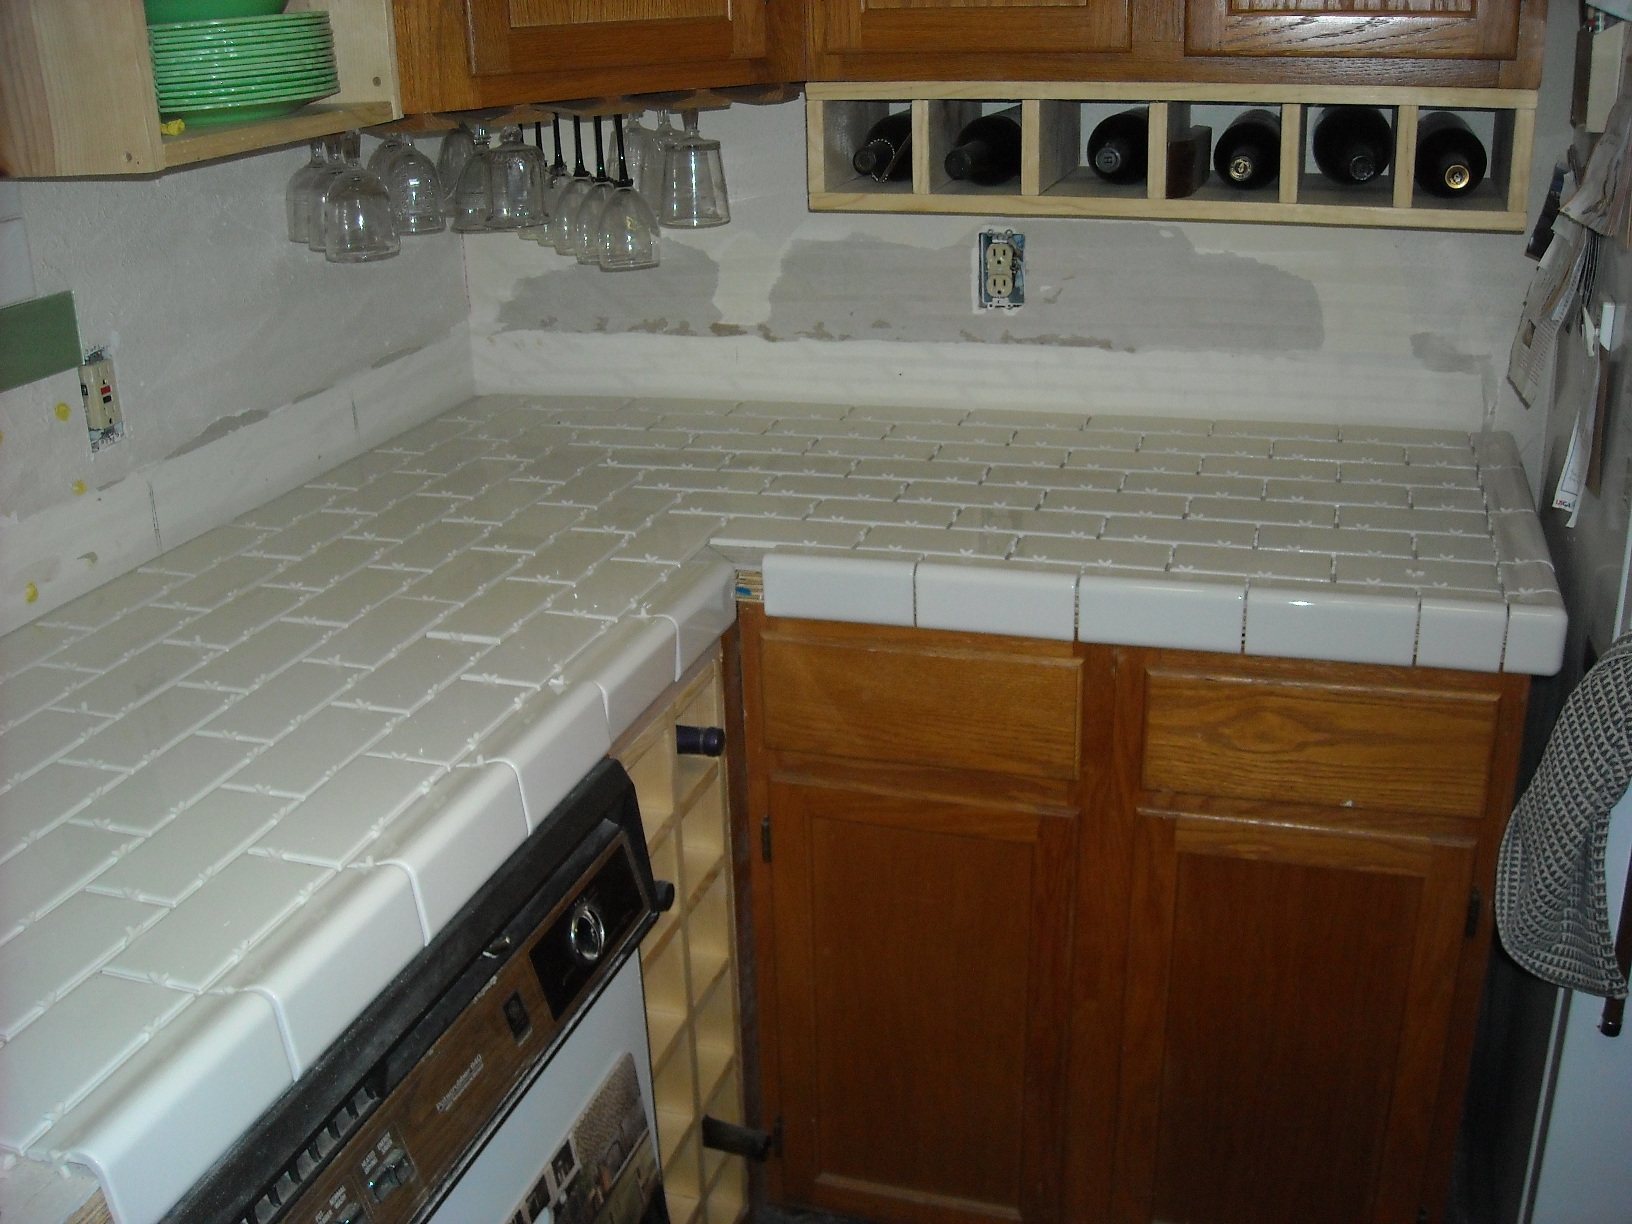
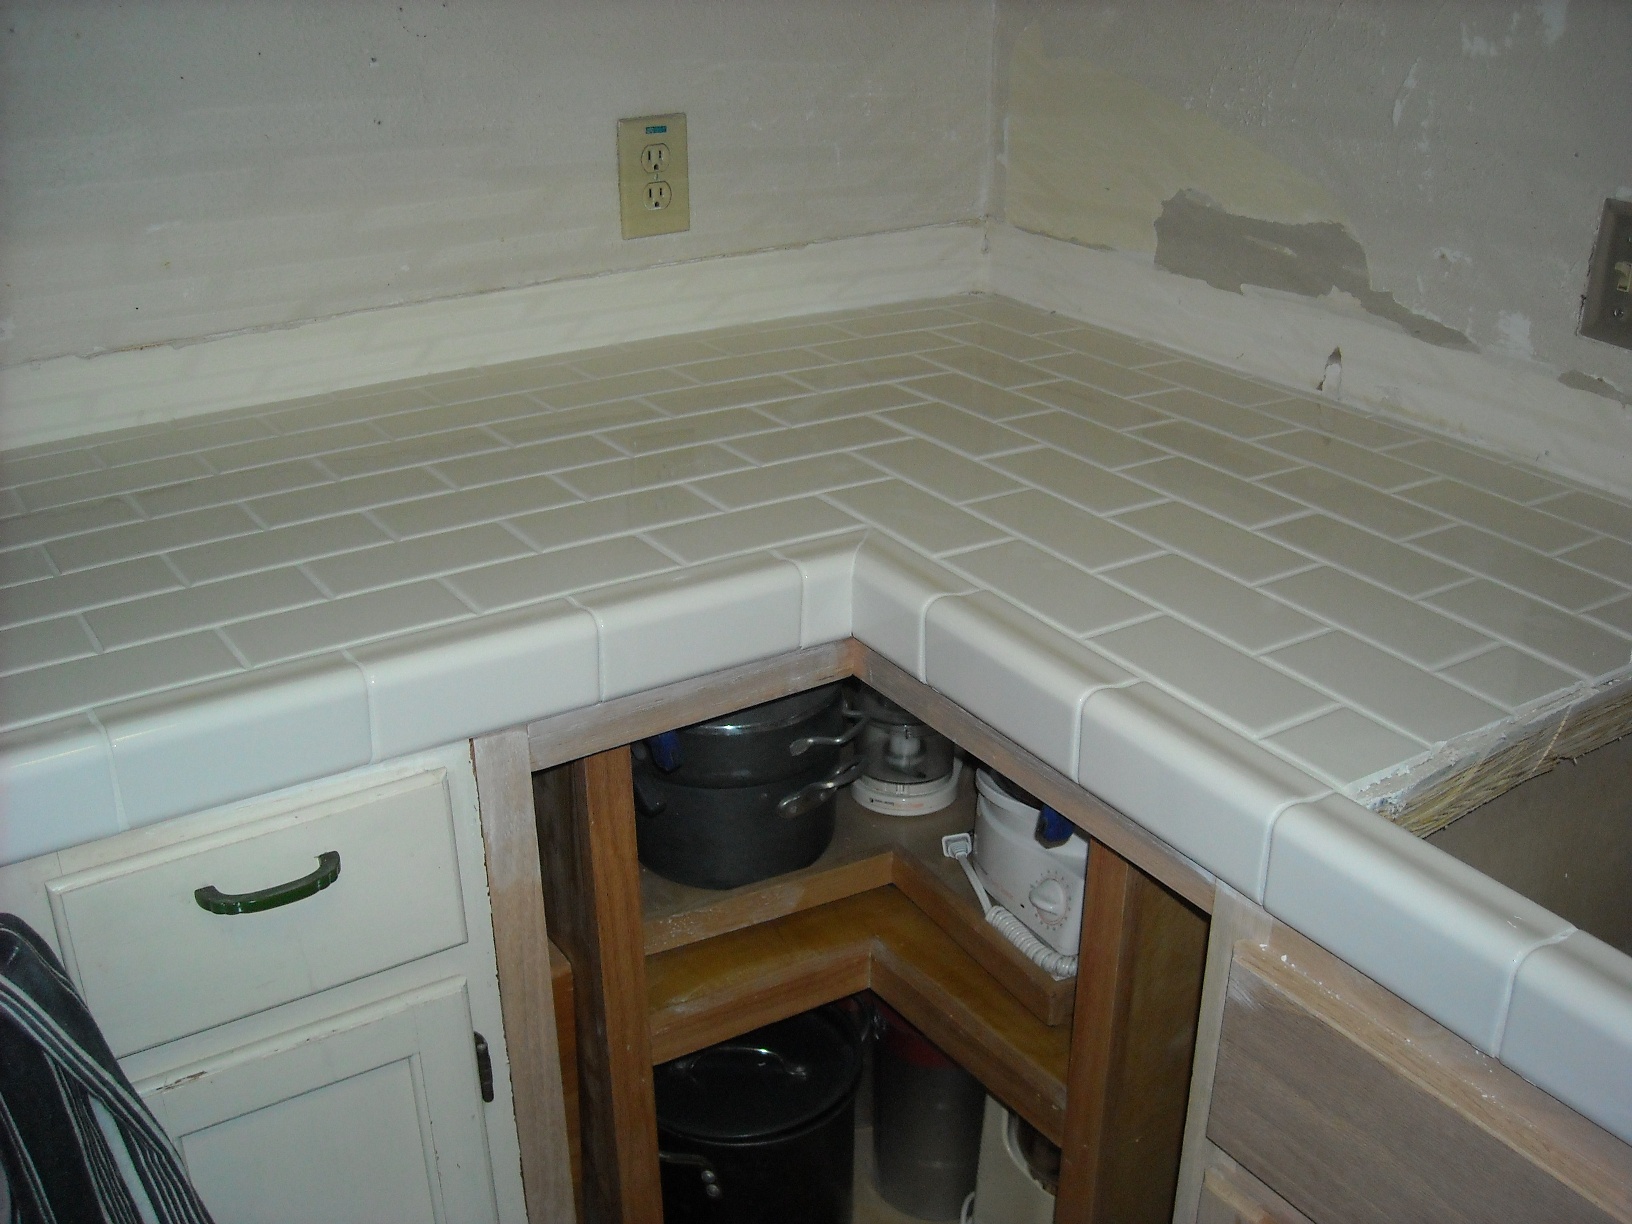
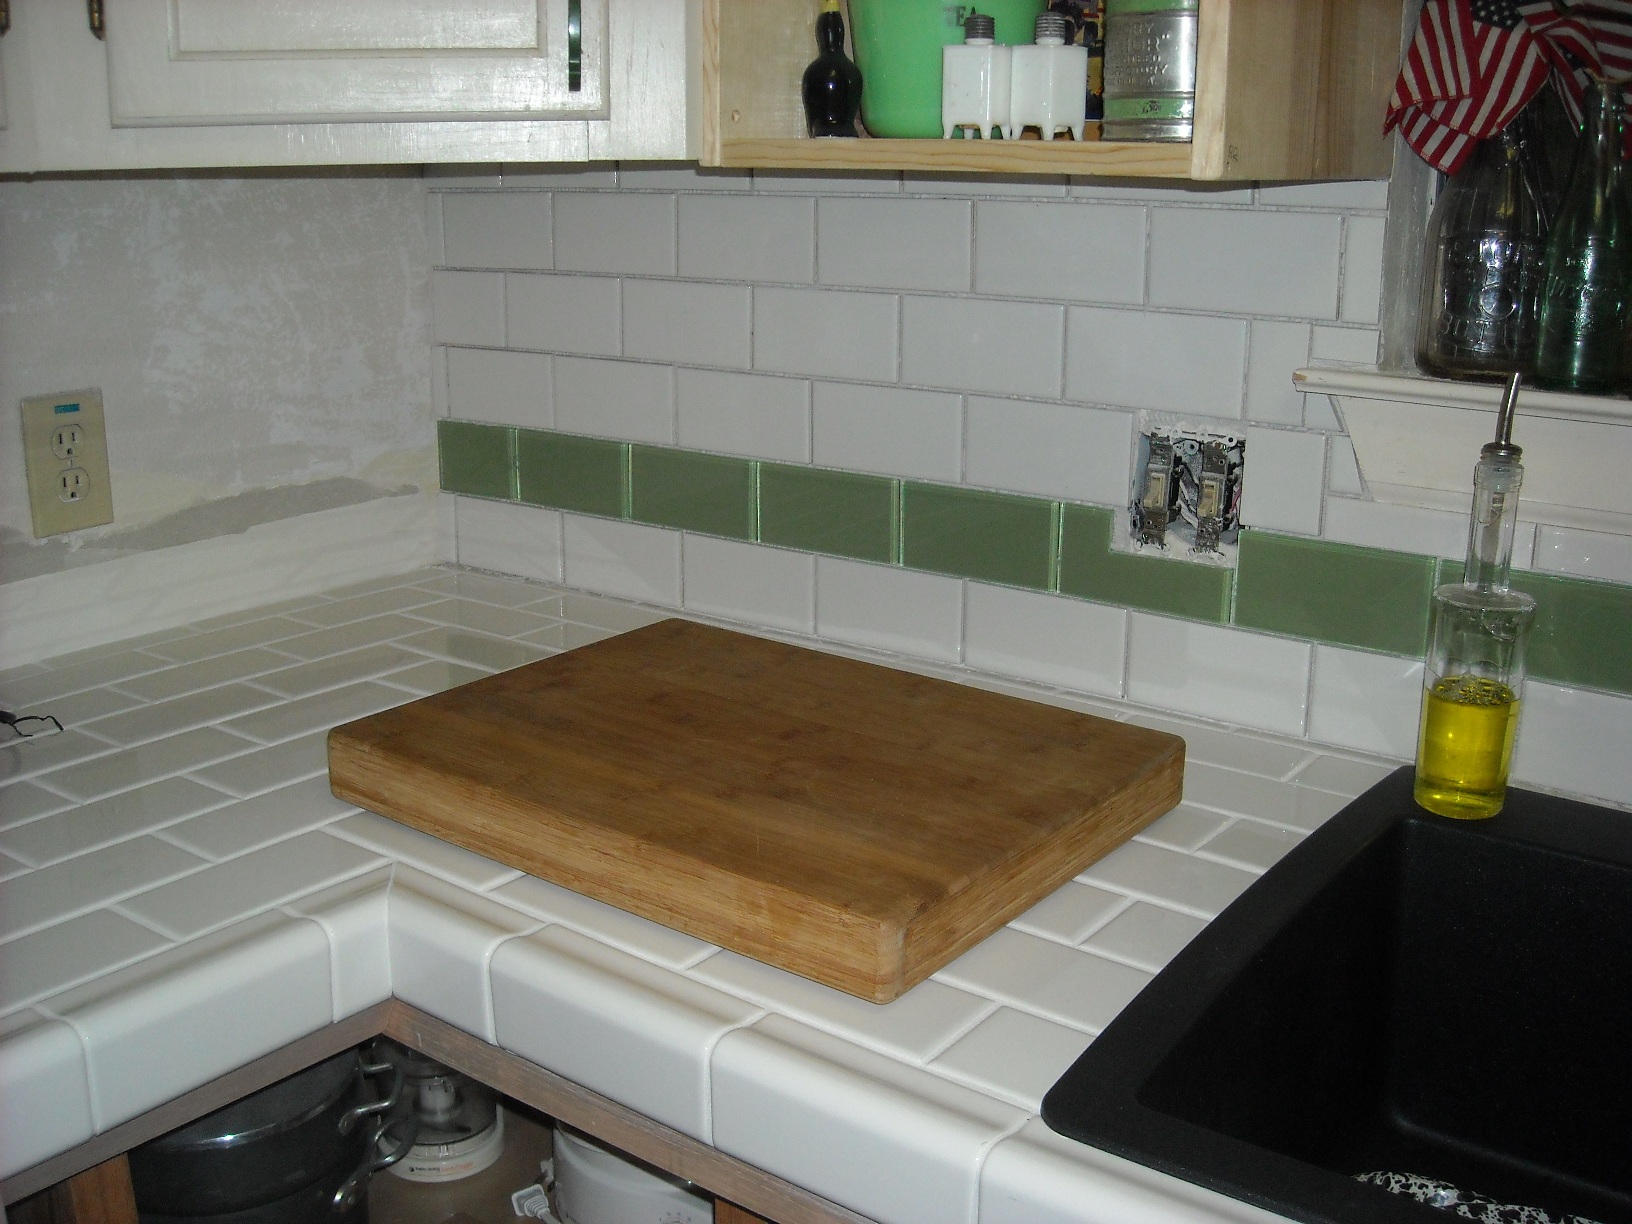
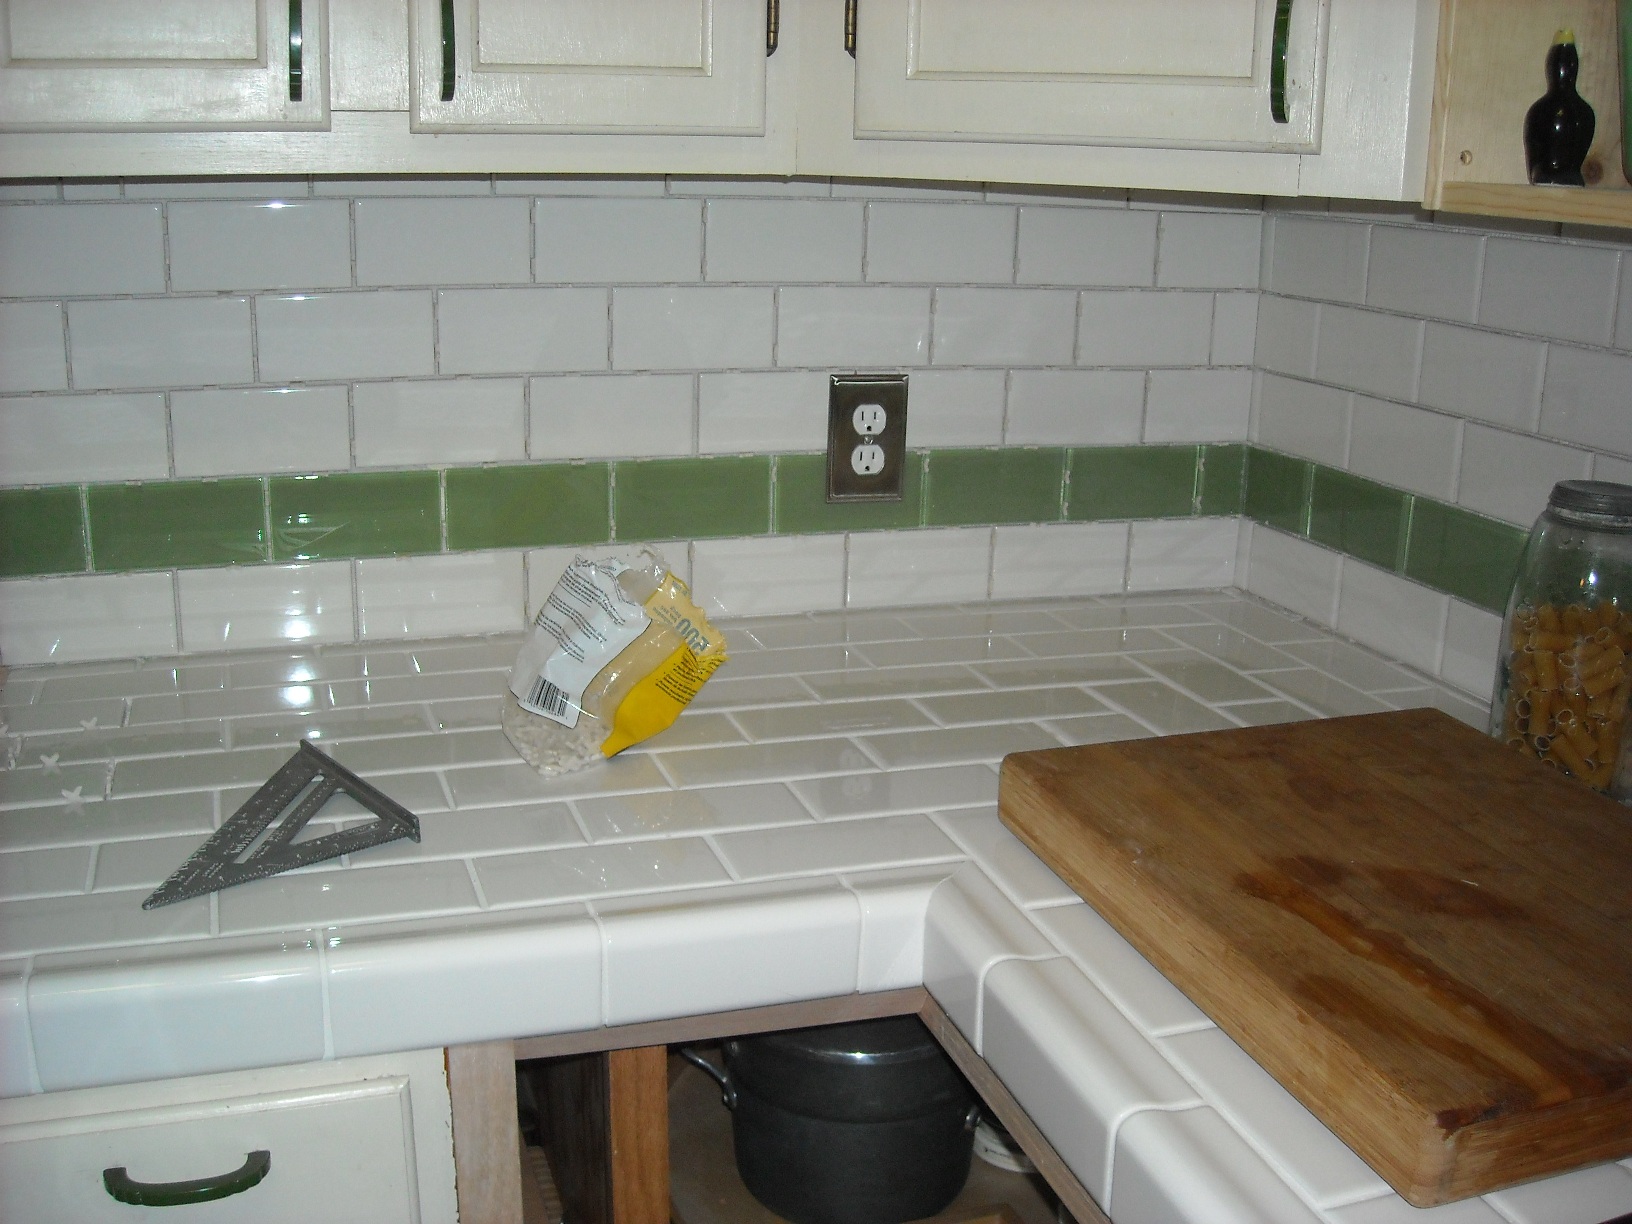
Well, when you make a 90 degree turn on the counters, there are two approaches (that I know of). A 45 dgree joint in the corners or interlocked herringbone. Since I was using subway tile, the 45 degree angle would create a row of "square" tiles and I thought this might draw your eye too much to that odd detail. The interlocked approach looked smooth - but since the interlock had to be on the corner, you had no control on where your tile ended at the sink or on the edges. The other issue I had to consider was the lack of store bought inside corners for the drip edge tile. One website said just butt the two corners together and insert a small square. But the small squares available were flat and did not look good with a drip edge. Cutting an edge tile proved complicated as well on the tile saw. In addition, I had not put a border around the the small counter section I had already done since it butted up against the stove and the wall. So when I went to do the edge near the refrigerator, I realized how nice that edge looked. Since the size of refrigerators varies more and there is often a gap, I was okay with that edge being finished. But.... would that finished edge line up with my 45 degree angle or interlocked design? I was tired and behind and kind of decided to sleep on it.
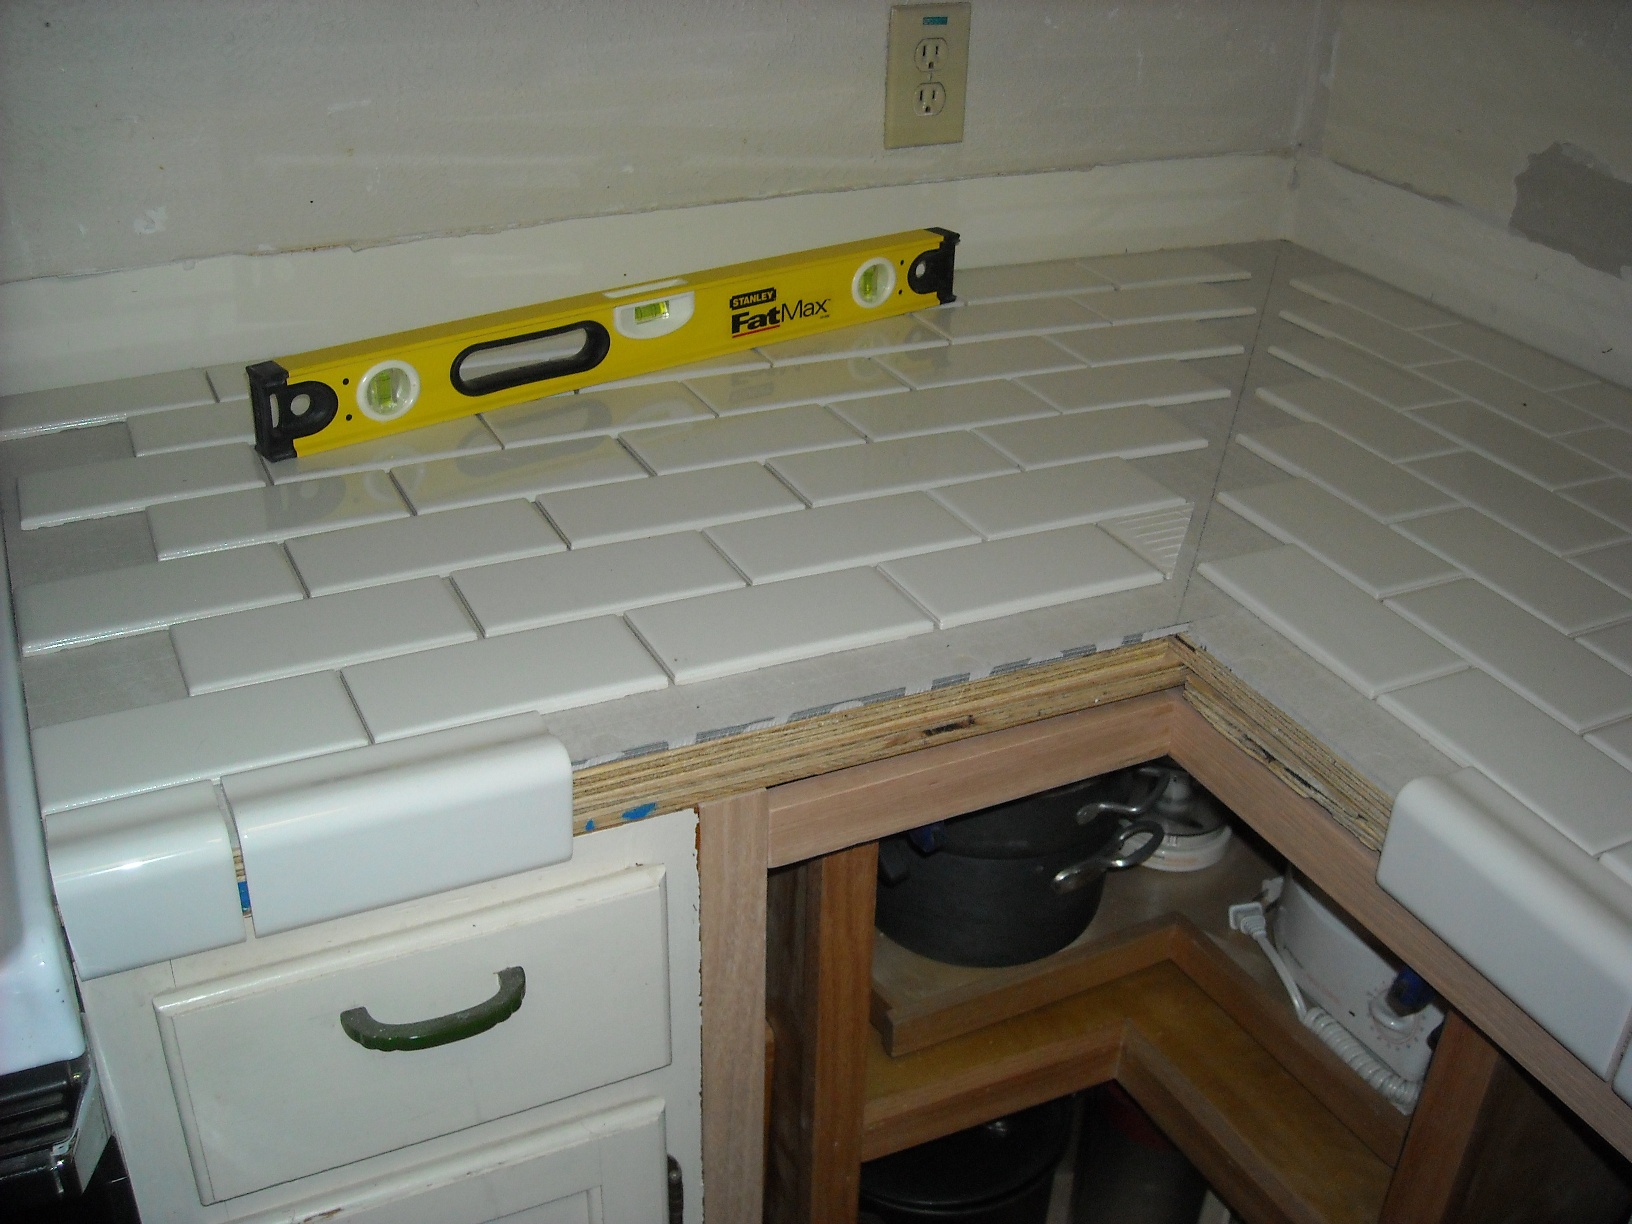

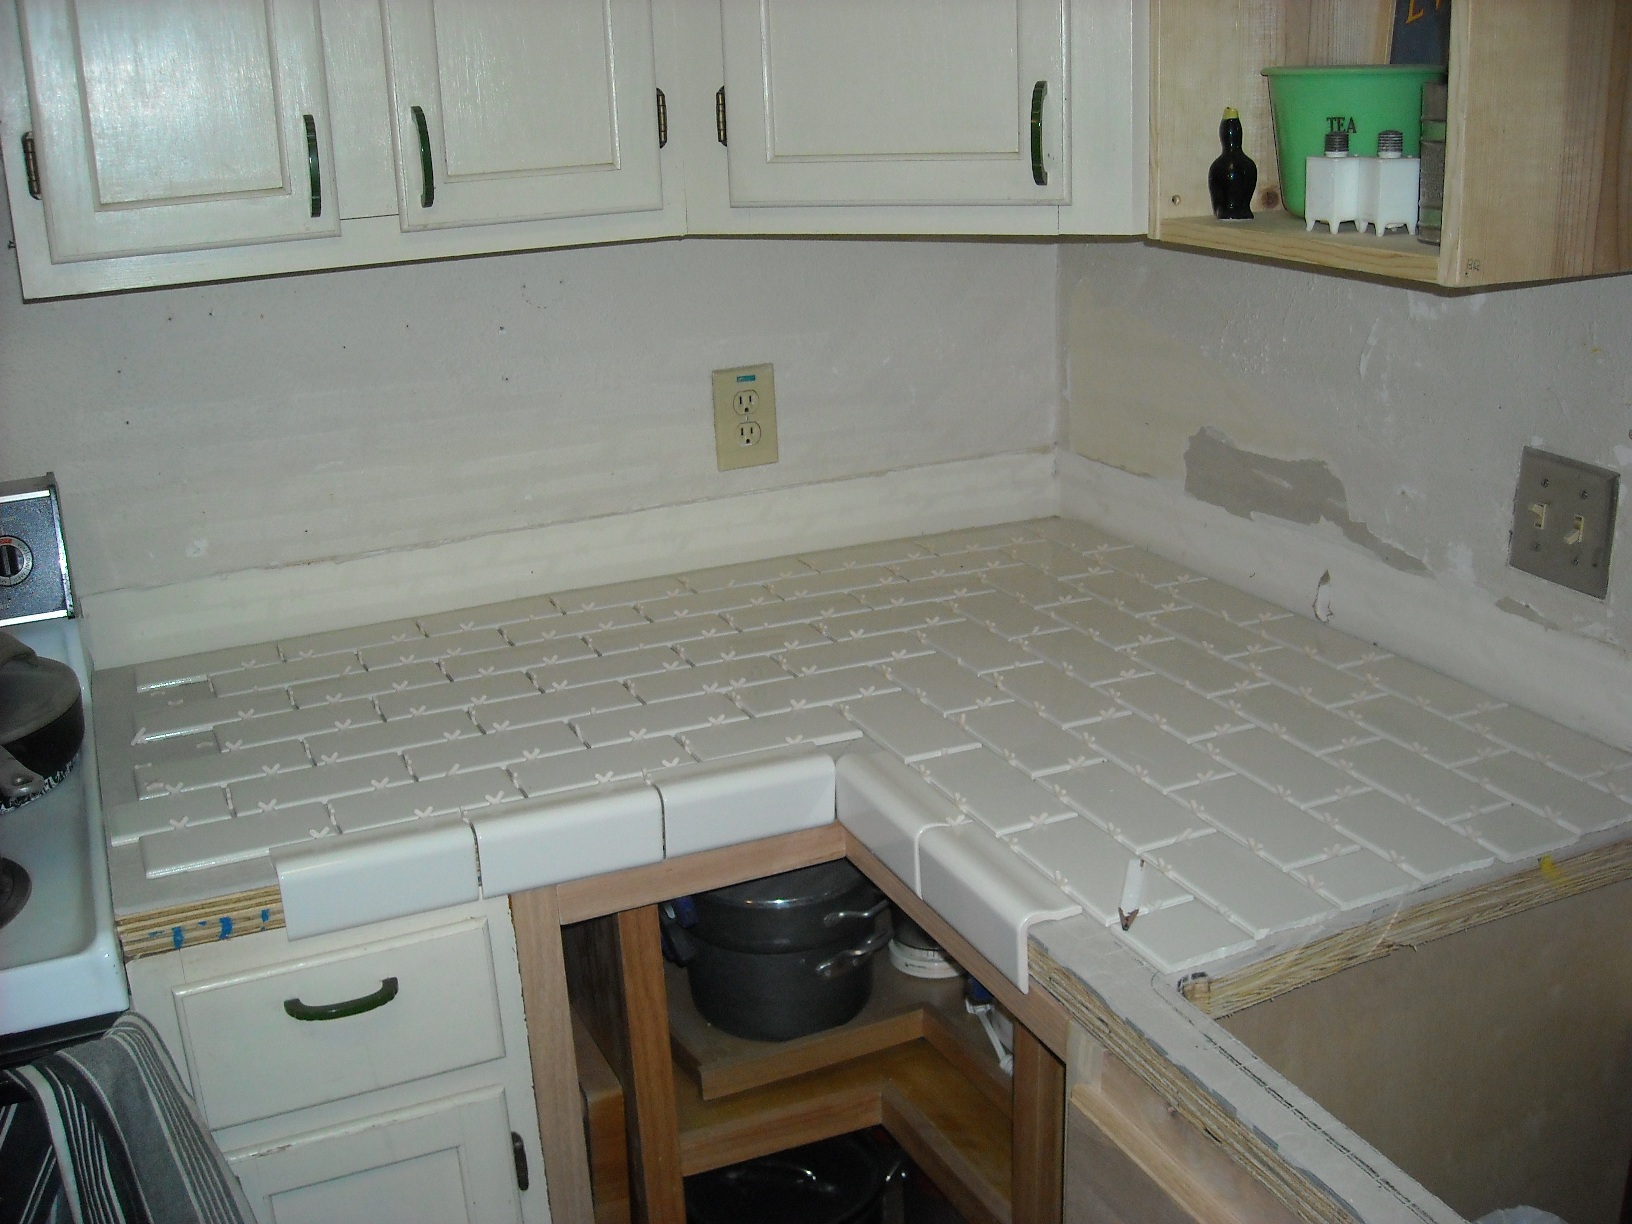
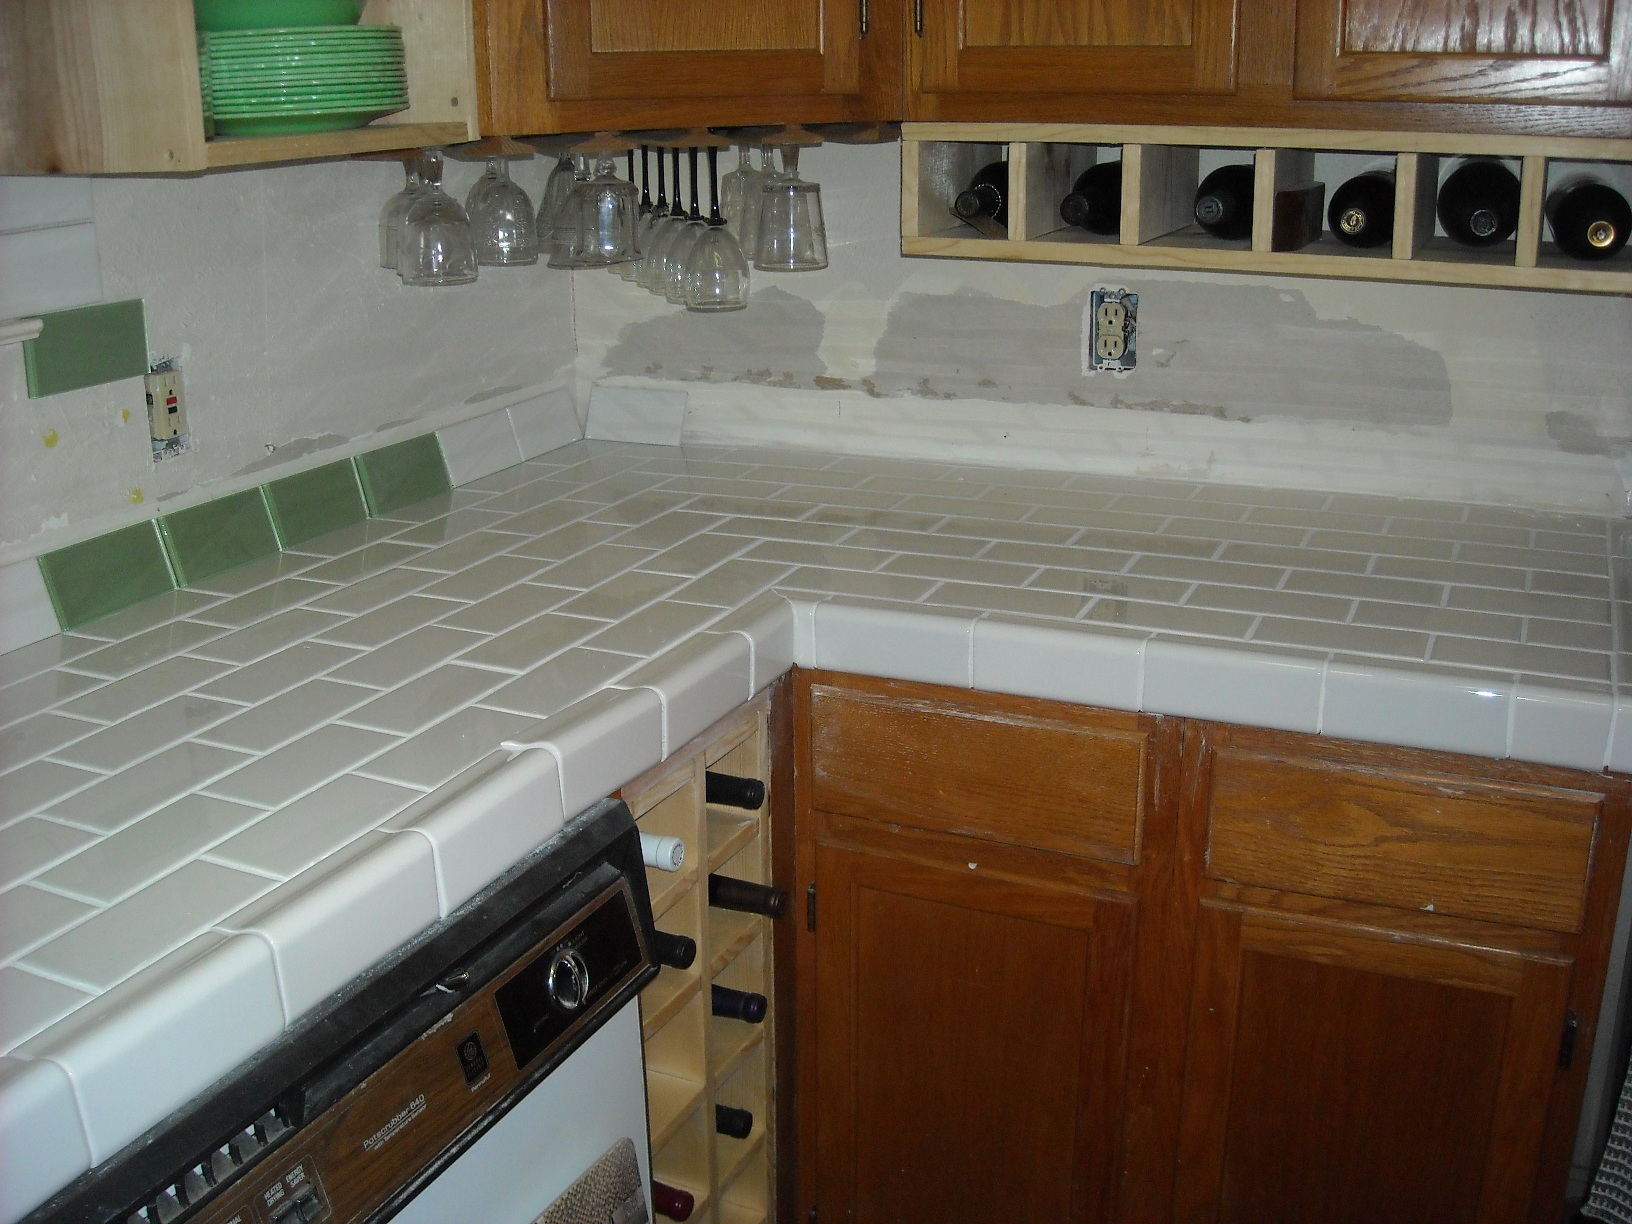
The next morning, armed with the decision of the interlocked look, I completed the dry fit with spacers and started cutting my inside corners... with a Dremel and a diamond blade. I think I spent two hours cutting those four tiles (of course, there were more than four involved). It was quite tricky, not just the angle... but the transition from the top to the front. I finally got four I was happy with (or at least would be post grout...). I laid the tile in sections by relocating the tiles on a board next to me, and prepping the surface, closing up any seams and back edges with silicone. At one point, I even had to run out and get another tub of thinset. What I expected to take a few hours, just took nine and wiped out the whole day. As twilight was setting in, I noticed what I had done to my japanese garden... oops! I cleaned everything up, including some massive dusting in my house, and dry fit the sink to get some instant gratification. I have to say I am proud of the tile, it looks better done than the tile done by professionals that came with my house upstairs in the bathroom.

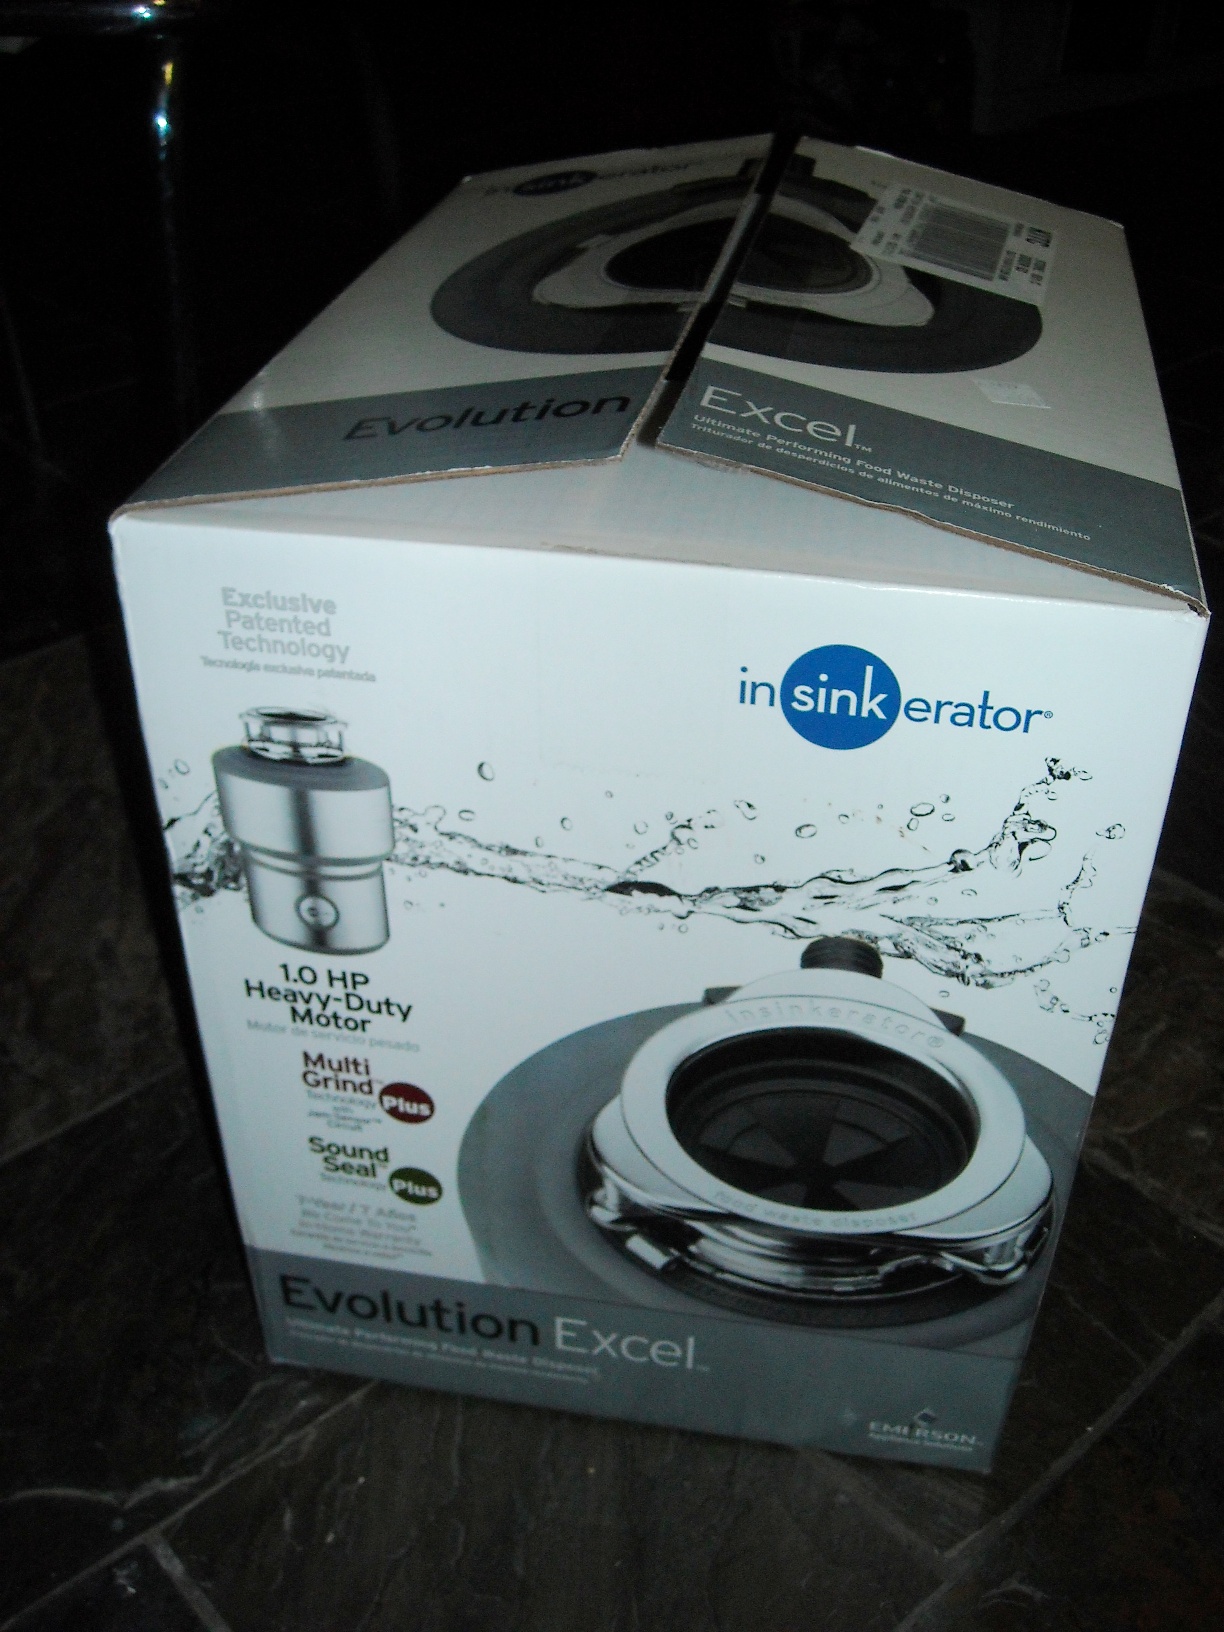
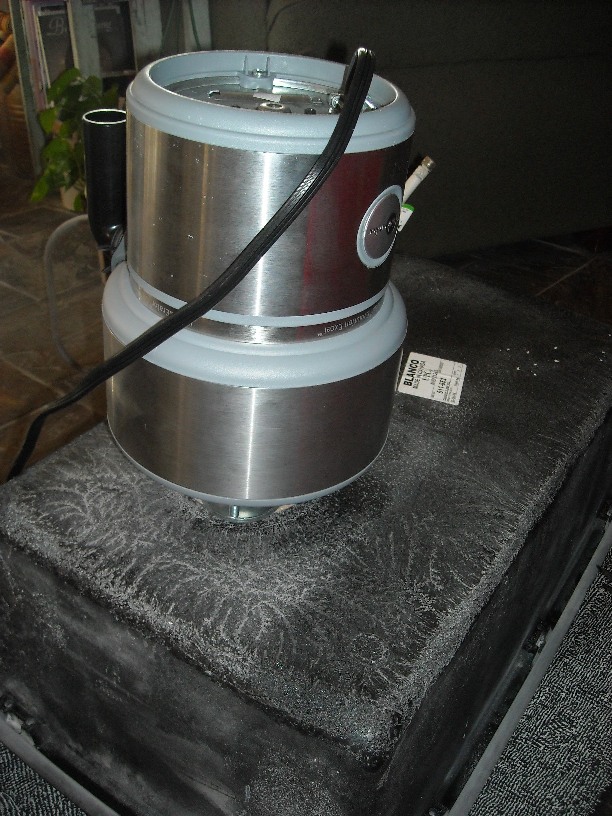
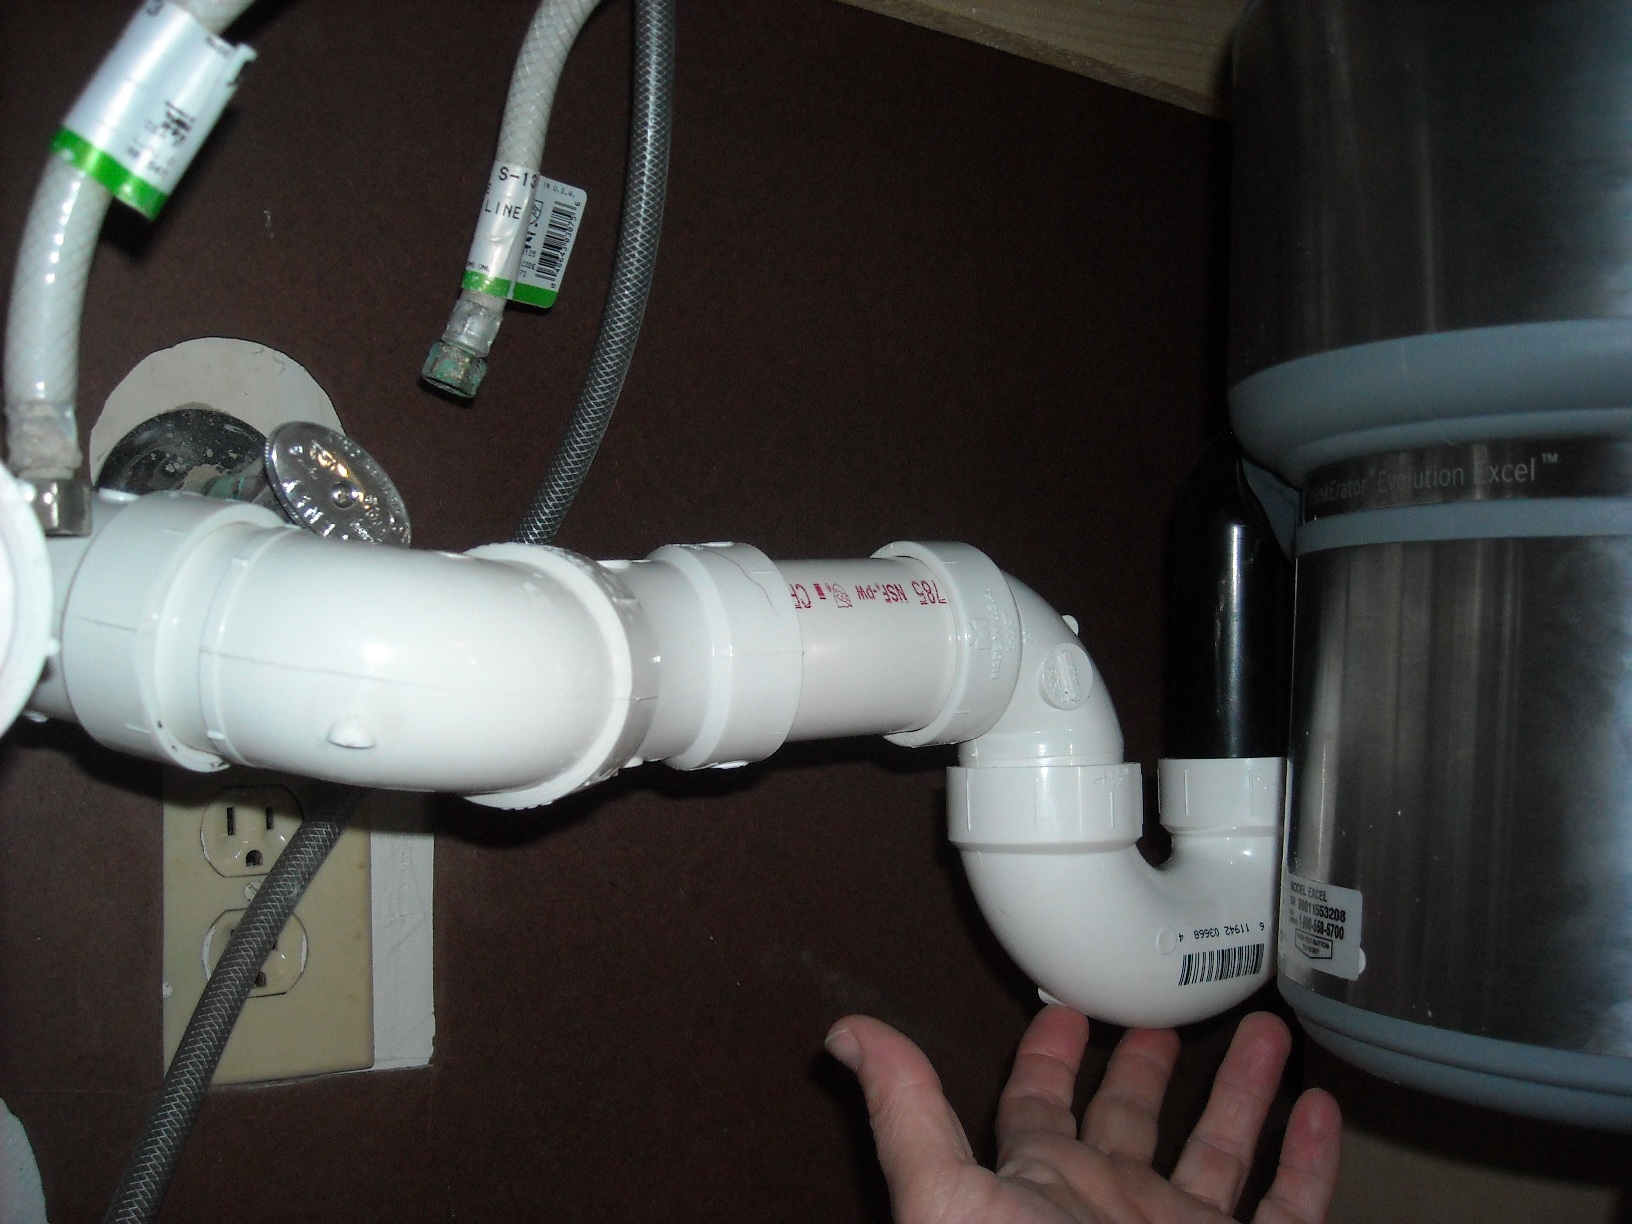
I had wanted to grout on Super Bowl Sunday... but the events of the day (and the fact that I had bought the kind of grout that needed to be mixed - 70% off at the Home Depot that was moving to a new location) prevented that from happening. I did make it to Lowe's to pick up my disposal (the most ridiculous $350 I have ever spent) and a few pieces of pipe, knowing I would need to figure out more of the plumbing after I played with it some. What I did figure out though, despite my sink being so deep it barely clears the pull-out trash can, is that there should be ample room for another pull-out shelf under the disposal.
Grouting a kitchen counter is way more involved than a slate floor. I had never had to basically apply the grout ALL OVER the counter - much less effort applying the grout mostly just to the seams around the 12x12 slate floor tiles. Once I just applied the grout all over the counter, the application went much quicker. But without a sink right there to keep rinsing the sponge, it took forever to get the excess grout off. In hindsight I should have used a bigger bucket to make that process easier. Unfortunately, the package says I have to wait three days to seal the grout - so, that means no kitchen sink or plumbing until the weekend. This is getting old...
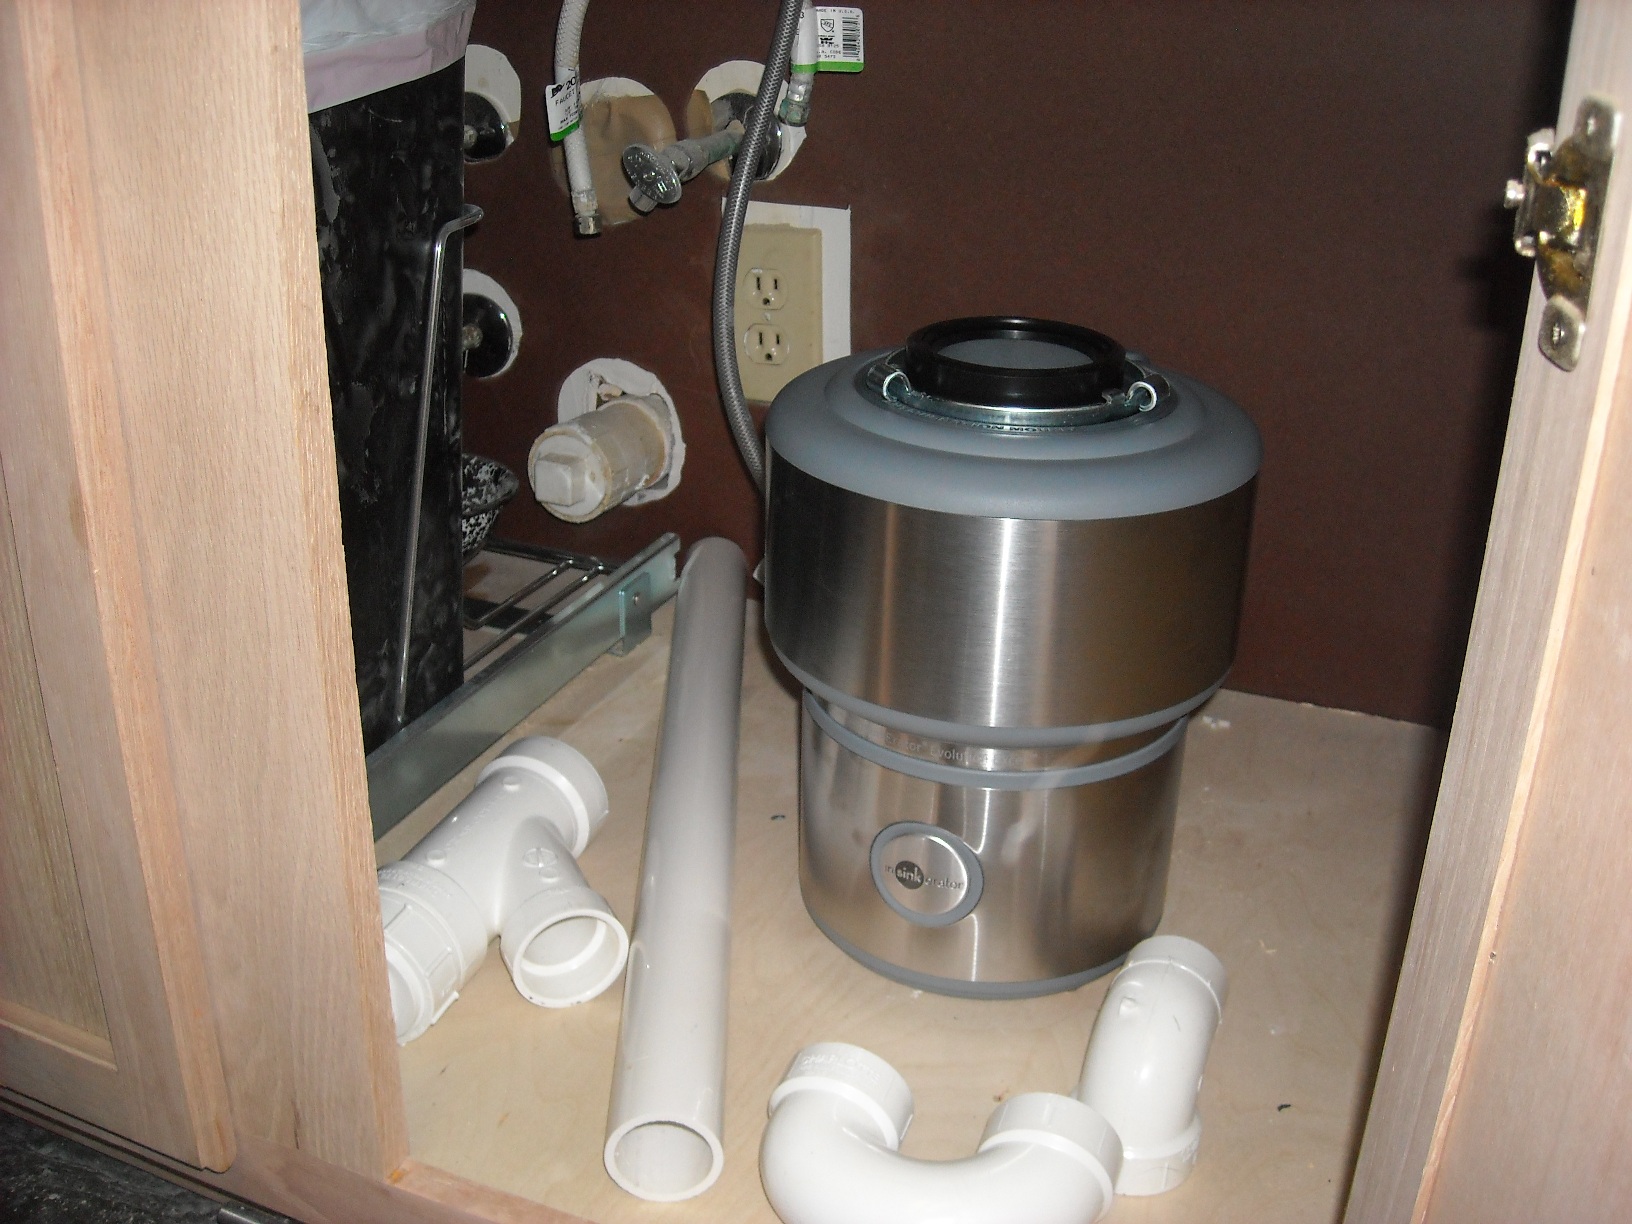
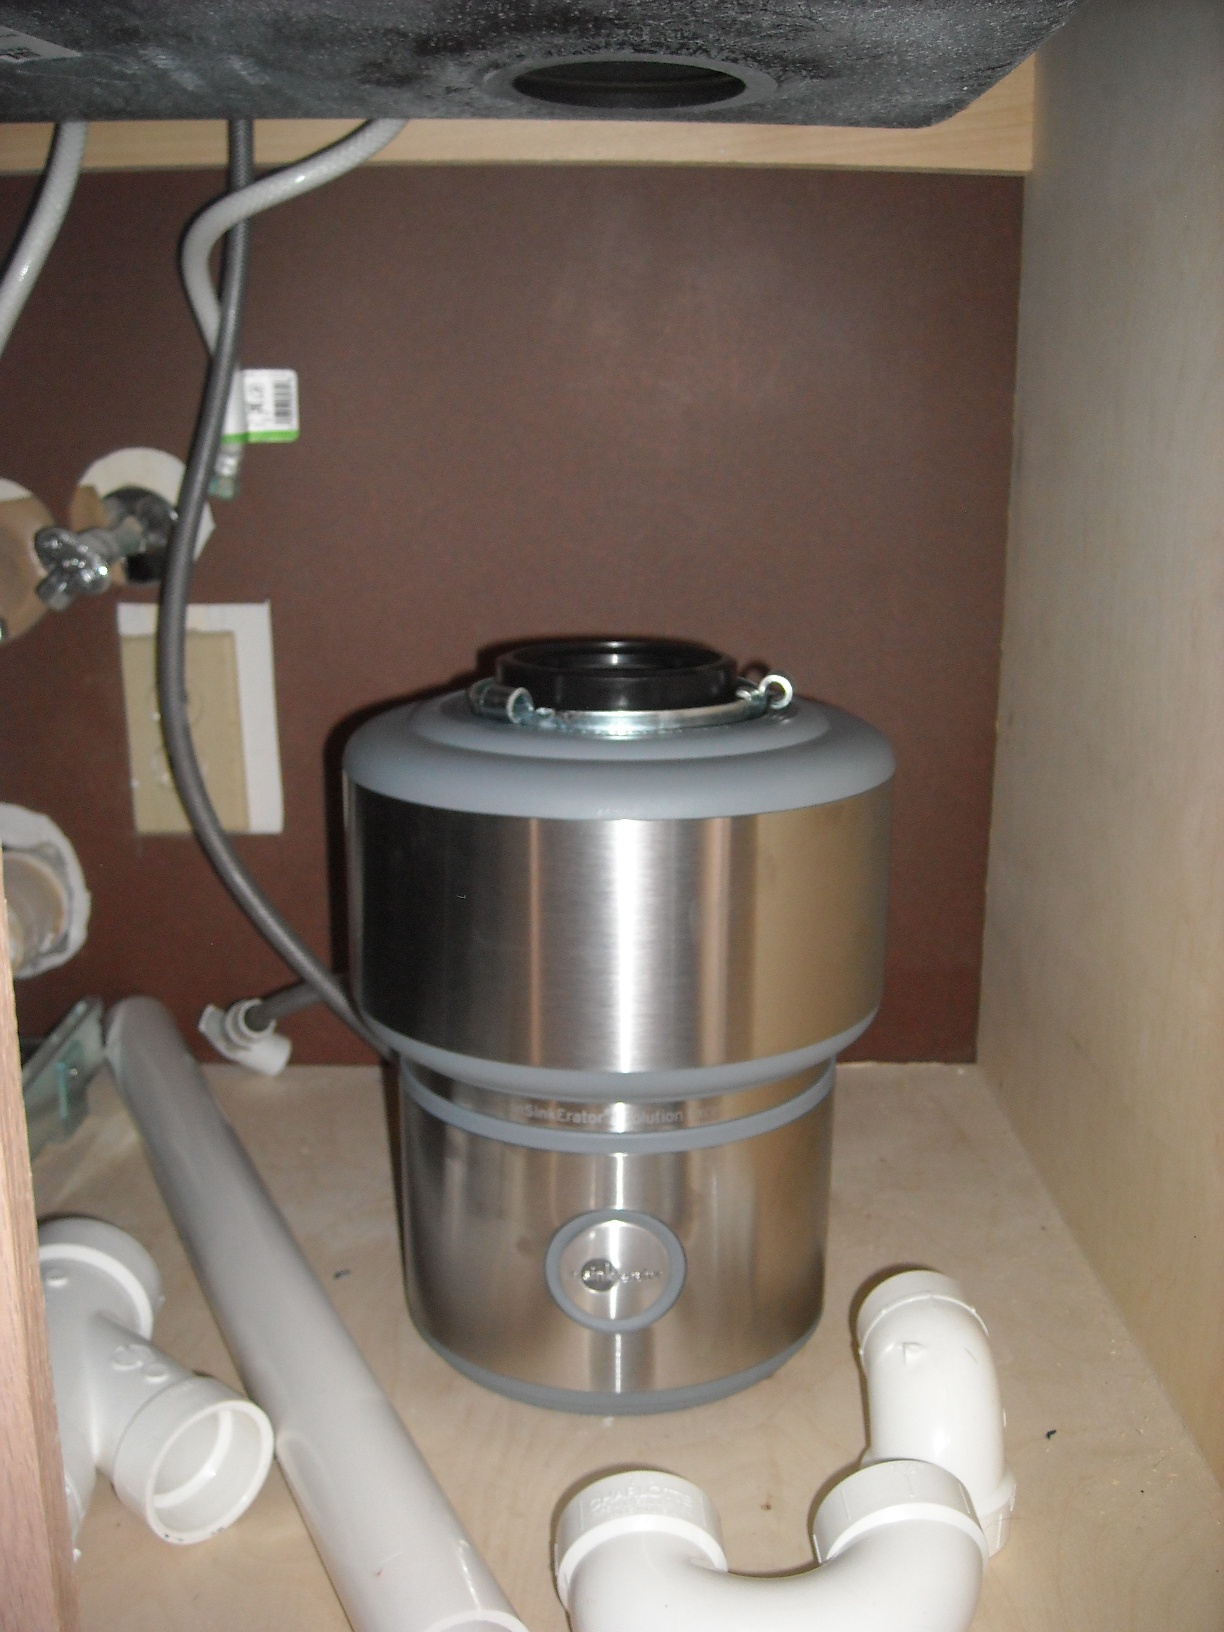
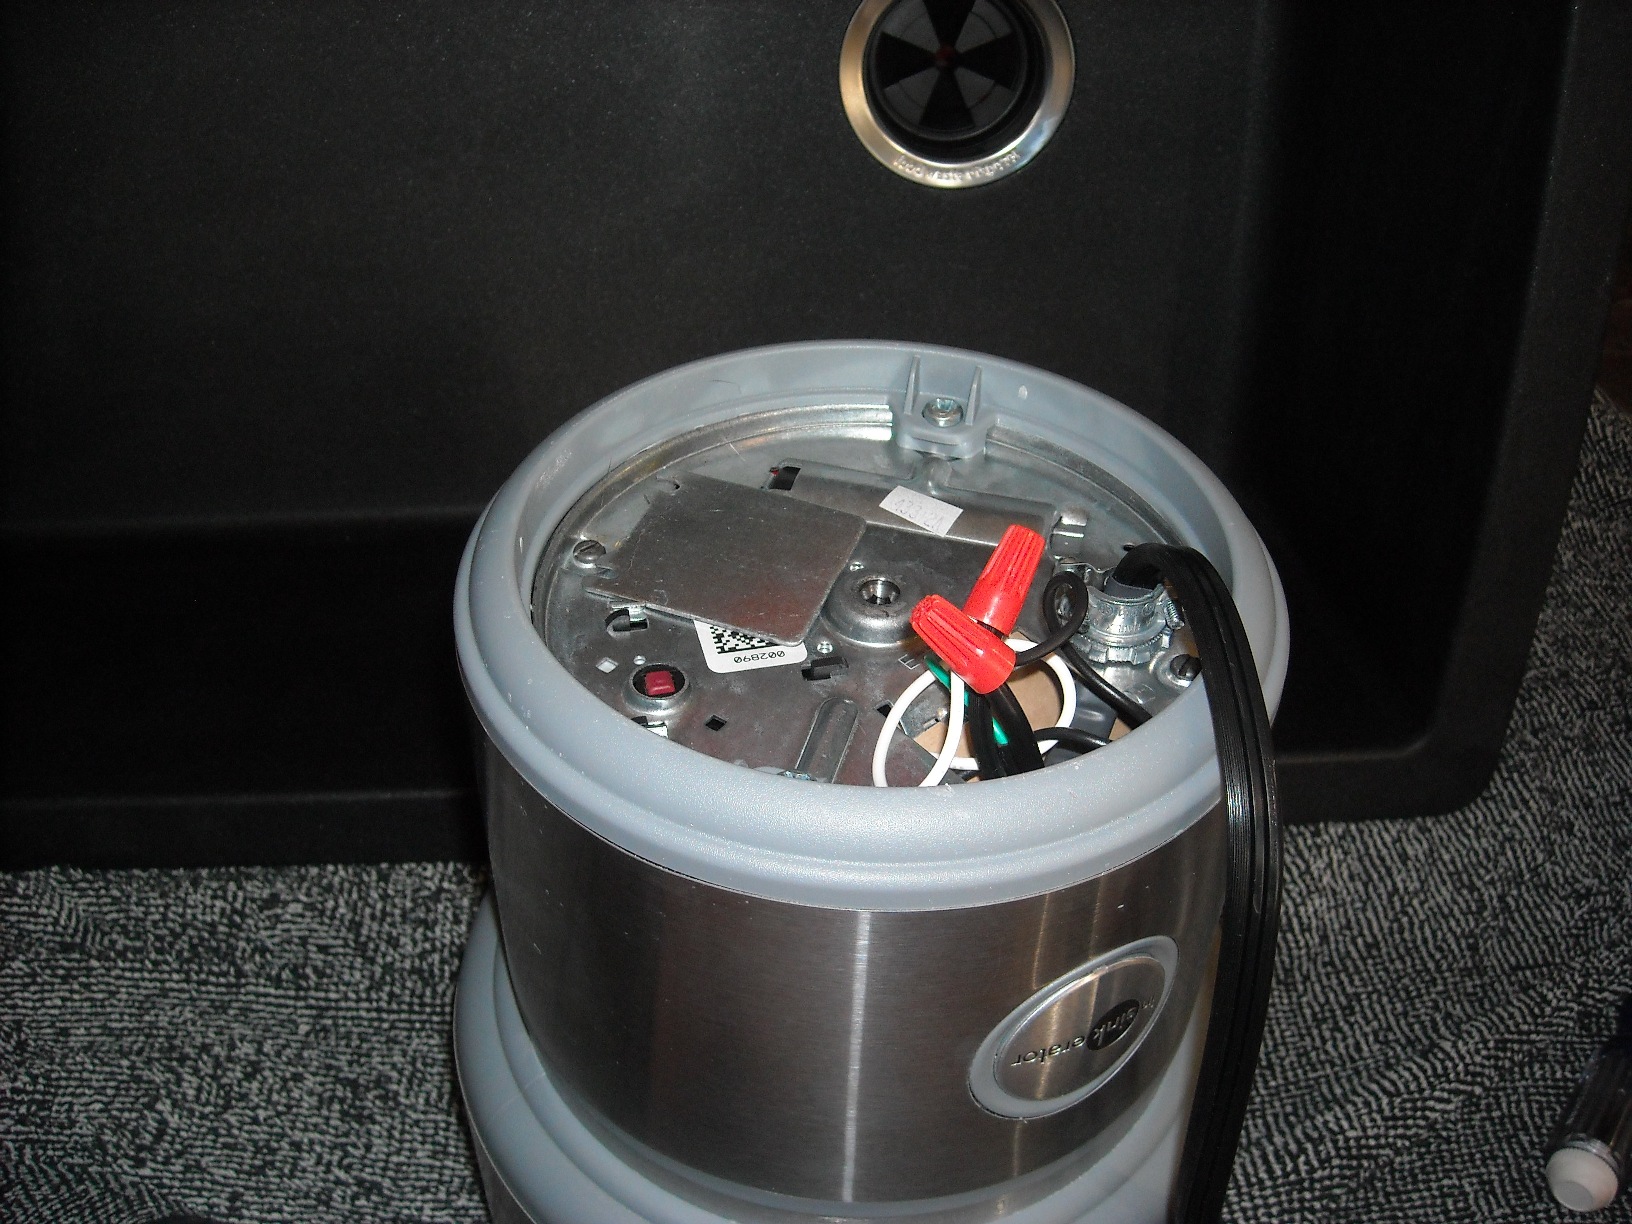
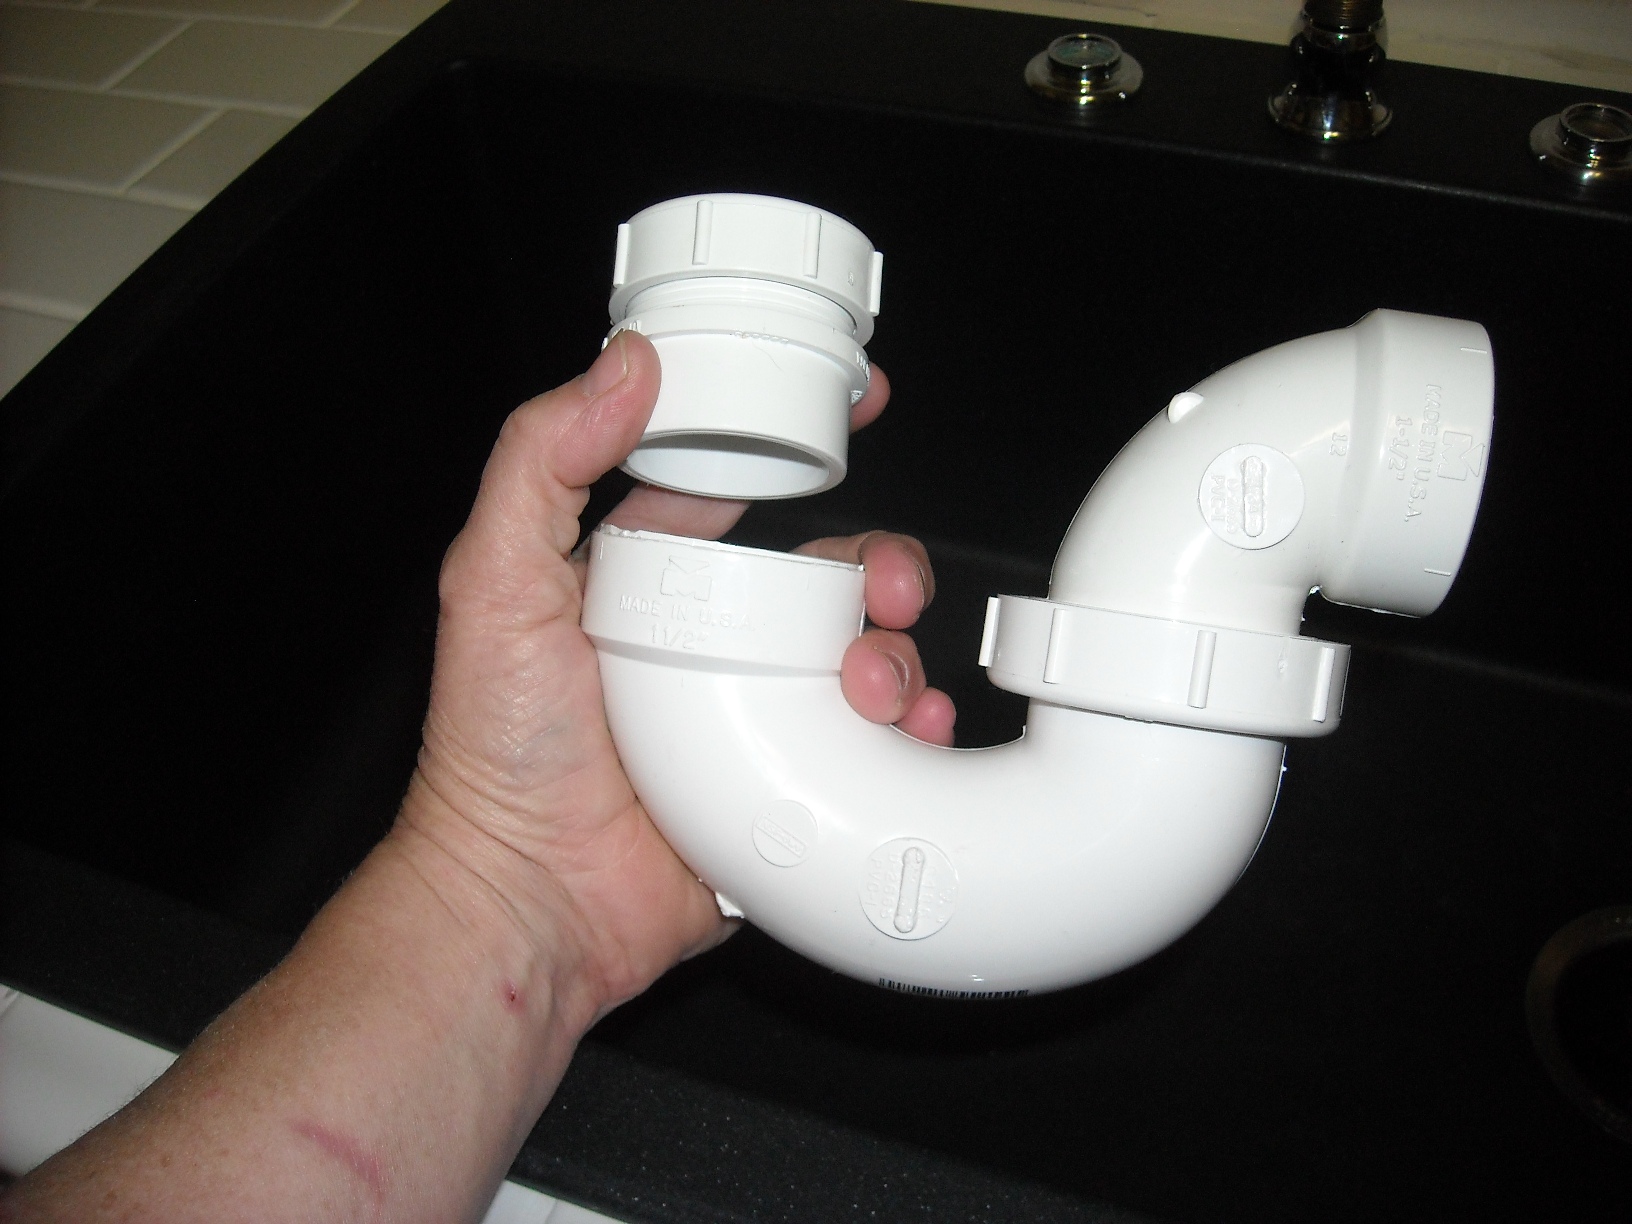
Finally I was able to seal the grout and start my big plumbing adventure. I looked at what pipe pieces I had, took a few pics and stopped at the hardware store to get a few more pieces after breakfast - so I had what I thought I needed to take my first crack at the plumbing. First order of business, finish setting the faucet and install the disposal on the sink. I actually had the wire the thing - oh, that cord didn't come with it. Second trip to the hardware store and the disposal was installed. It was pretty tough getting that whole thing (including a bead of sealant under the edge) into the sink cut-out... needless to say, I have a shirt covered in white silicone. Then I plumbed the faucet to the wall valves and started laying out the new pipes (my original sink had two bowls and two drains, so I had to completely change the layout). Of course once laid out, I needed a third trip to the hardware store to get the last piece! With the sink plumbed and the counters sealed, I was finally able to unload the not-so-clean dishes from that last unsuccessful dishwasher run and wash them in my new gigantic single bowl sink - which I love! All that took a whole day.
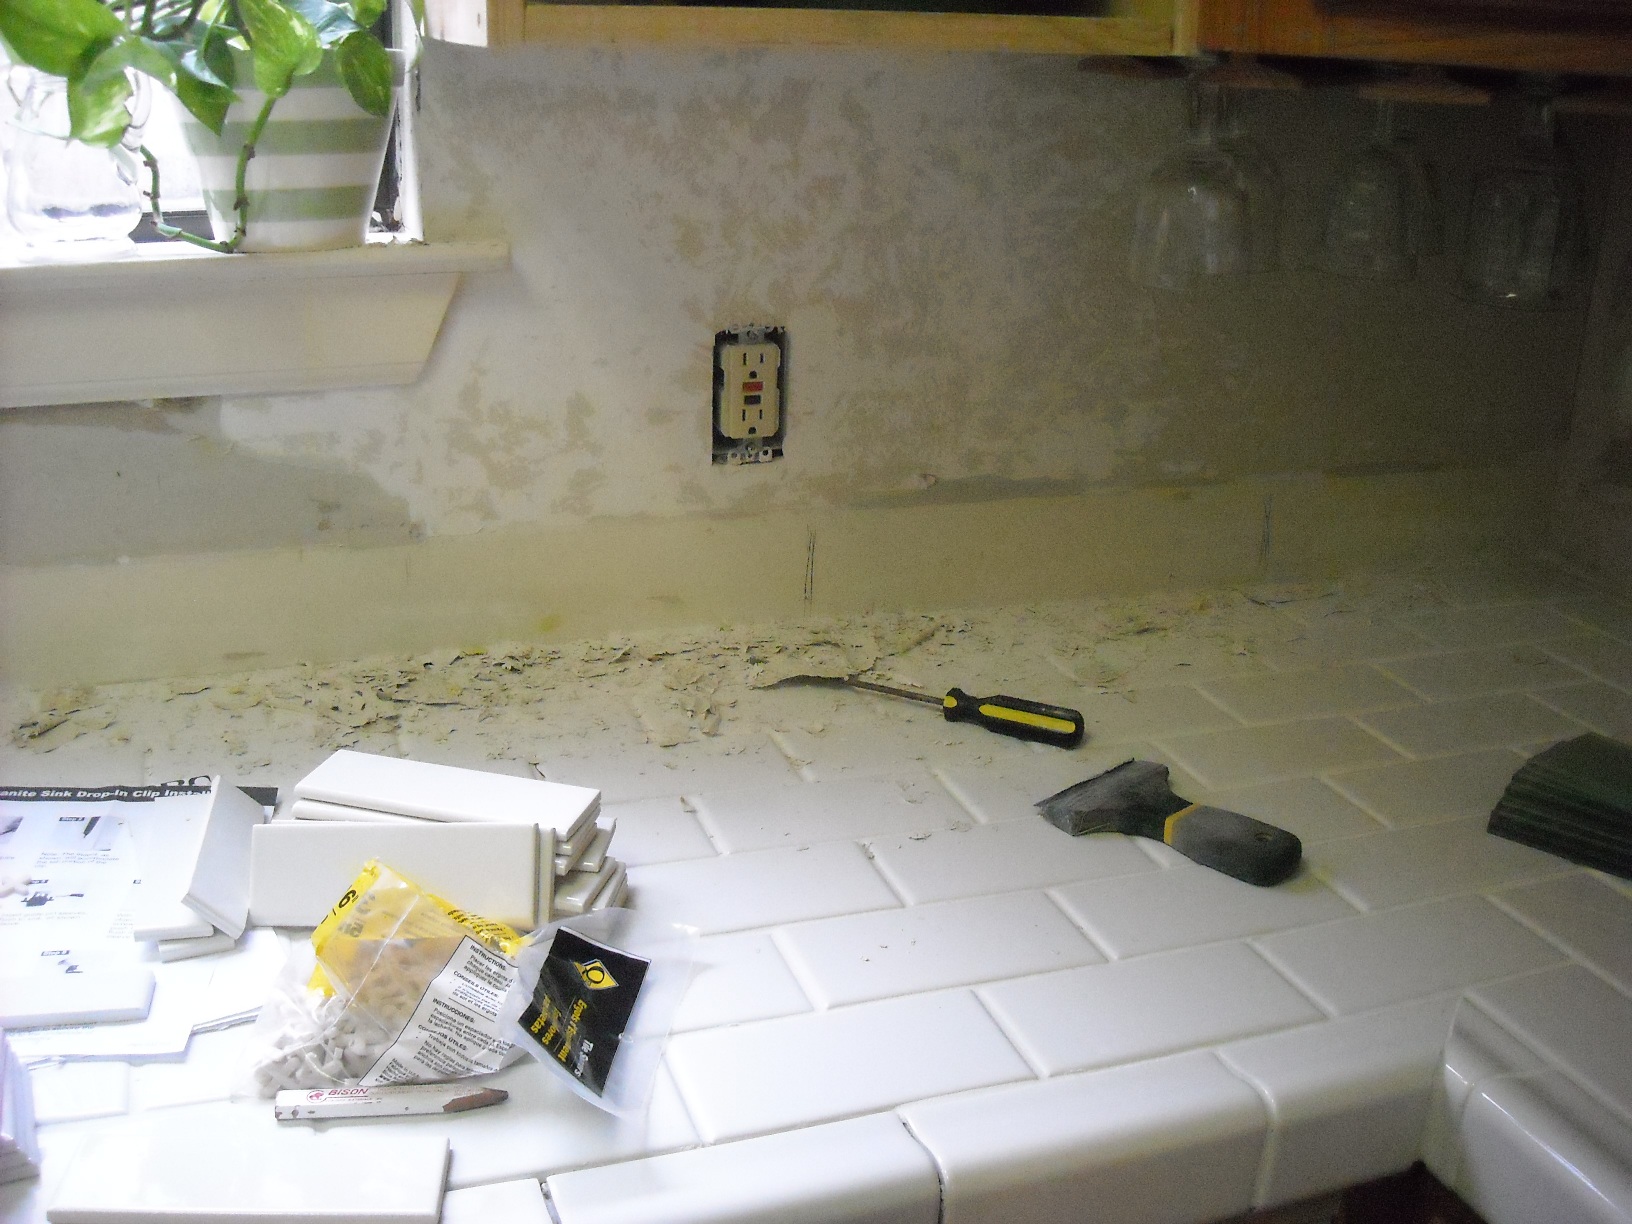
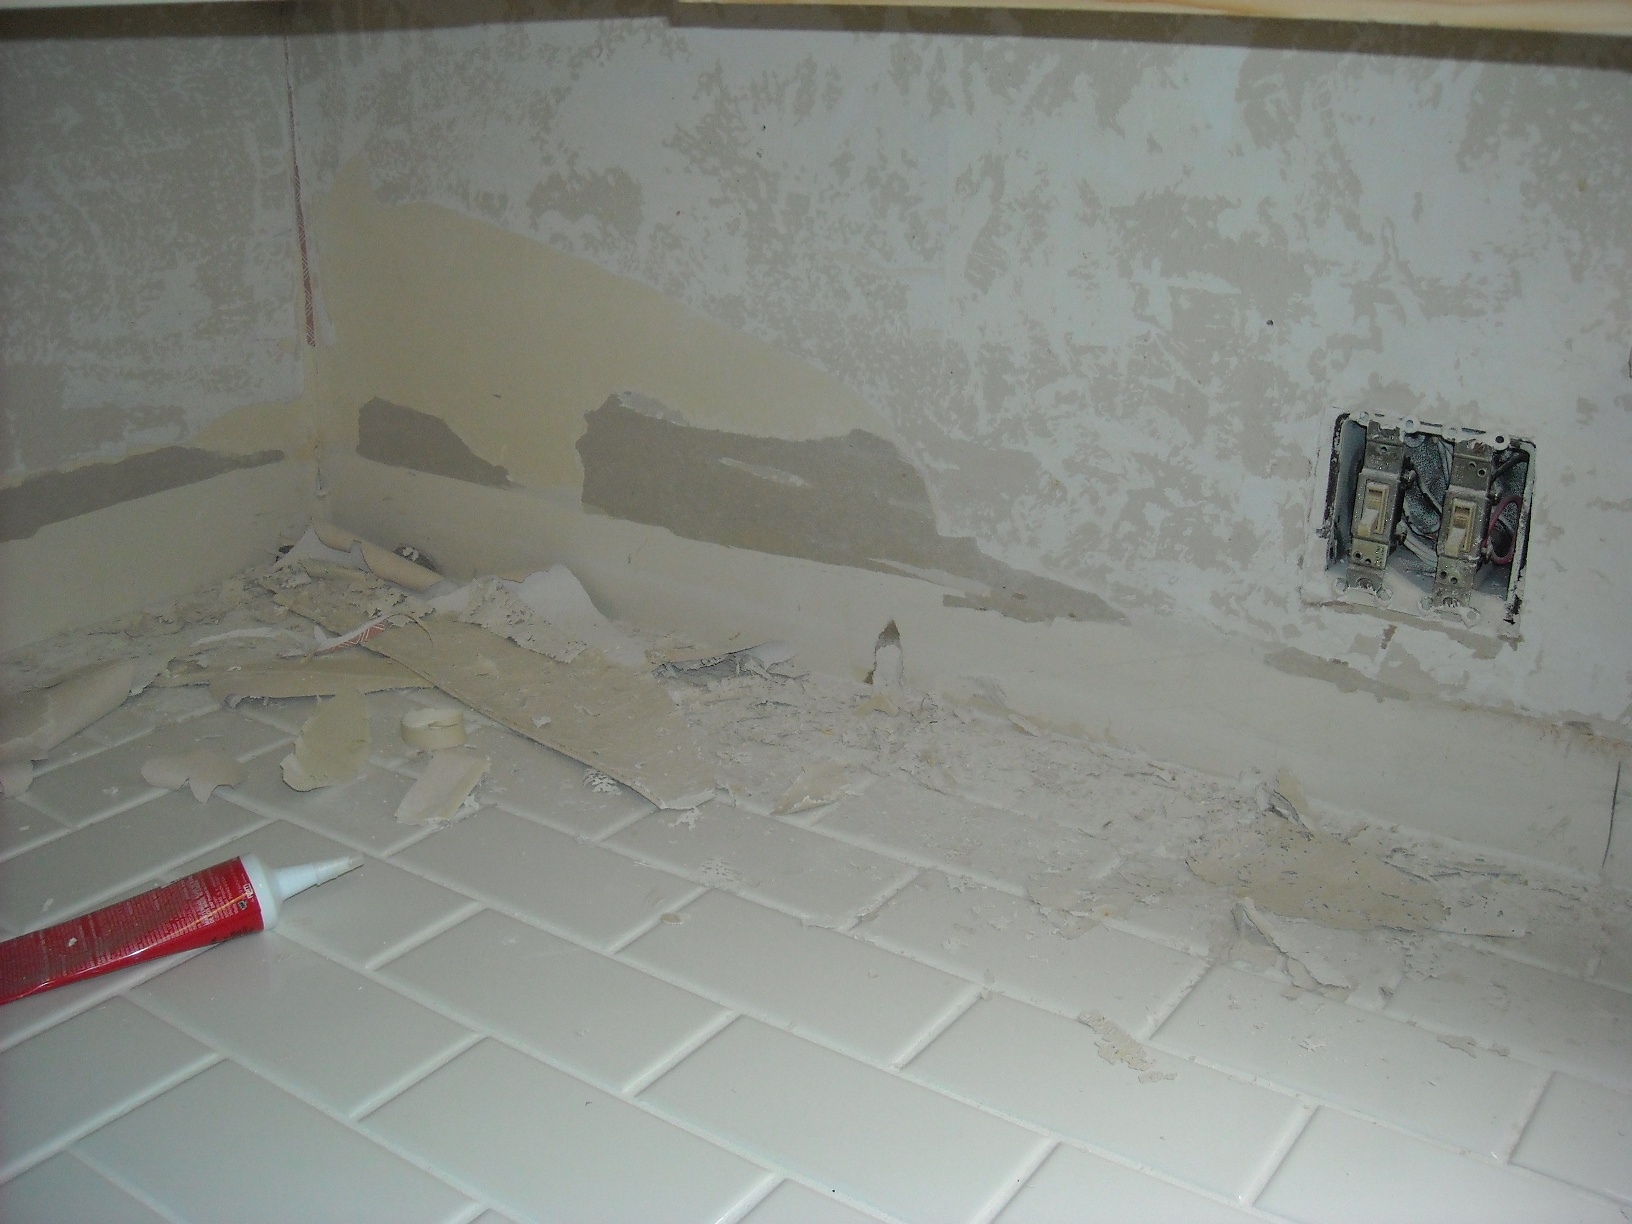
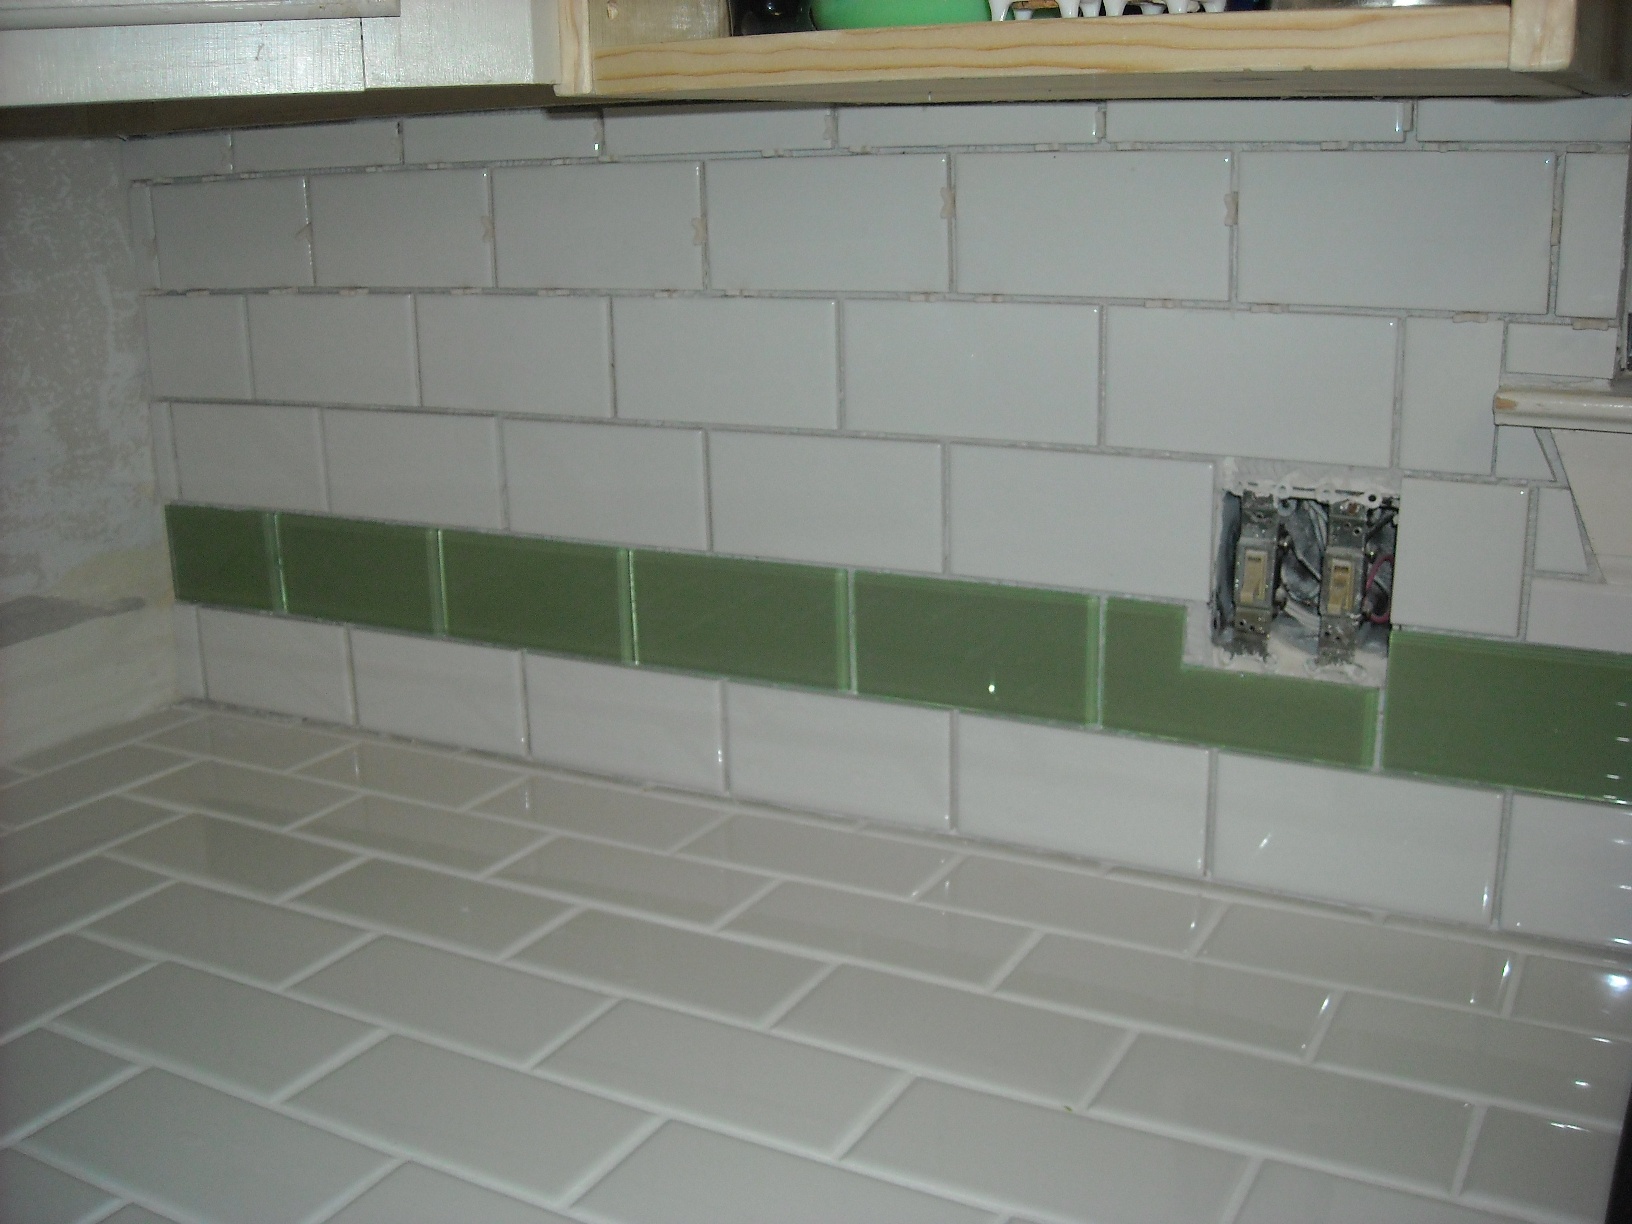
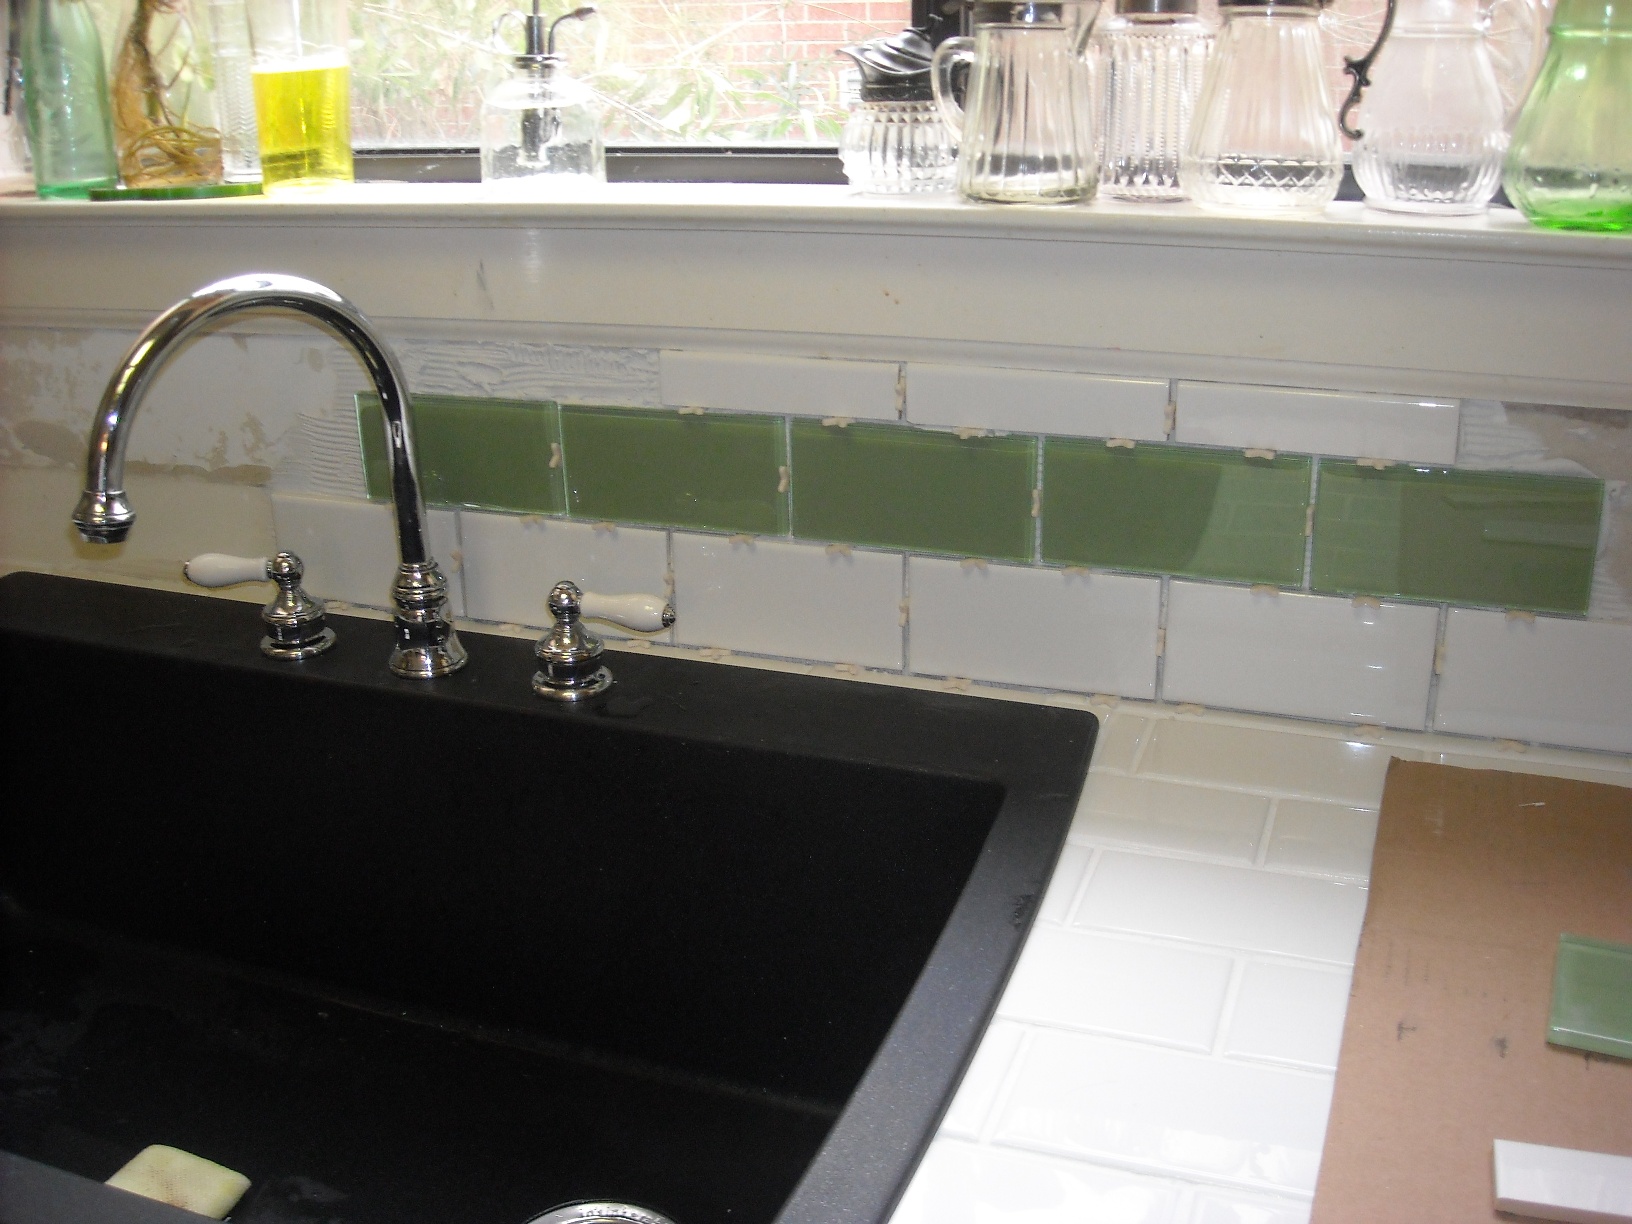
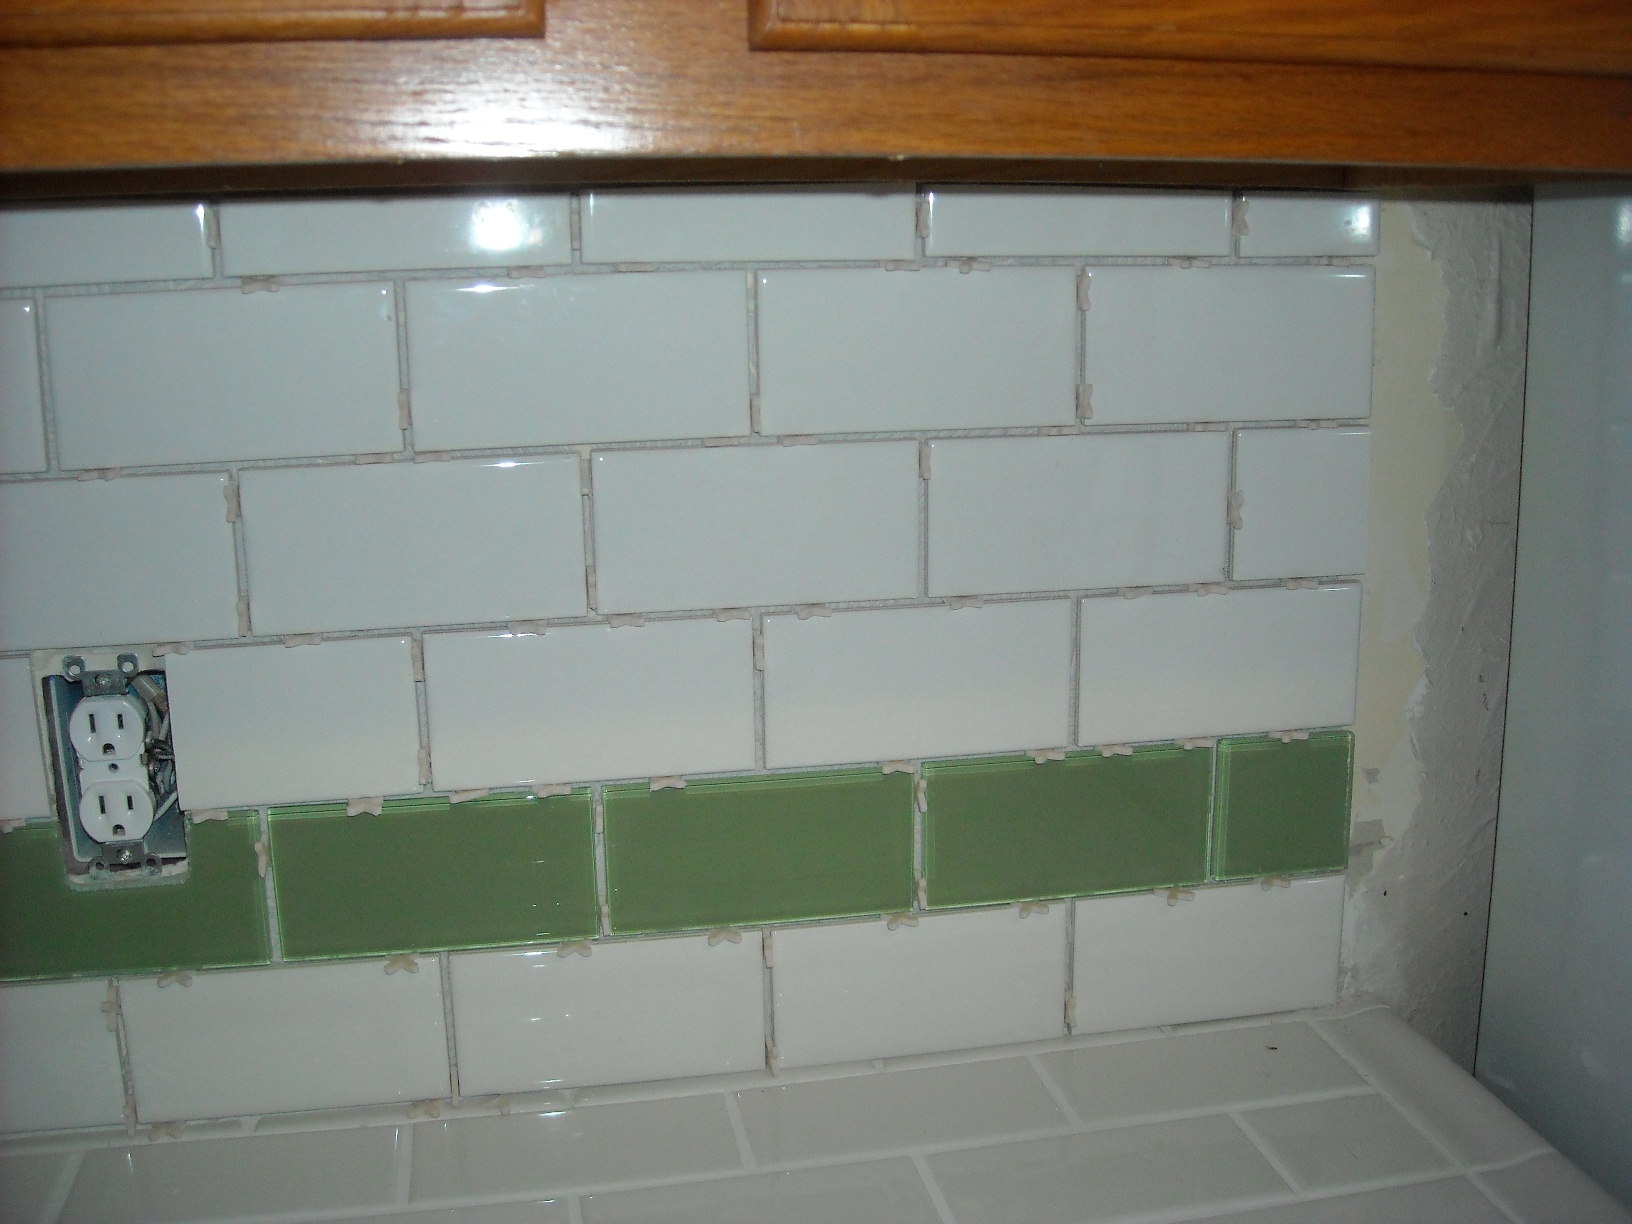
Now that the diswasher was empty, I am finally able to remove it. Dad had suggested cutting the front feet off since the slate floor had been laid around them. So, with some wheel dollies, I escorted the dishwasher out to the curb. Amazing how clean the whole kitchen looked without that big white dishwasher with the big black control panel that stuck out several inches - cementing the decision that my new one will have no visible control panel - provided I can get one the right size, the fit is tight... After fixing two clogged burners on my grill (a gorgeous day outside), I decided to go ahead and tackle the first part of the backsplash since I still had posession of the tile saw. Which meant, peeling a bunch of crap off the wall. I found a wide razor blade kind of tool in my tool box ( I think it was a cheap Big Lots kind of find). After some work, I had to reinforce it with tape and hold it just right to get the job done - please no more trips to the hardware store (I even used a tile spacer to lock the blade down). Then I started laying the tile - I had to cut each piece as I laid it out this time due to the tight fit under the window sill - so lots of trips out to the tile saw (but hey, I enjoyed the day this way)! I even had to cut the top tiles because despite laying it out just perfect, the edge tiles did not fit. I actually used those to butt up to the window ledge which I decided not to replace. I also might add - the glass tiles do not cut well at all! I kept going finishing the sink wall just after dark fell.
I ran to the grocery store to get some chicken for the grill (have not been able to use my grill for some time due to the clogged burners). And remember my stove doesn't work very well any more - plus the microwave has now quit (too much sawdust in the vent kind of does that). But hey - these appliances have lasted 23 years! Once I got back and got dinner going, I started to pull out the spacers. Wow!
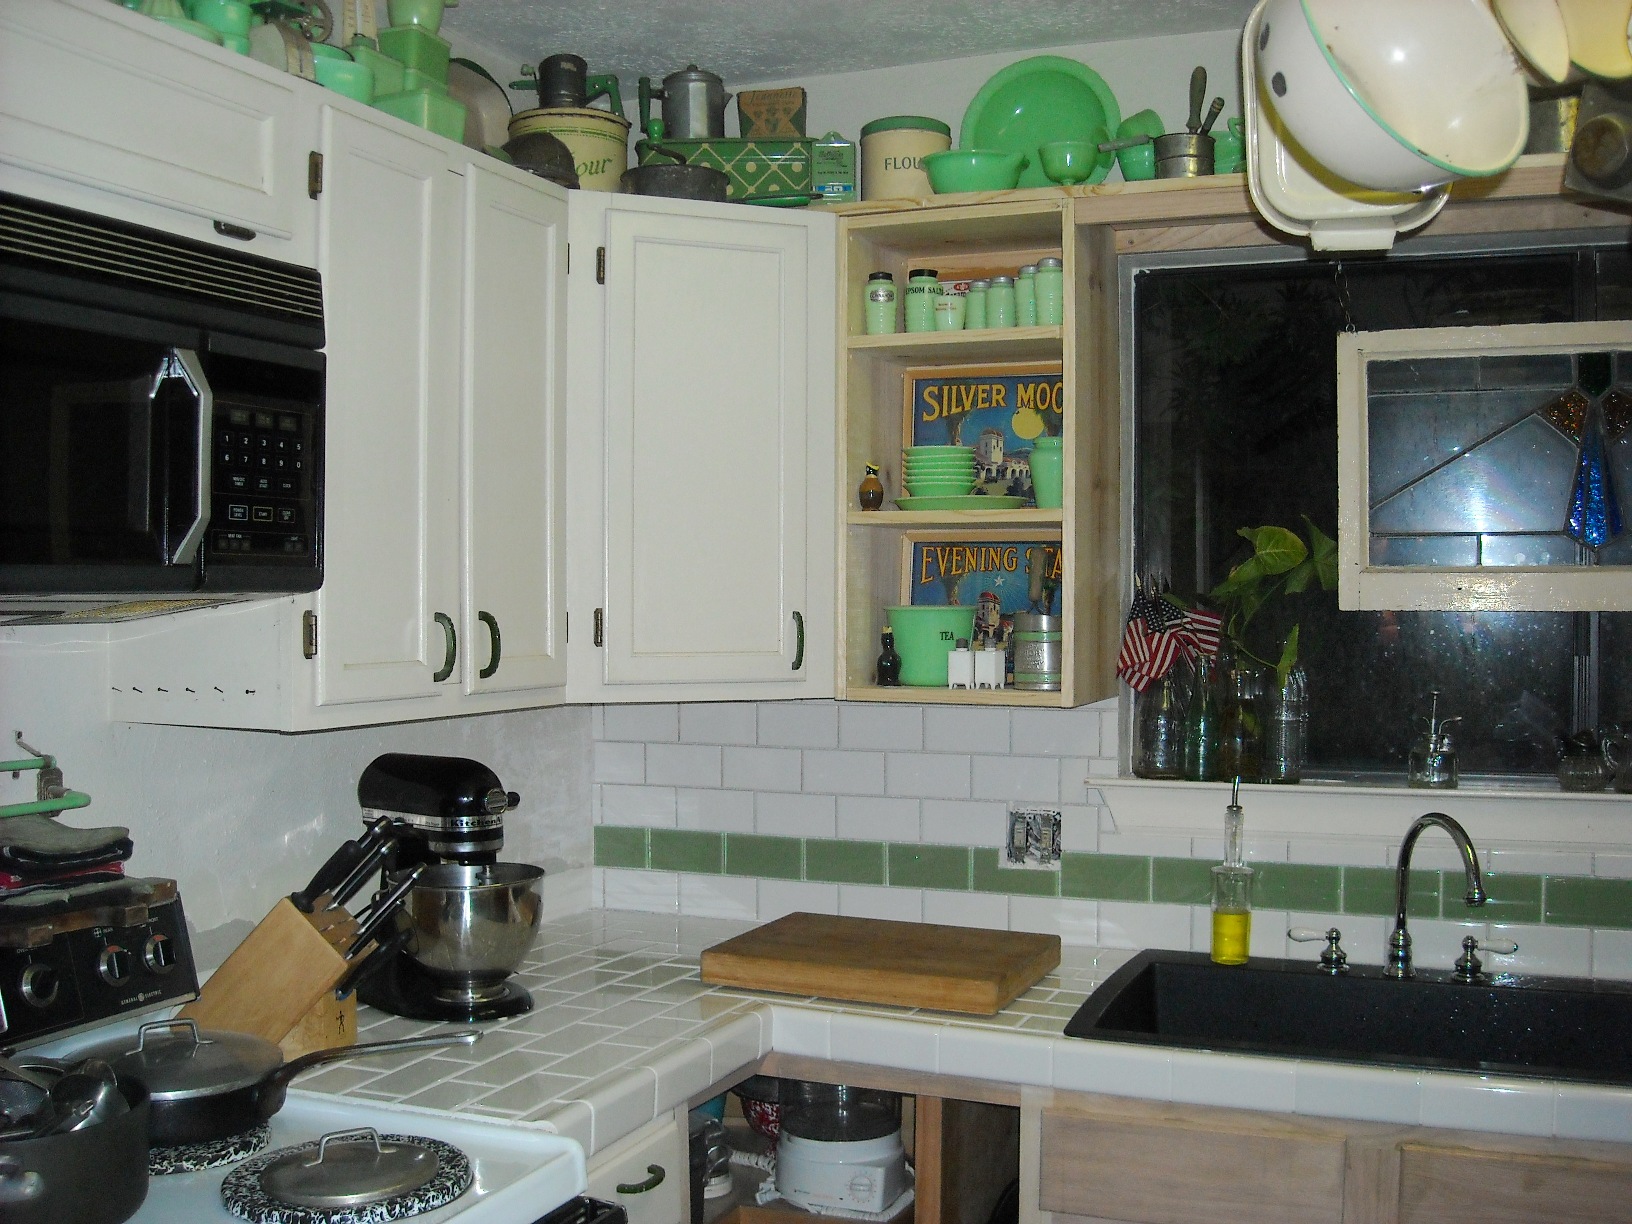
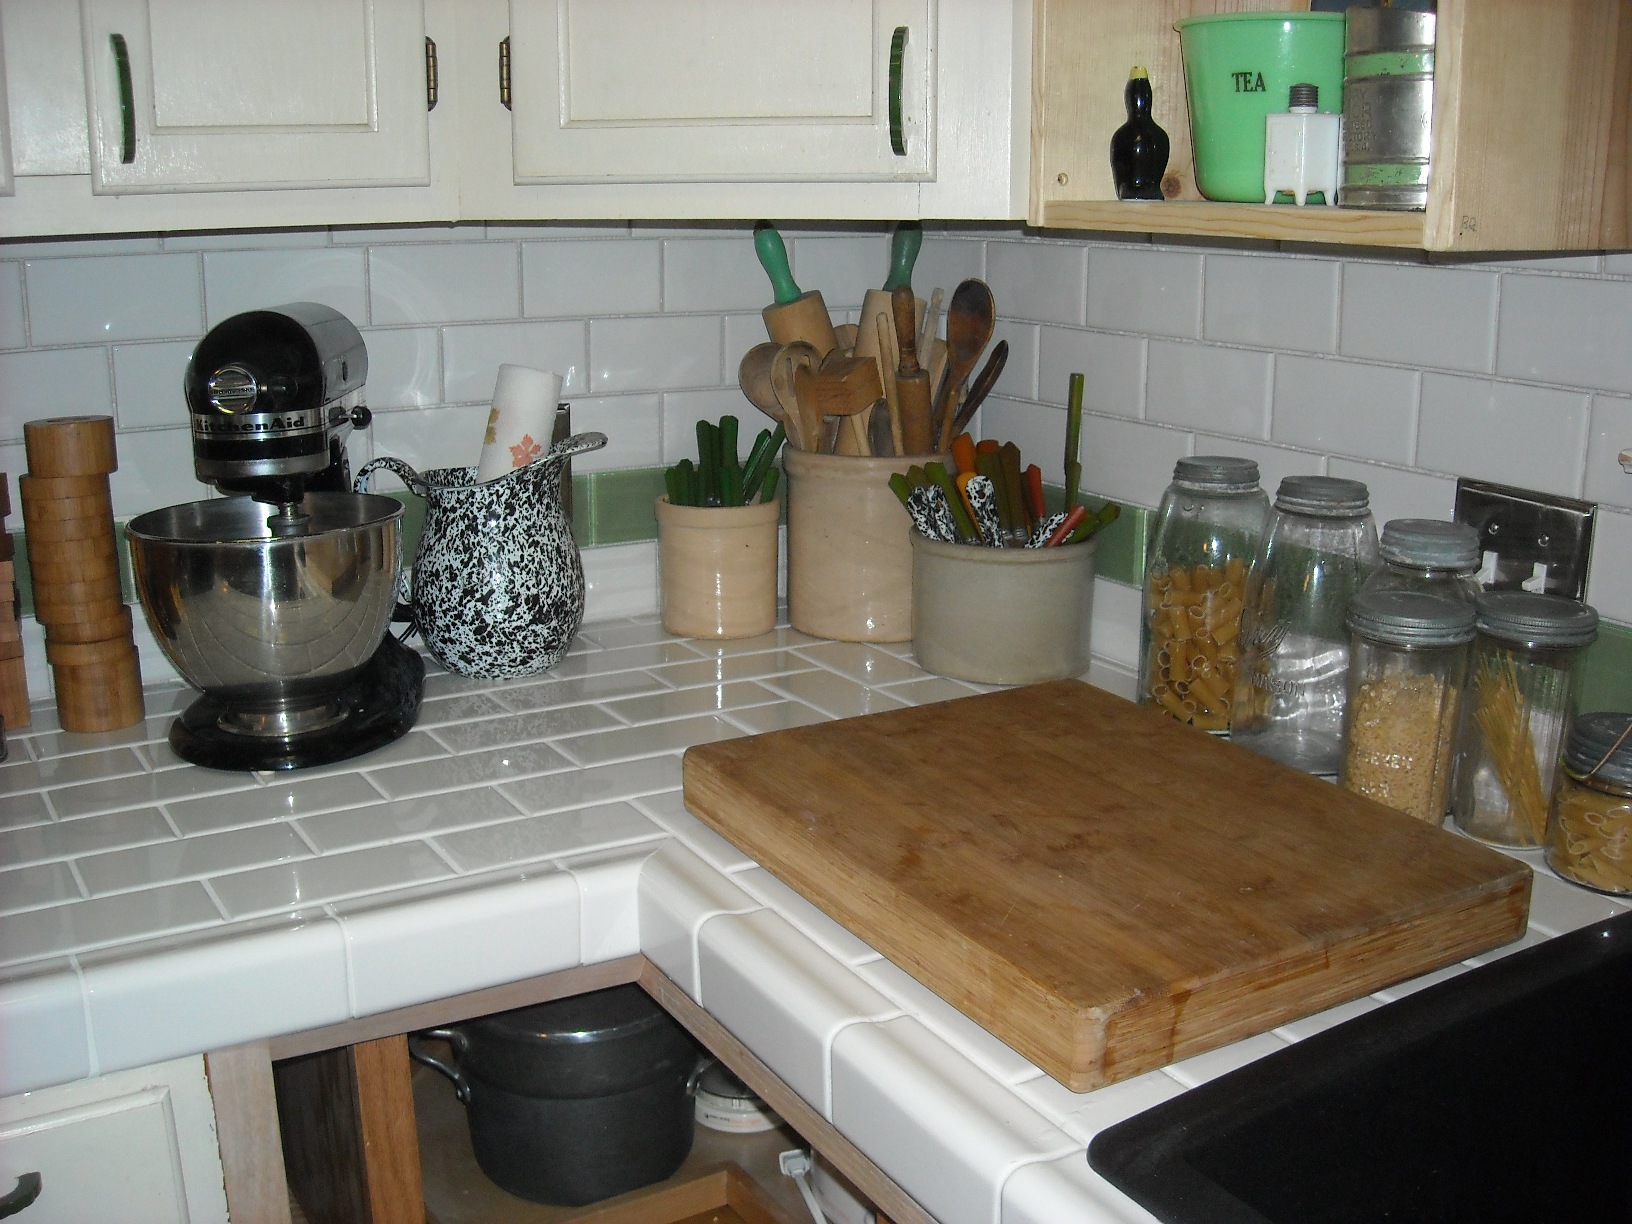
I still have a ways to go - cabinetry to finish (including staining the rest of the new drawers I built), the rest of the backsplash including grouting and sealing, and I have some plumbing issues I still need to work out with the help of someone. But I can live in here again and enjoy it. I also have a few more decisions to make - do I continue with the eggshell white cabinets knowing that I will eventually reface and go distressed black, or do some kind of whitewashing? Looking at the pics, I actually like the eggshell contrast and that would make most sense since I will eventually reface anyway. I love the contrast of the blonde wood with the white and will rebuild the wine rack out of a nicer wood to keep it natural. So, do I keep the new cabinets and shelf around the window natural? I love the contrast. And I think it helps with the marriage of the contrasting styles - the new updated look of clean shelves, glass tile, wine racks, stainless appliances, my black Kitchen Aid mixer, and Magnalite Pro pots with the retro look of the subway tile, faucet, and all my depression glass. Obviouslly when I go distressed black, that won't work. As you can see, all my projects last a while forever in flexible transformation... while I try to make those "perfect" decisions.
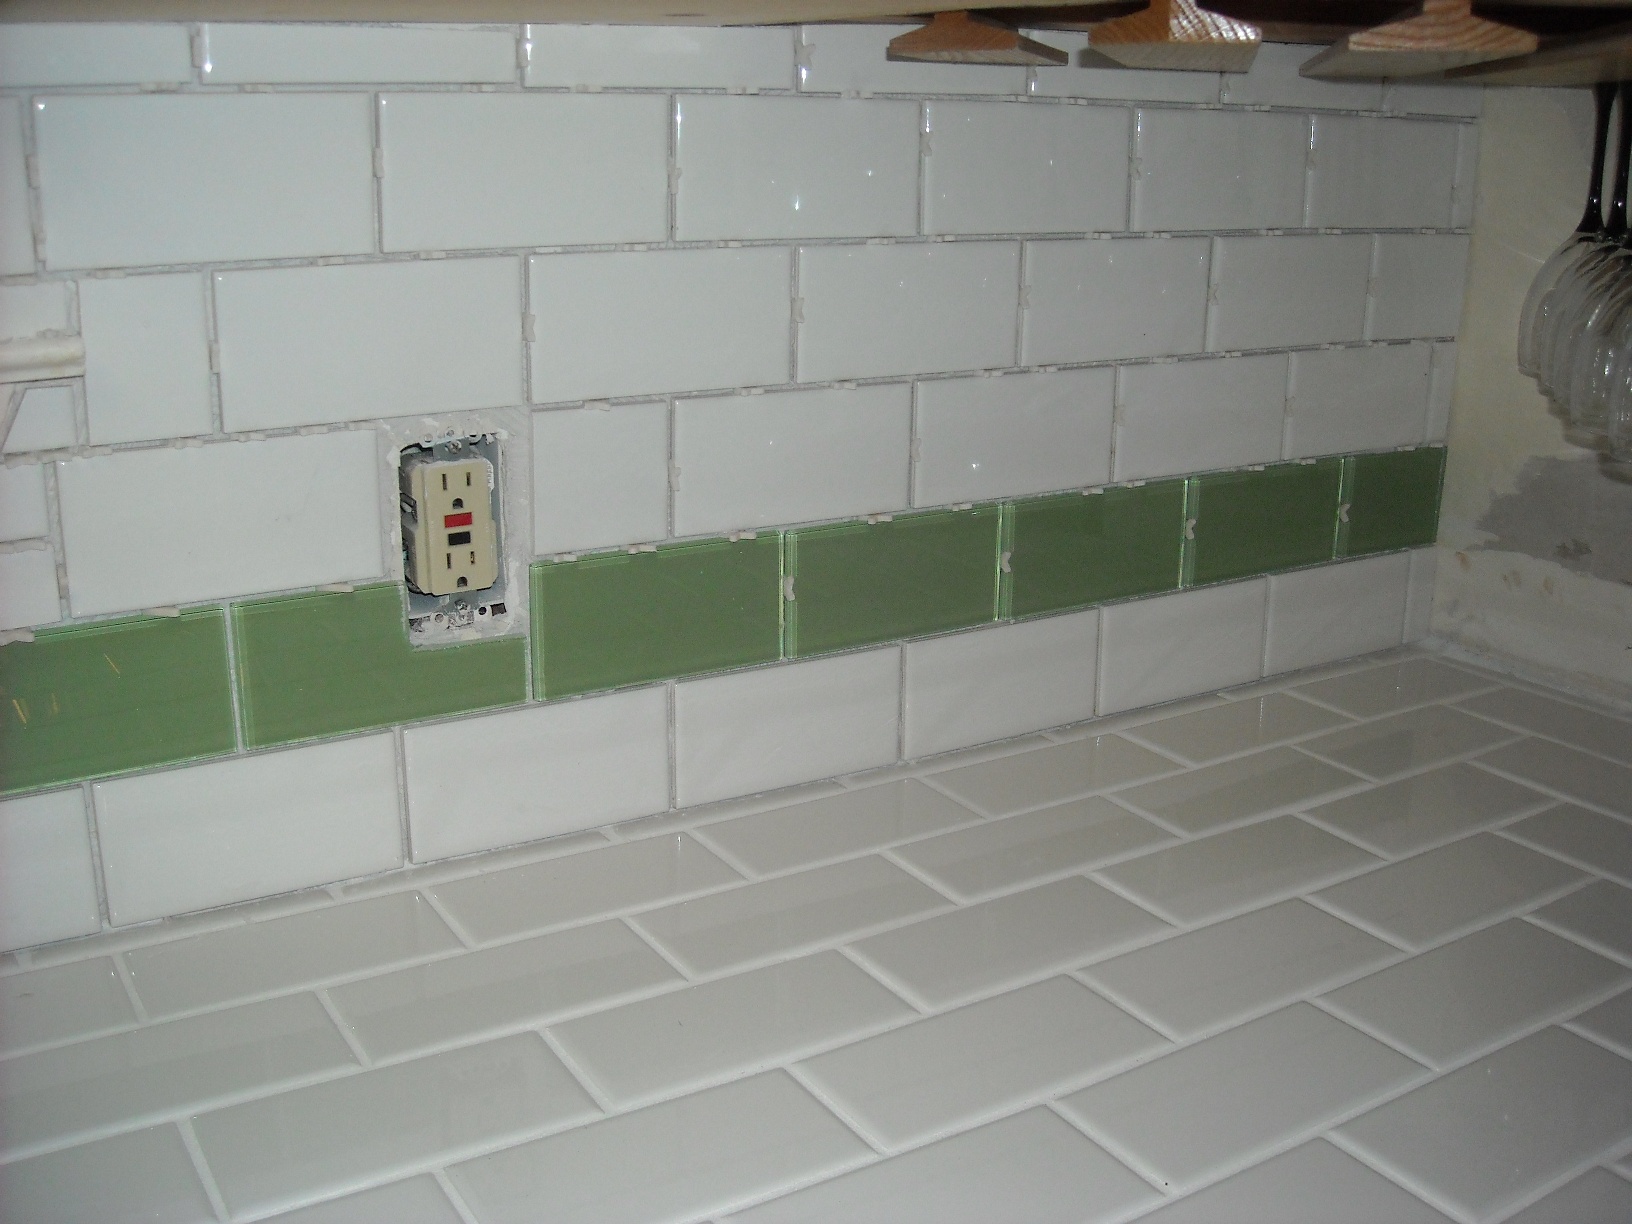
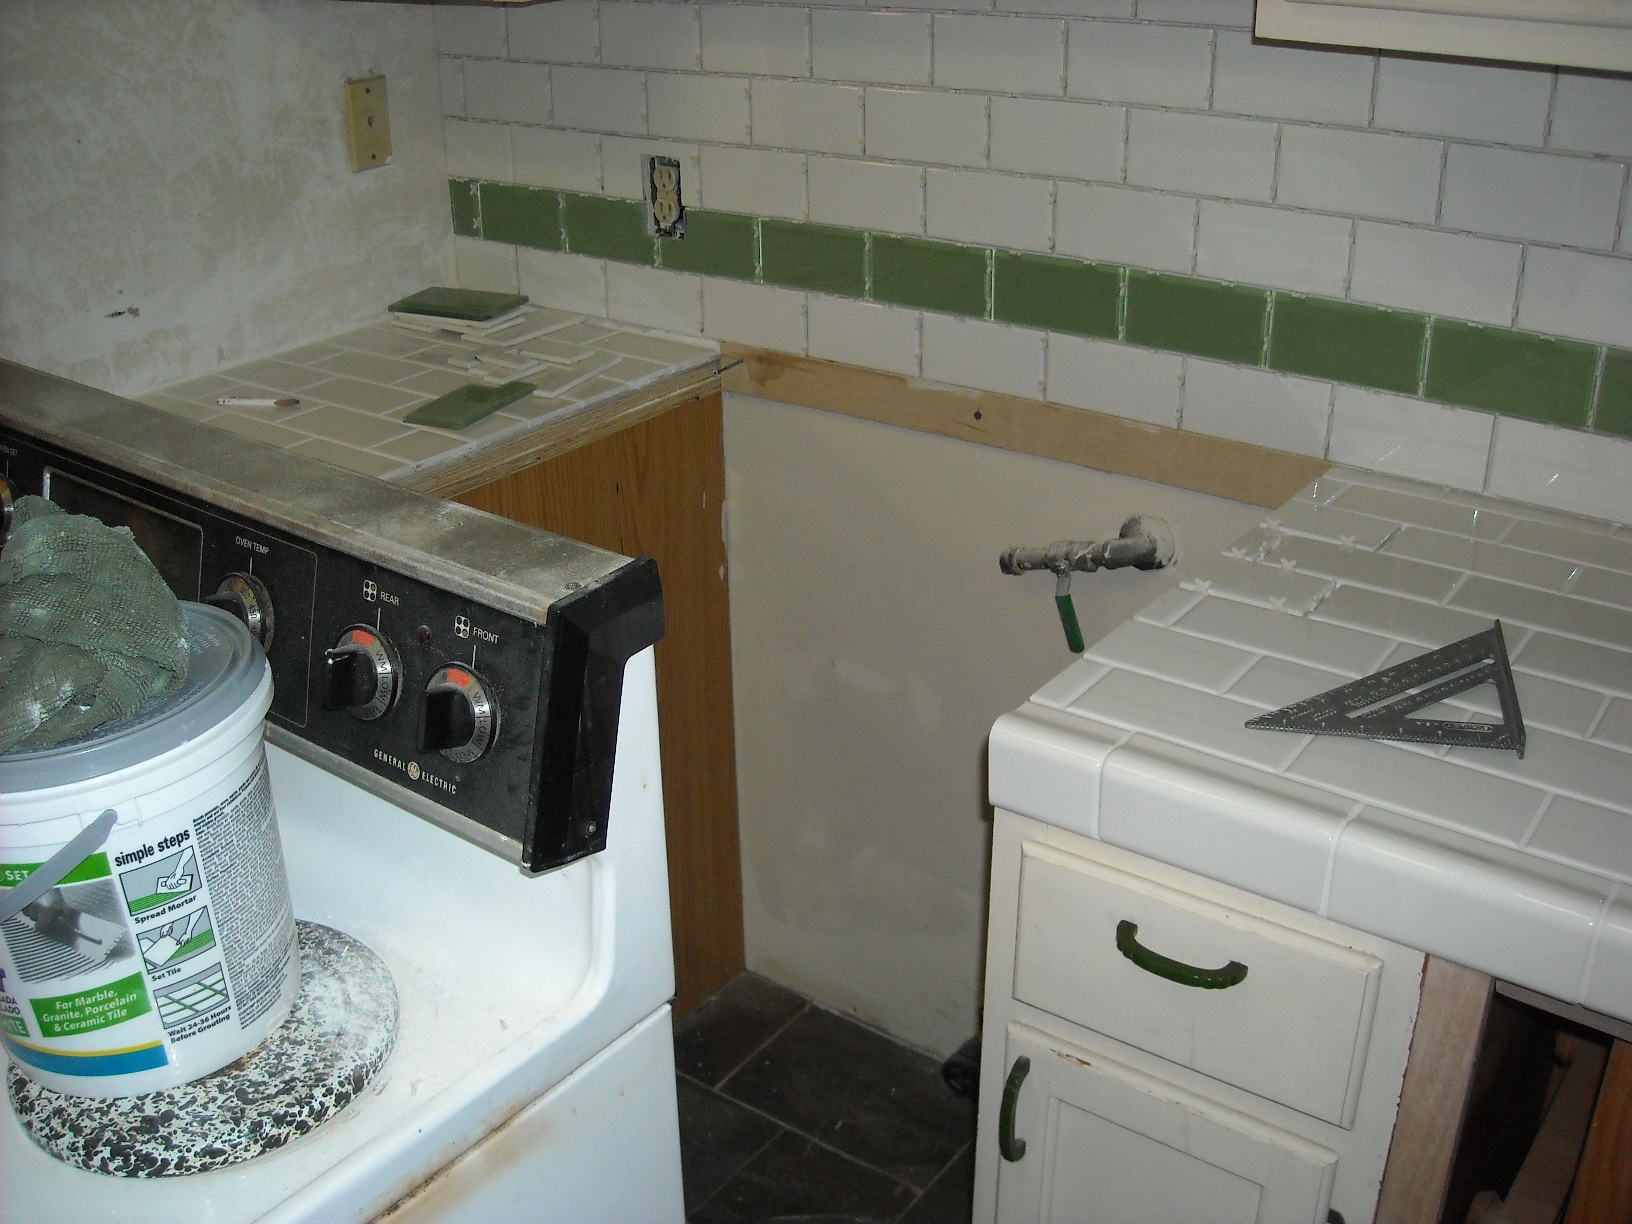
So after a two weekend break from tiling, I finally bit into the last of the backsplash with the help of a friend. We had to pull out the stove, I had to set a temporary board rest for the tiles behind the stove, and even had to chip out a few tiles to get the stove out. Of course, I still need to grout. Every time we walked into the house from cutting a tile, we were just set back how good it looked. I have been living with the backsplash on one wall for a while now - but the impact of the whole room is amazing. You can see the fine edge Kellye made by the refridgerator - she spent some quality time on that! You can also see the new plugs in the finished pictures - I am replacing all wall plugs and switches with nice, new white ones. I found some trimmed-out stainless switch plates which look more refined than the usual industrial ones you find. Say goodbye to that old stove.... she was a workhouse - 23 years old!

And...

| Next Adventure | Back to my Home Page | Previous Adventure |
|---|